Introduction
Yes, you’re reading that correctly. The TES68 is a fully hotswap 68-key mechanical barebones priced at just 20 USD on Nuphy’s site. Is it the new budget champion? Is it just a test board or can it be used as a full-on keyboard? Where did they cut corners to achieve all of this? Today we’re going to look at all of this and more. This is the TES68 review!
Specifications
| Brand | CiY x Nuphy |
| Model | TES68 Beach Stone |
| Keys | 68 |
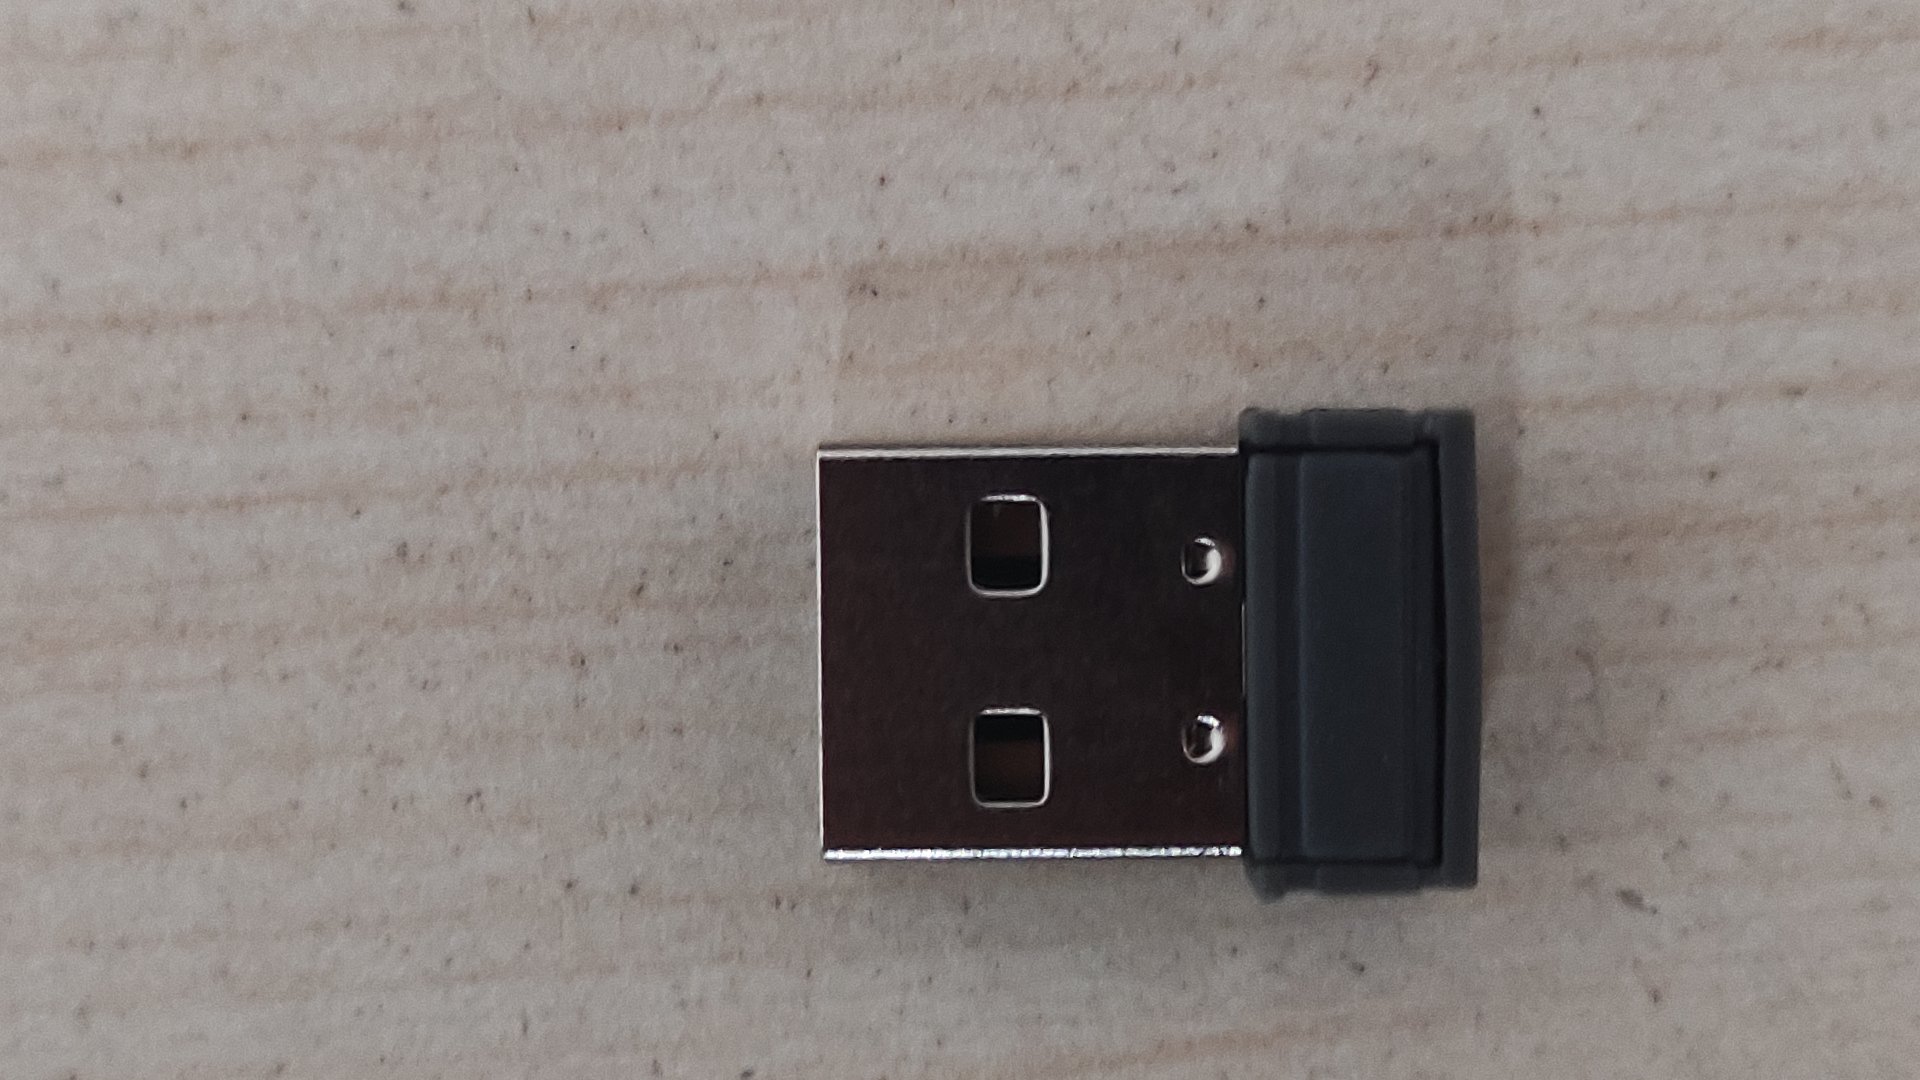
| Connectivity | Bluetooth 5.0, 2.4 ghz USB |
| Backlight | None |
| Switches | None |
| Plate Material | Aluminum |
| Case Material | ABS Plastic |
| Mounting | Tray |
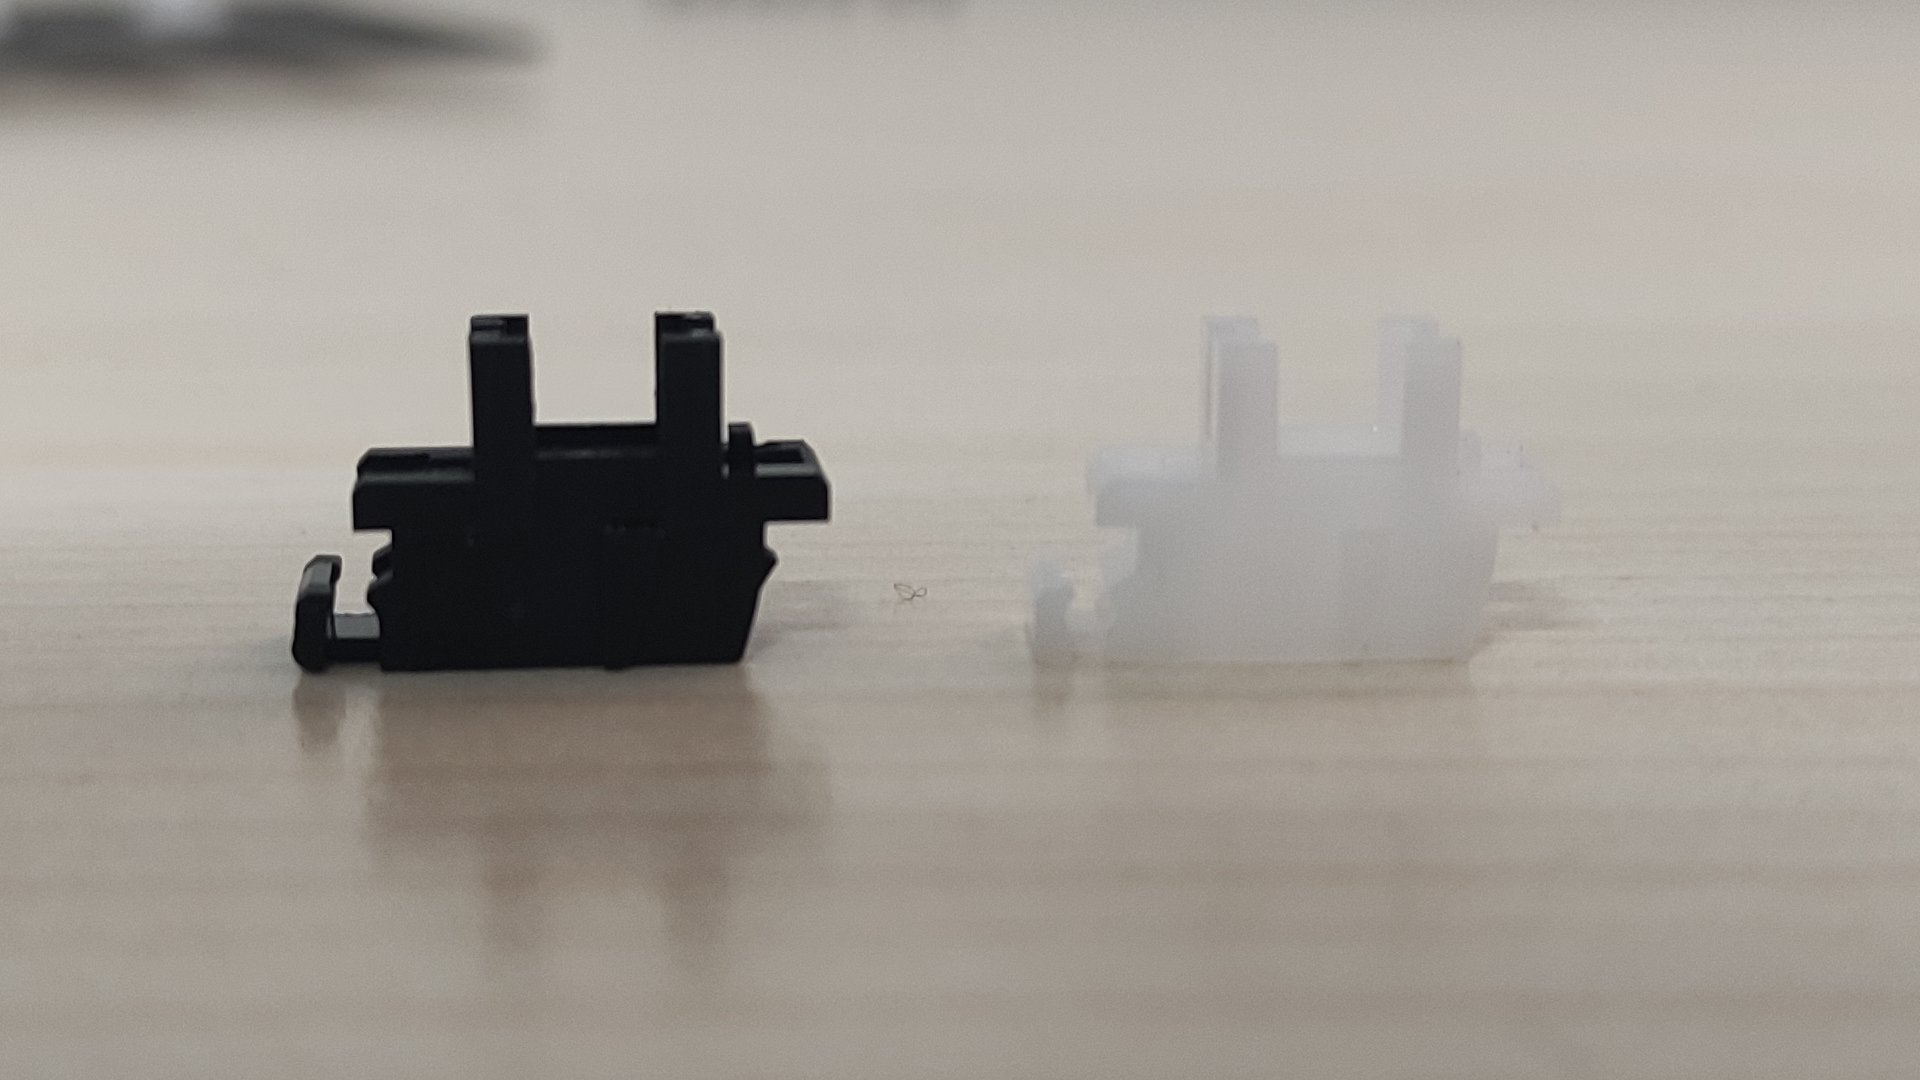
| Stabilizers | Plate mount |
| Dampening | Yes, between plate and inside case |
| Hotswap | Yes |
| Socket type | 5-Pin MX |
| Standard layout | No, partially 1u on bottom row |
| Keycap Material | Not applicable |
| Keycap Profile | Not applicable |
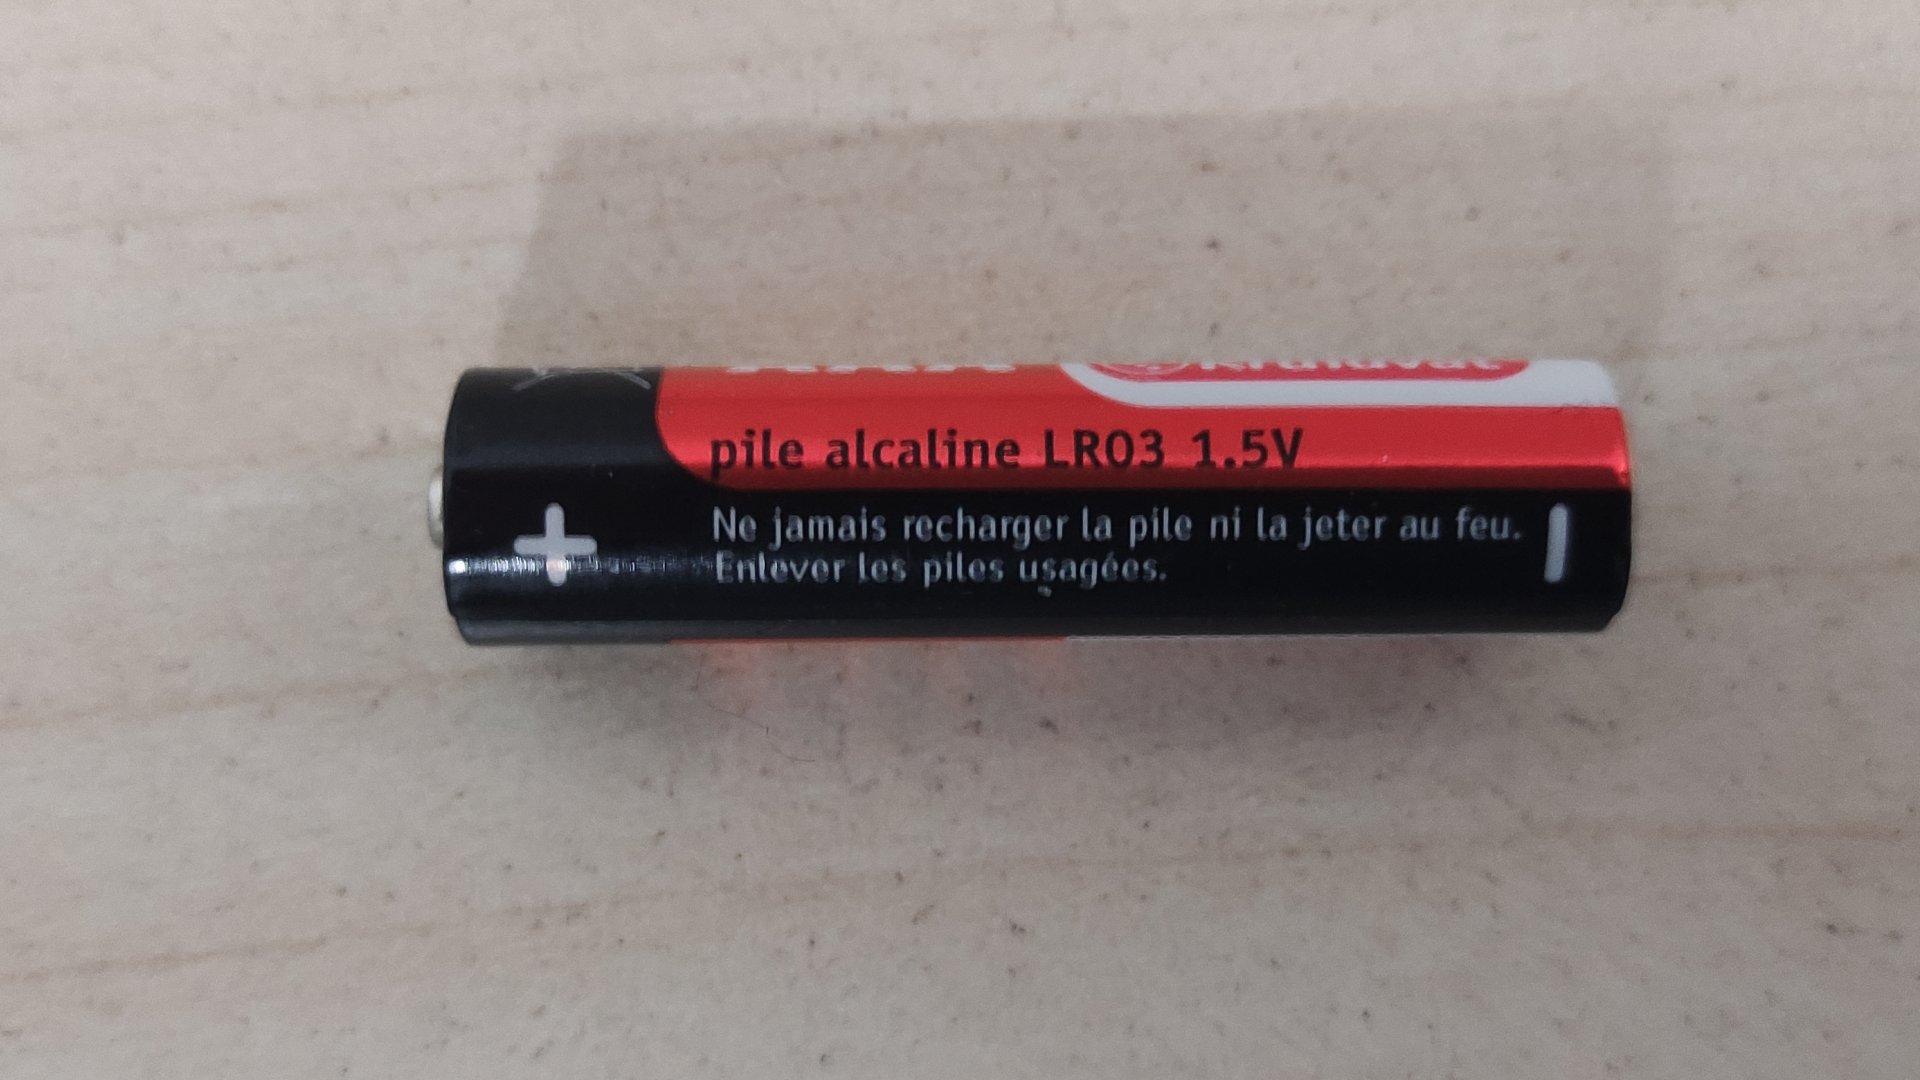
| Other Notes | Requires AAA batteries |
External
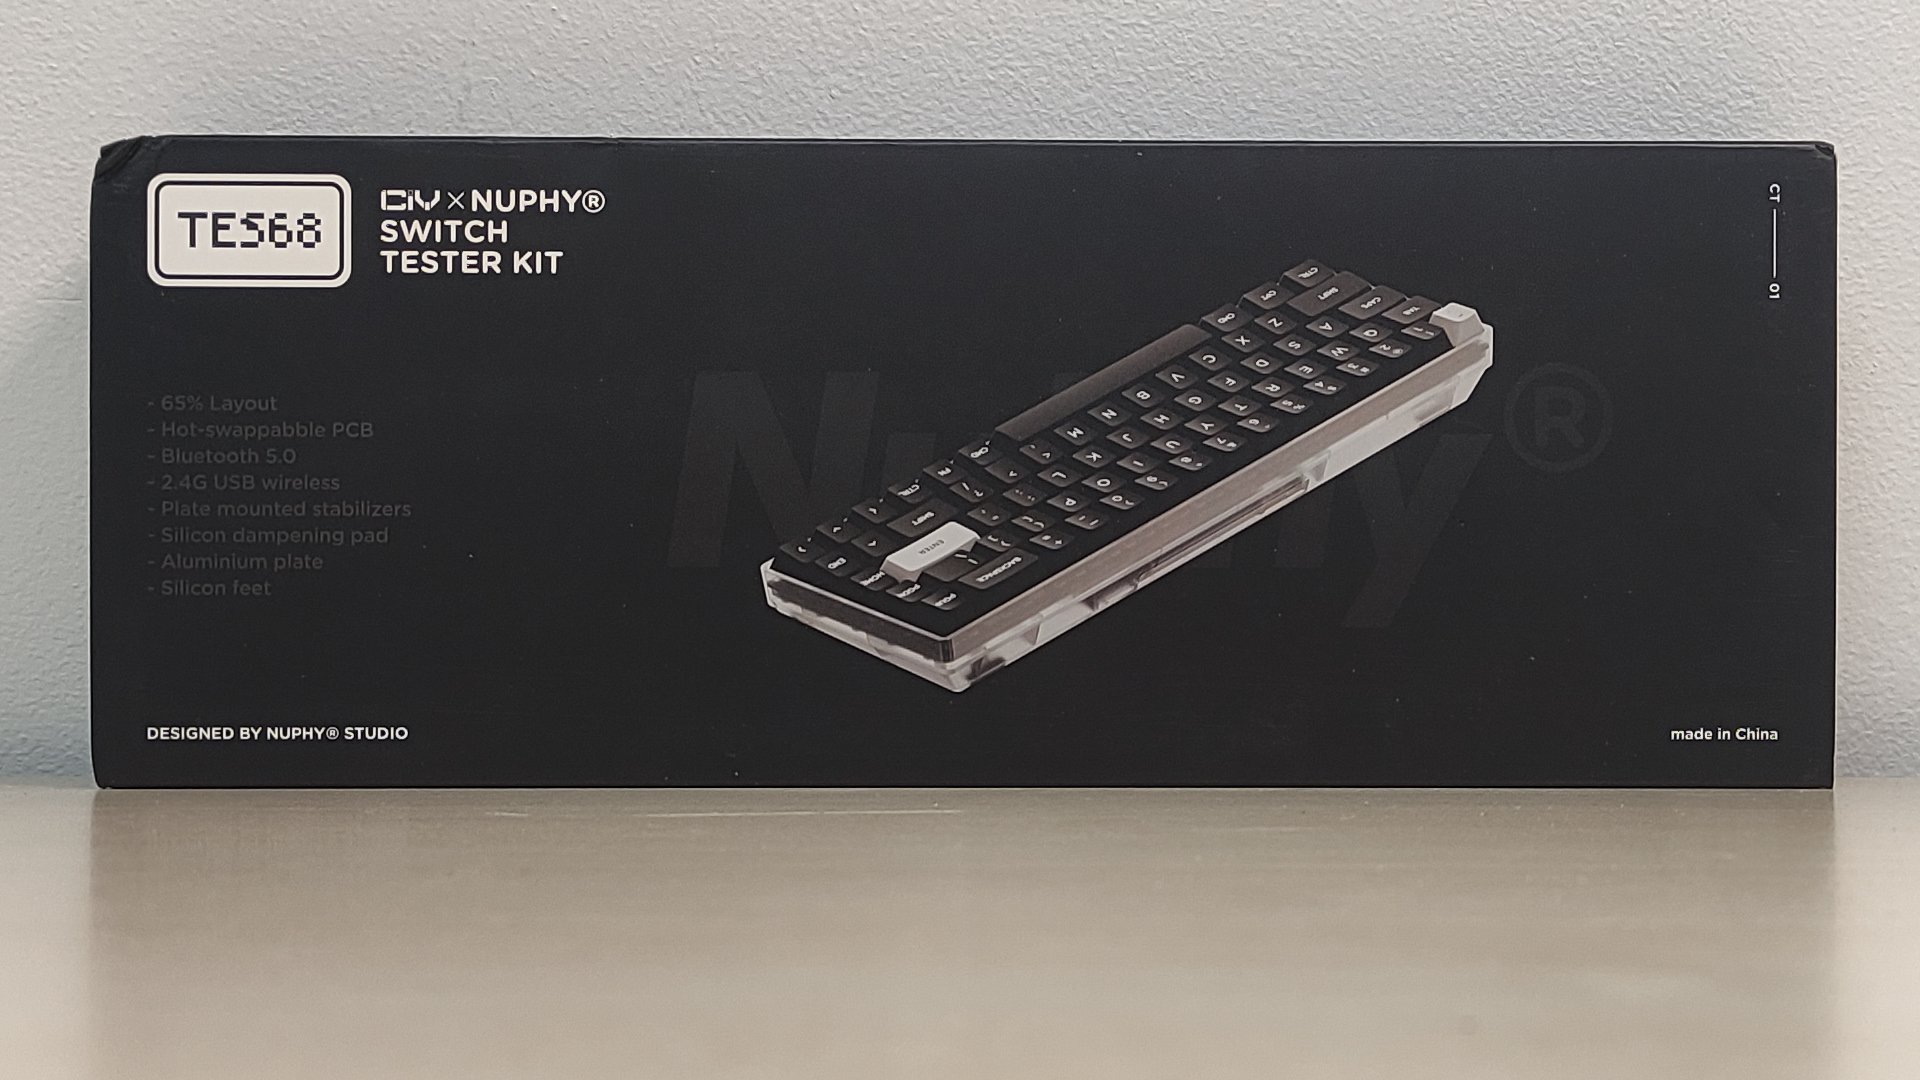
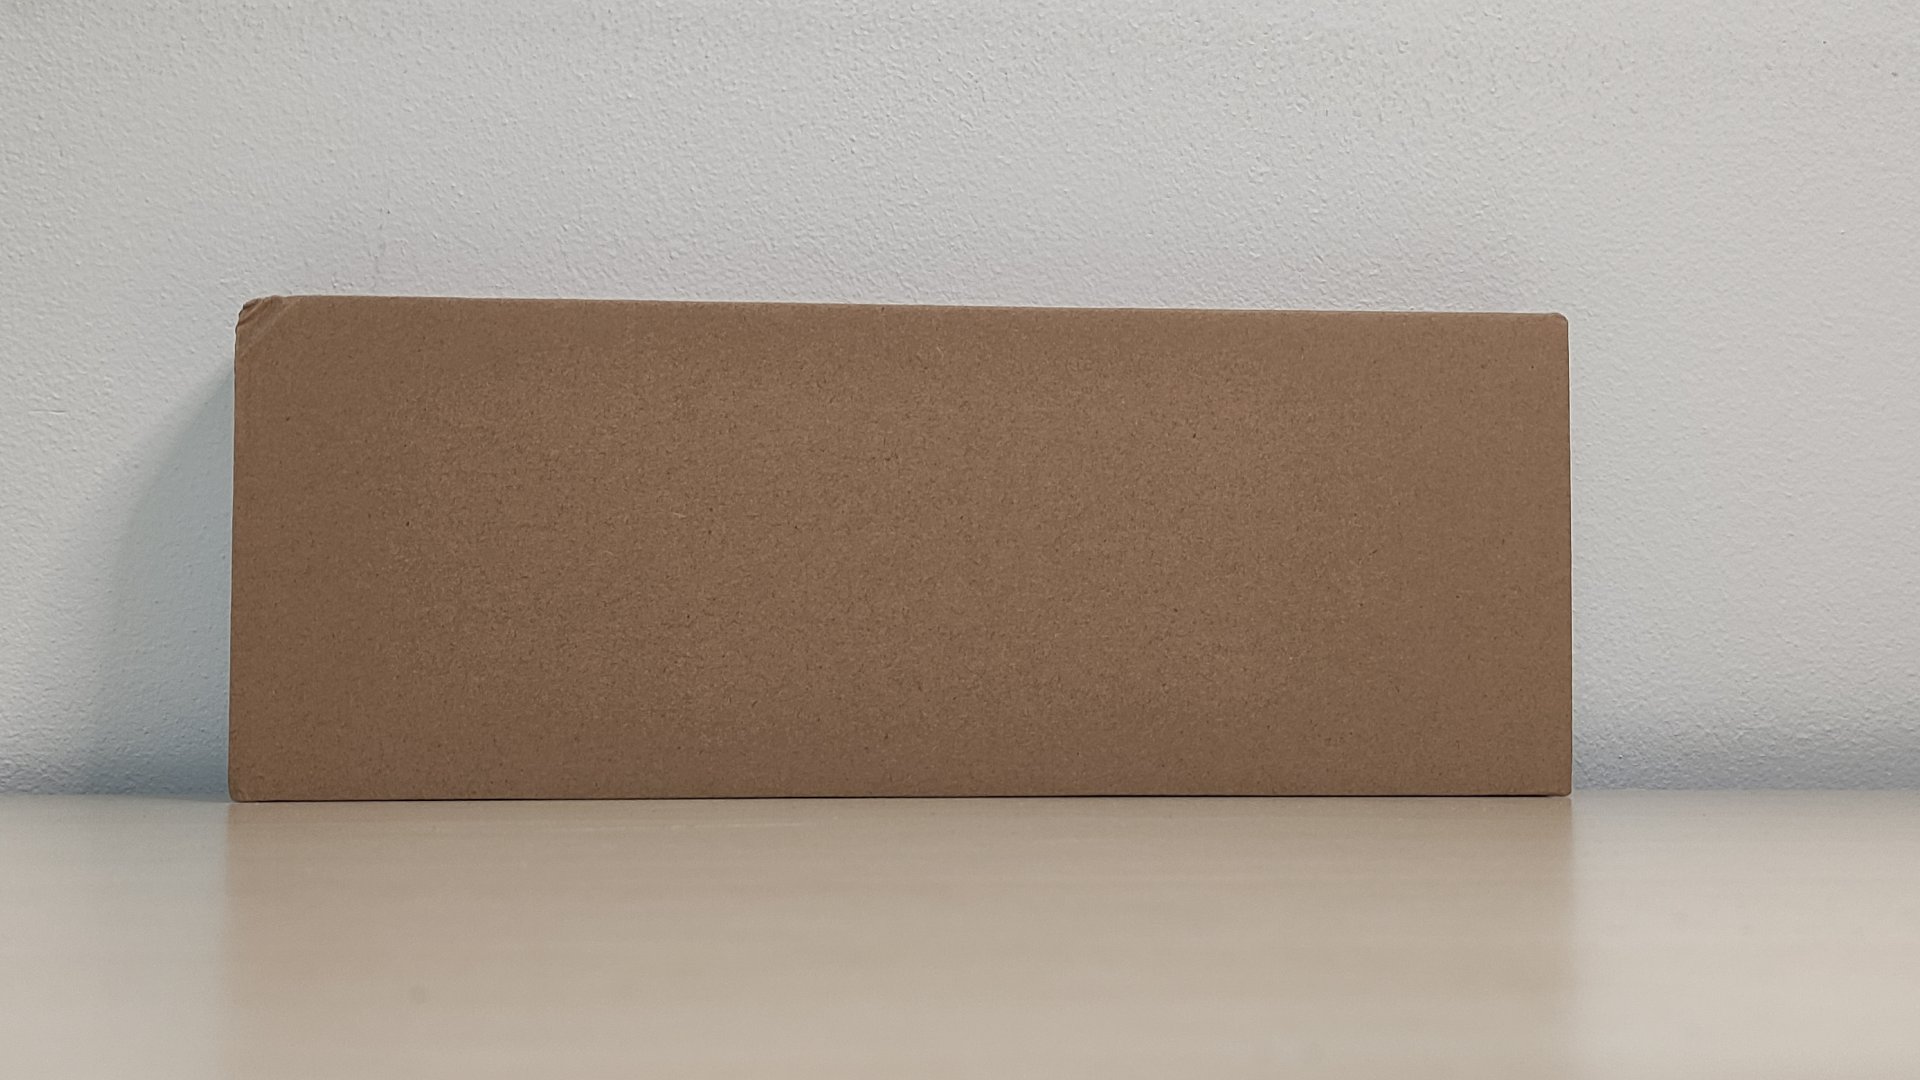
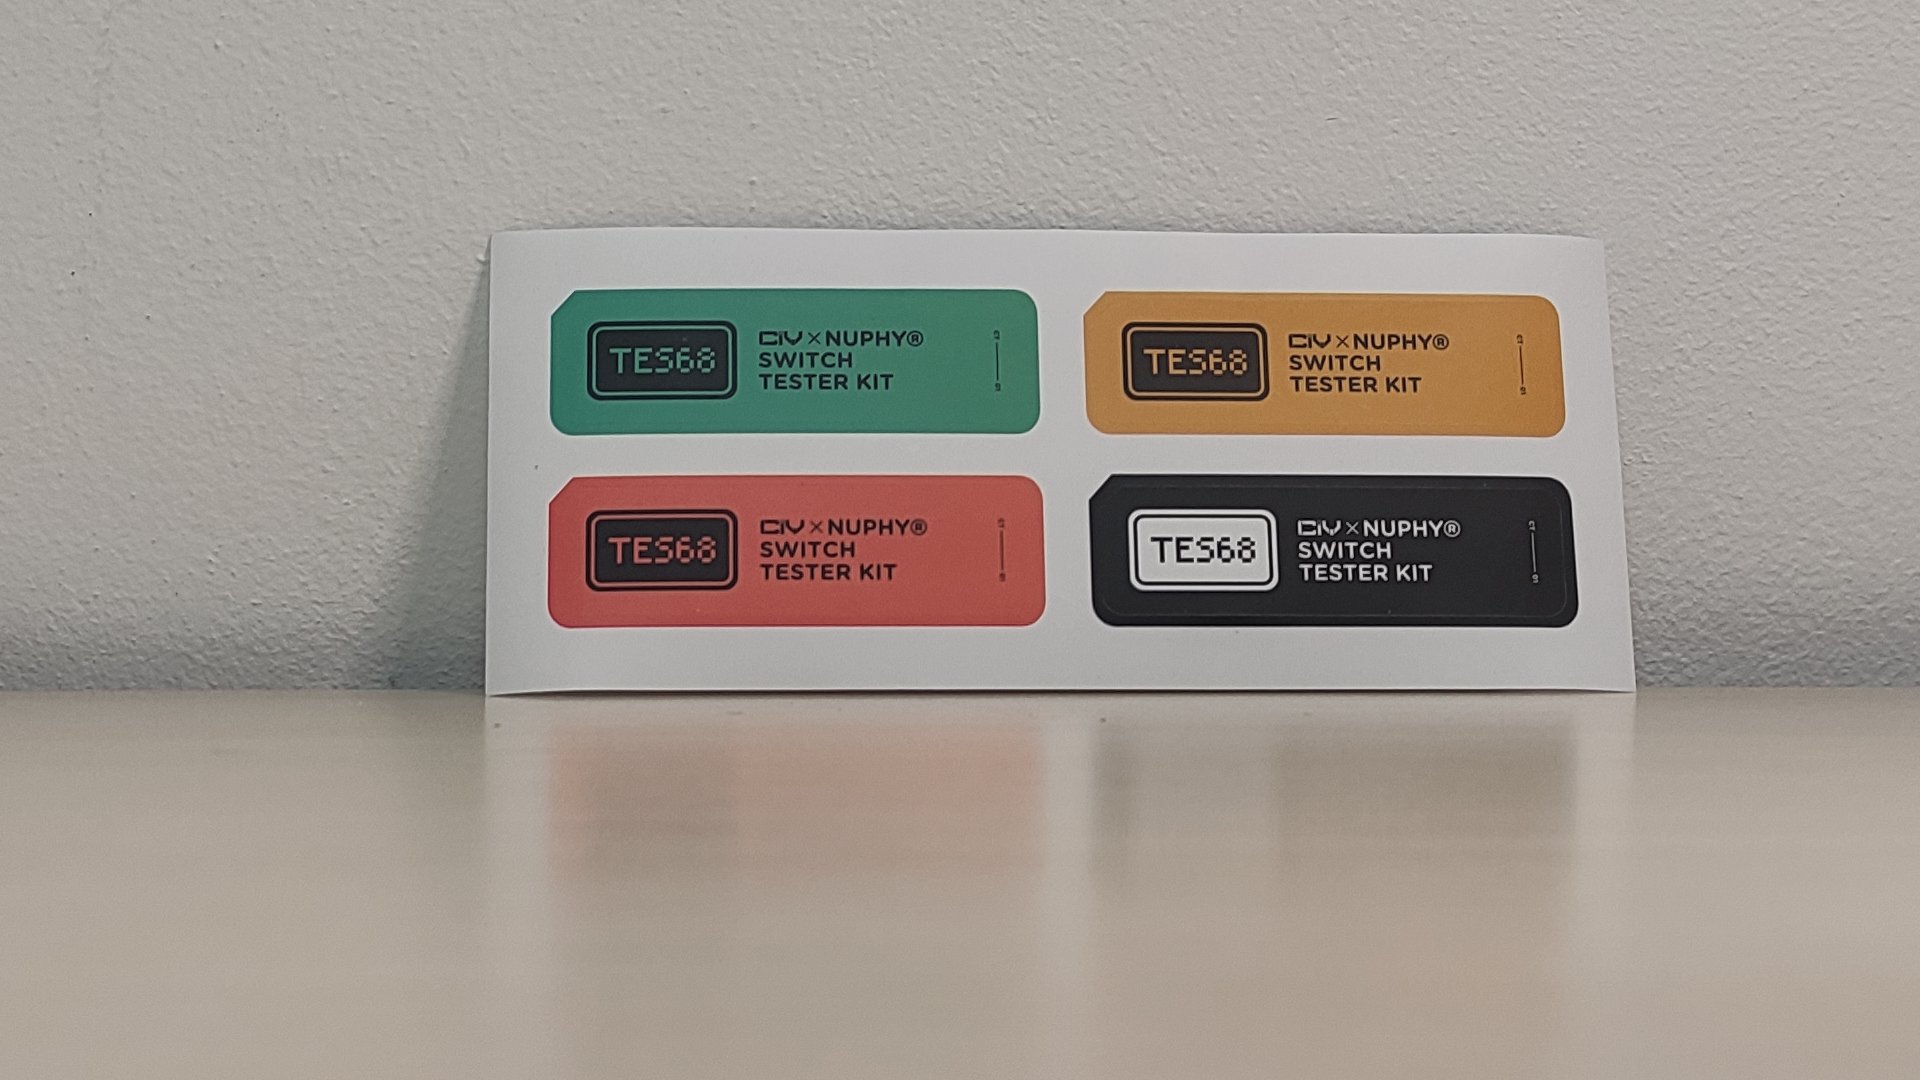
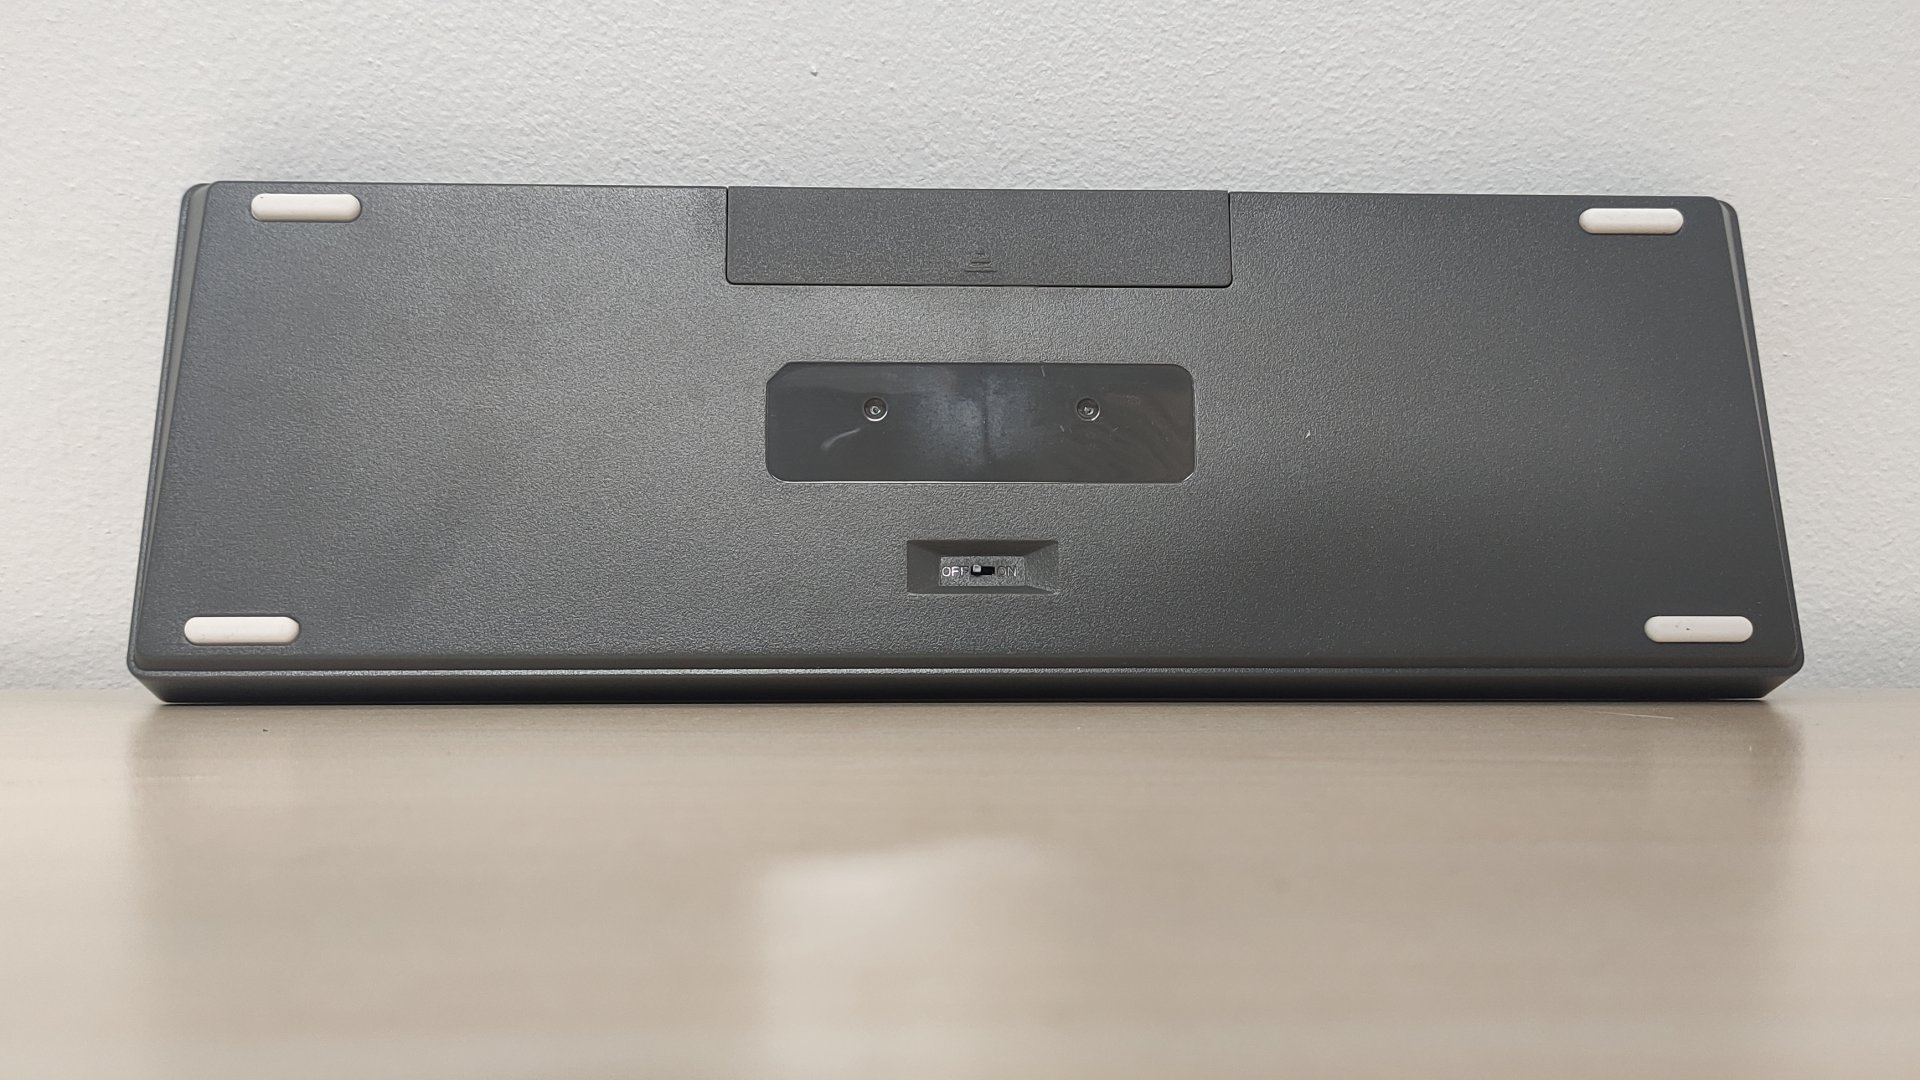
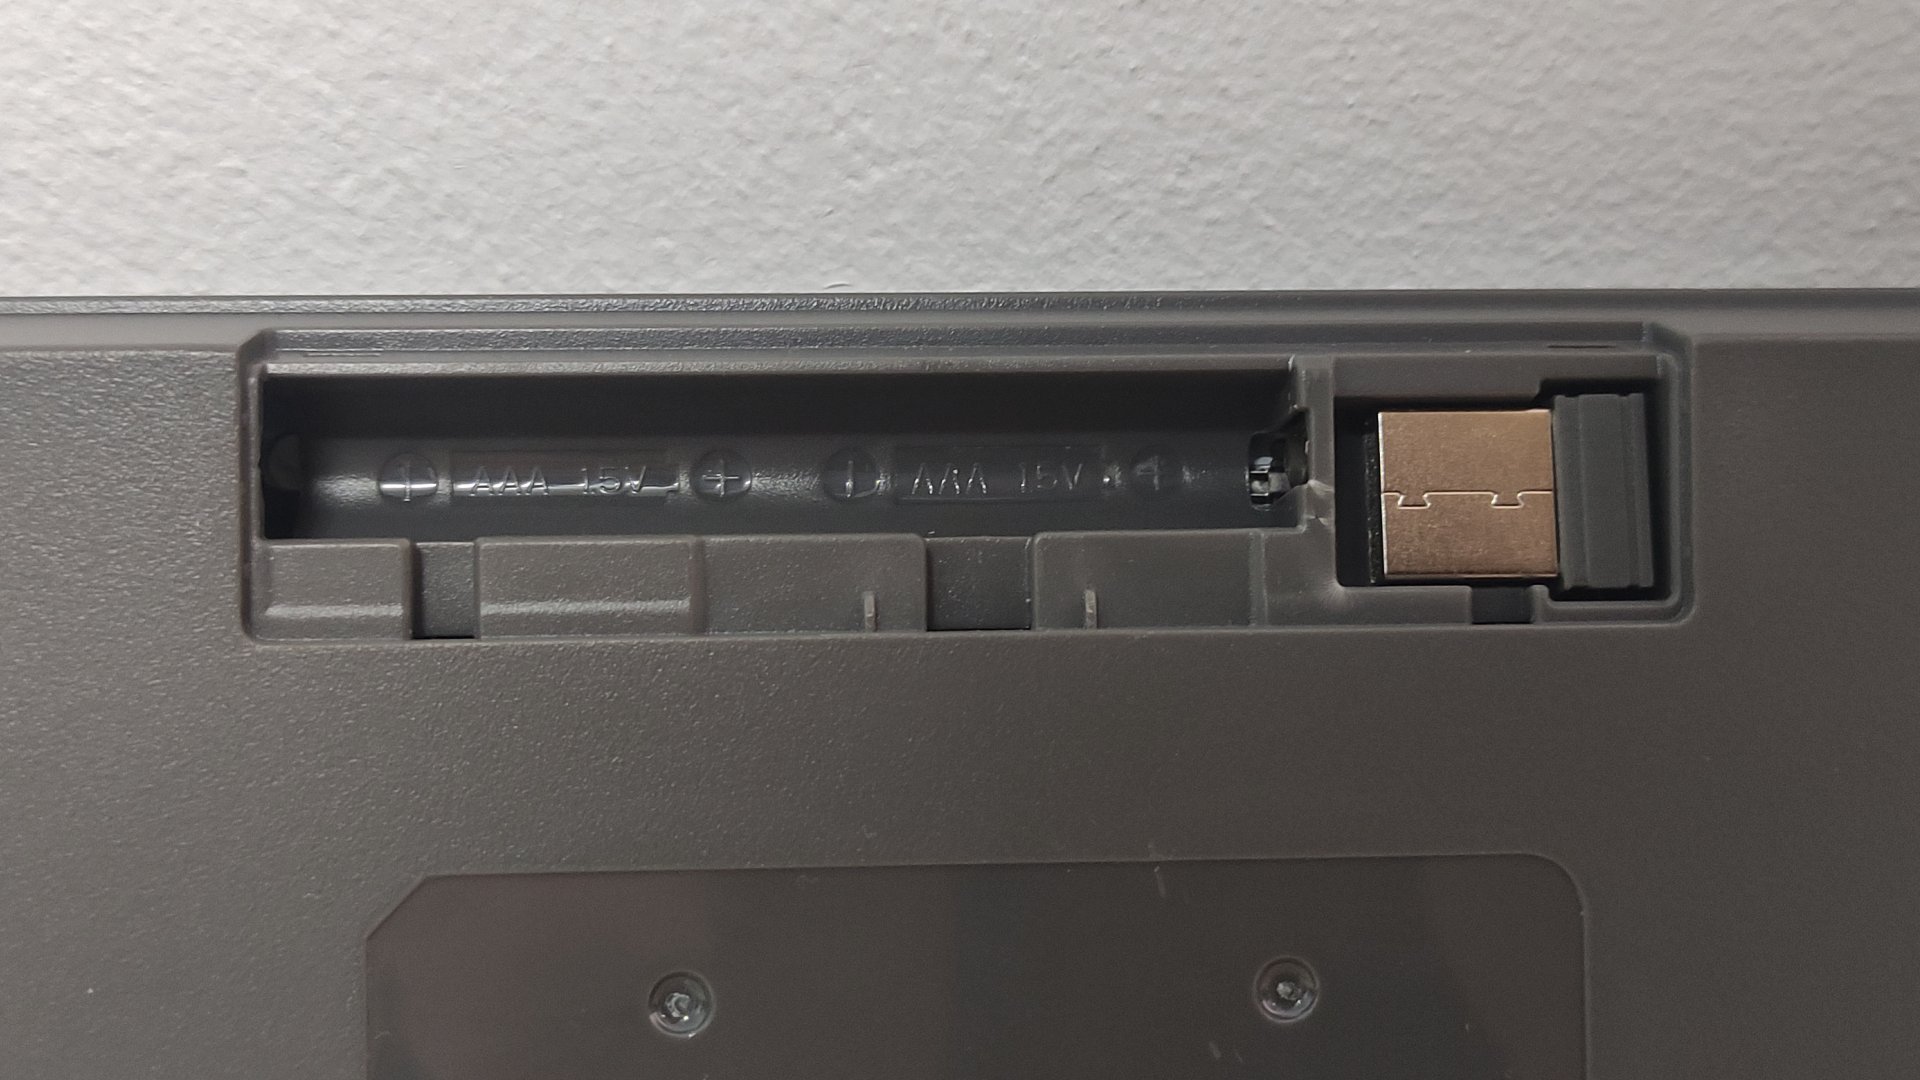
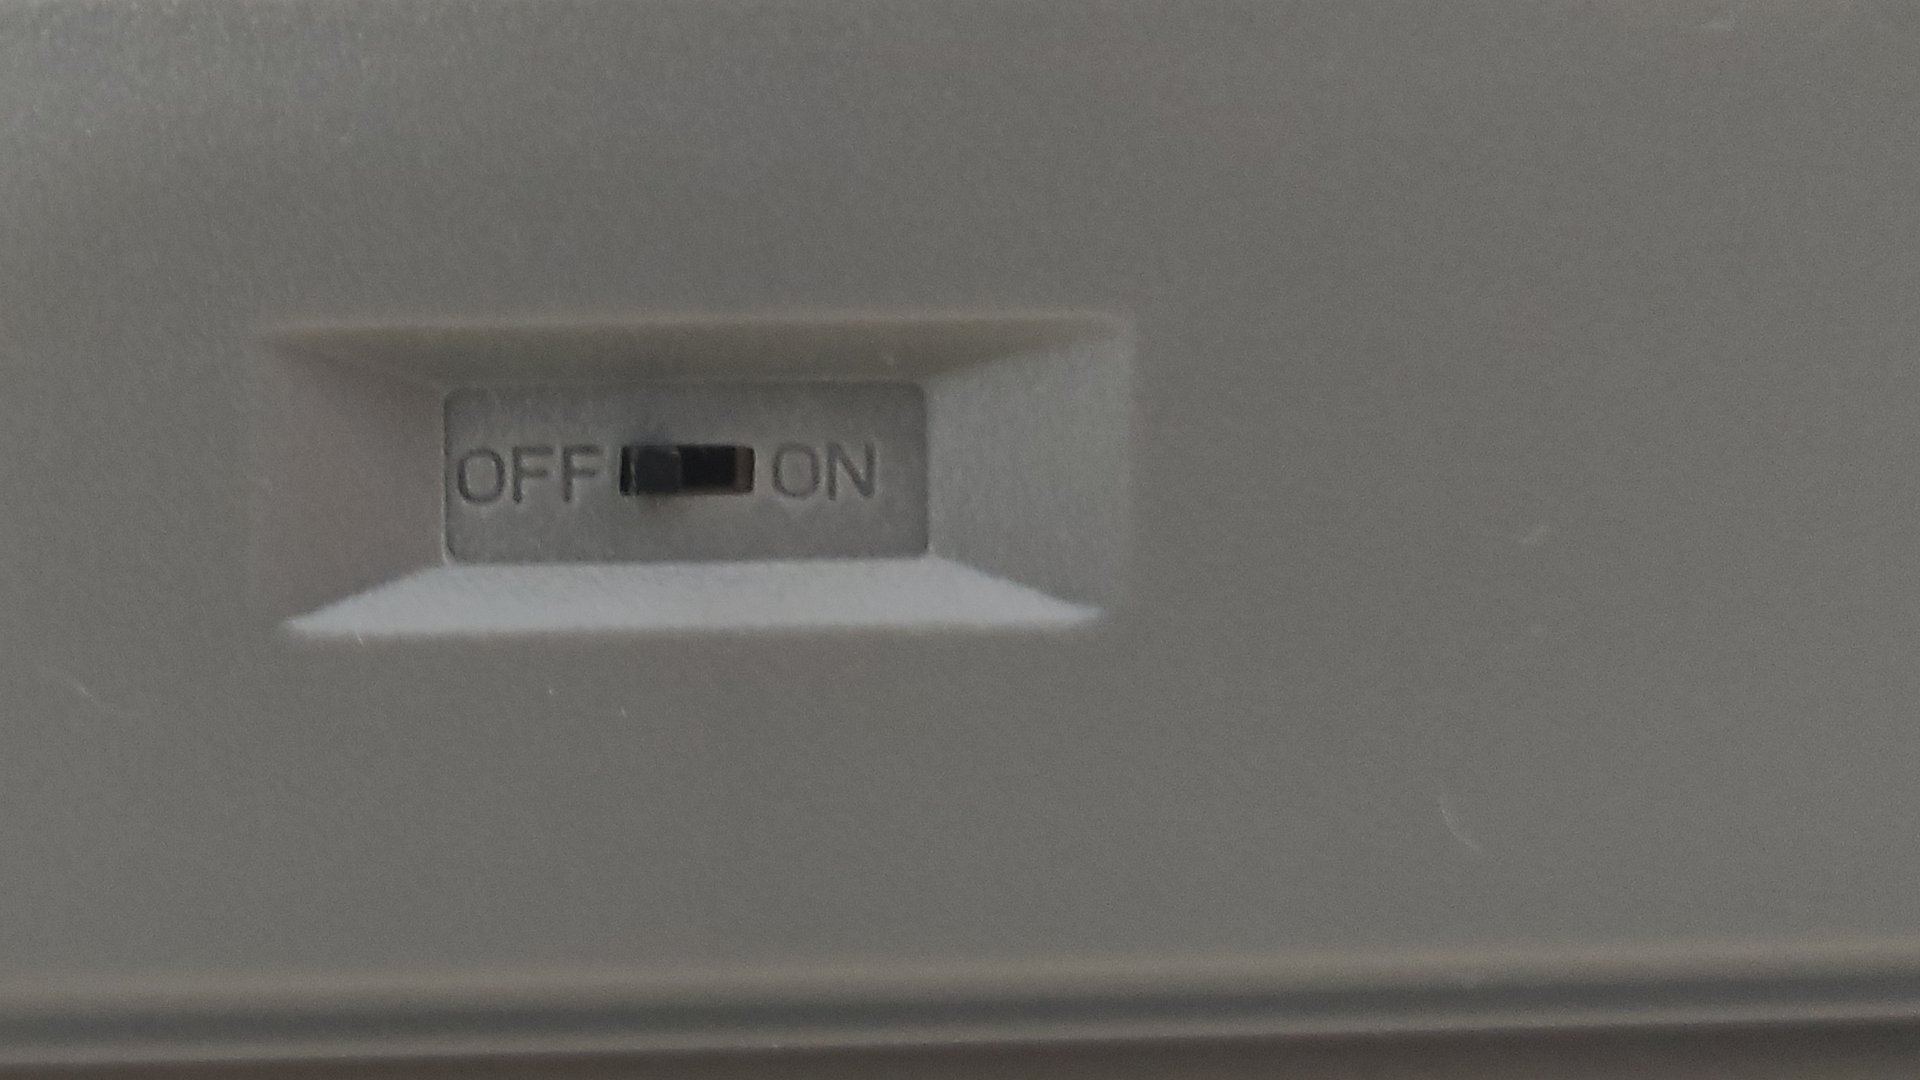
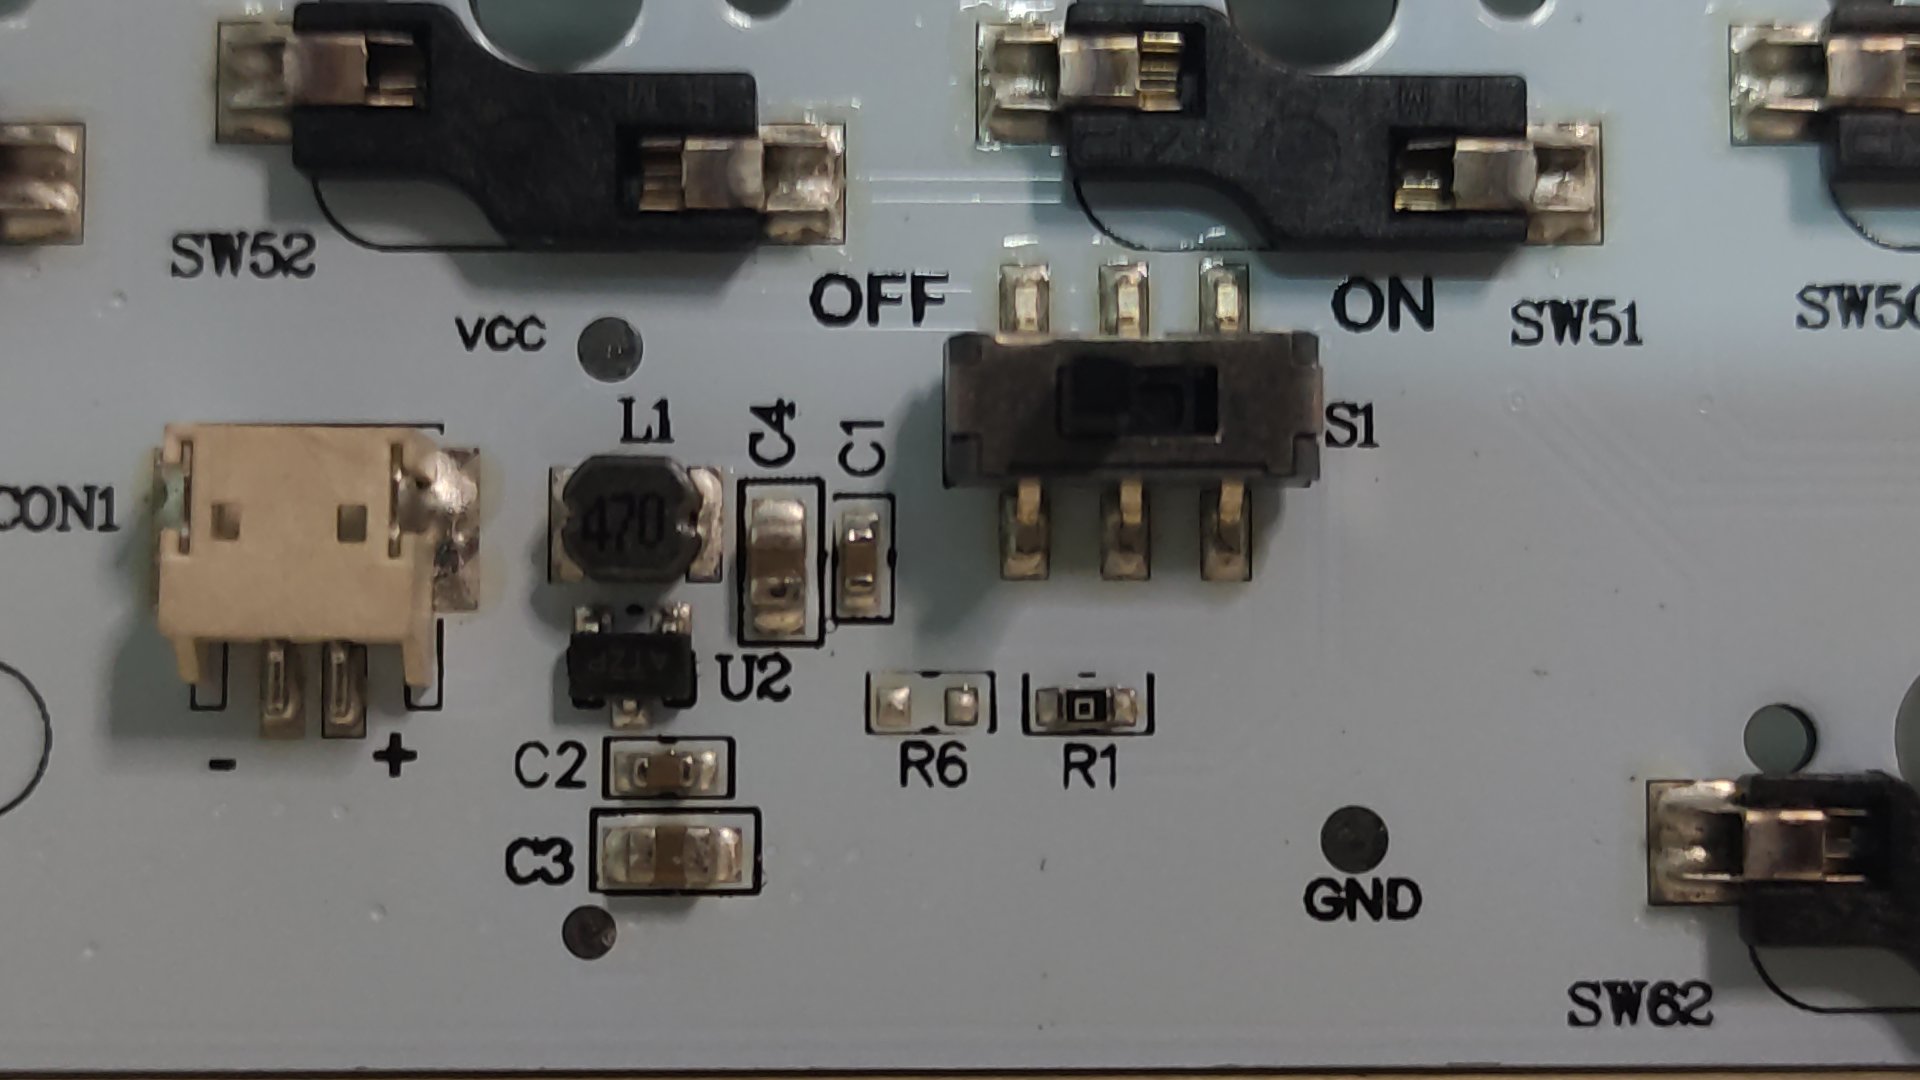
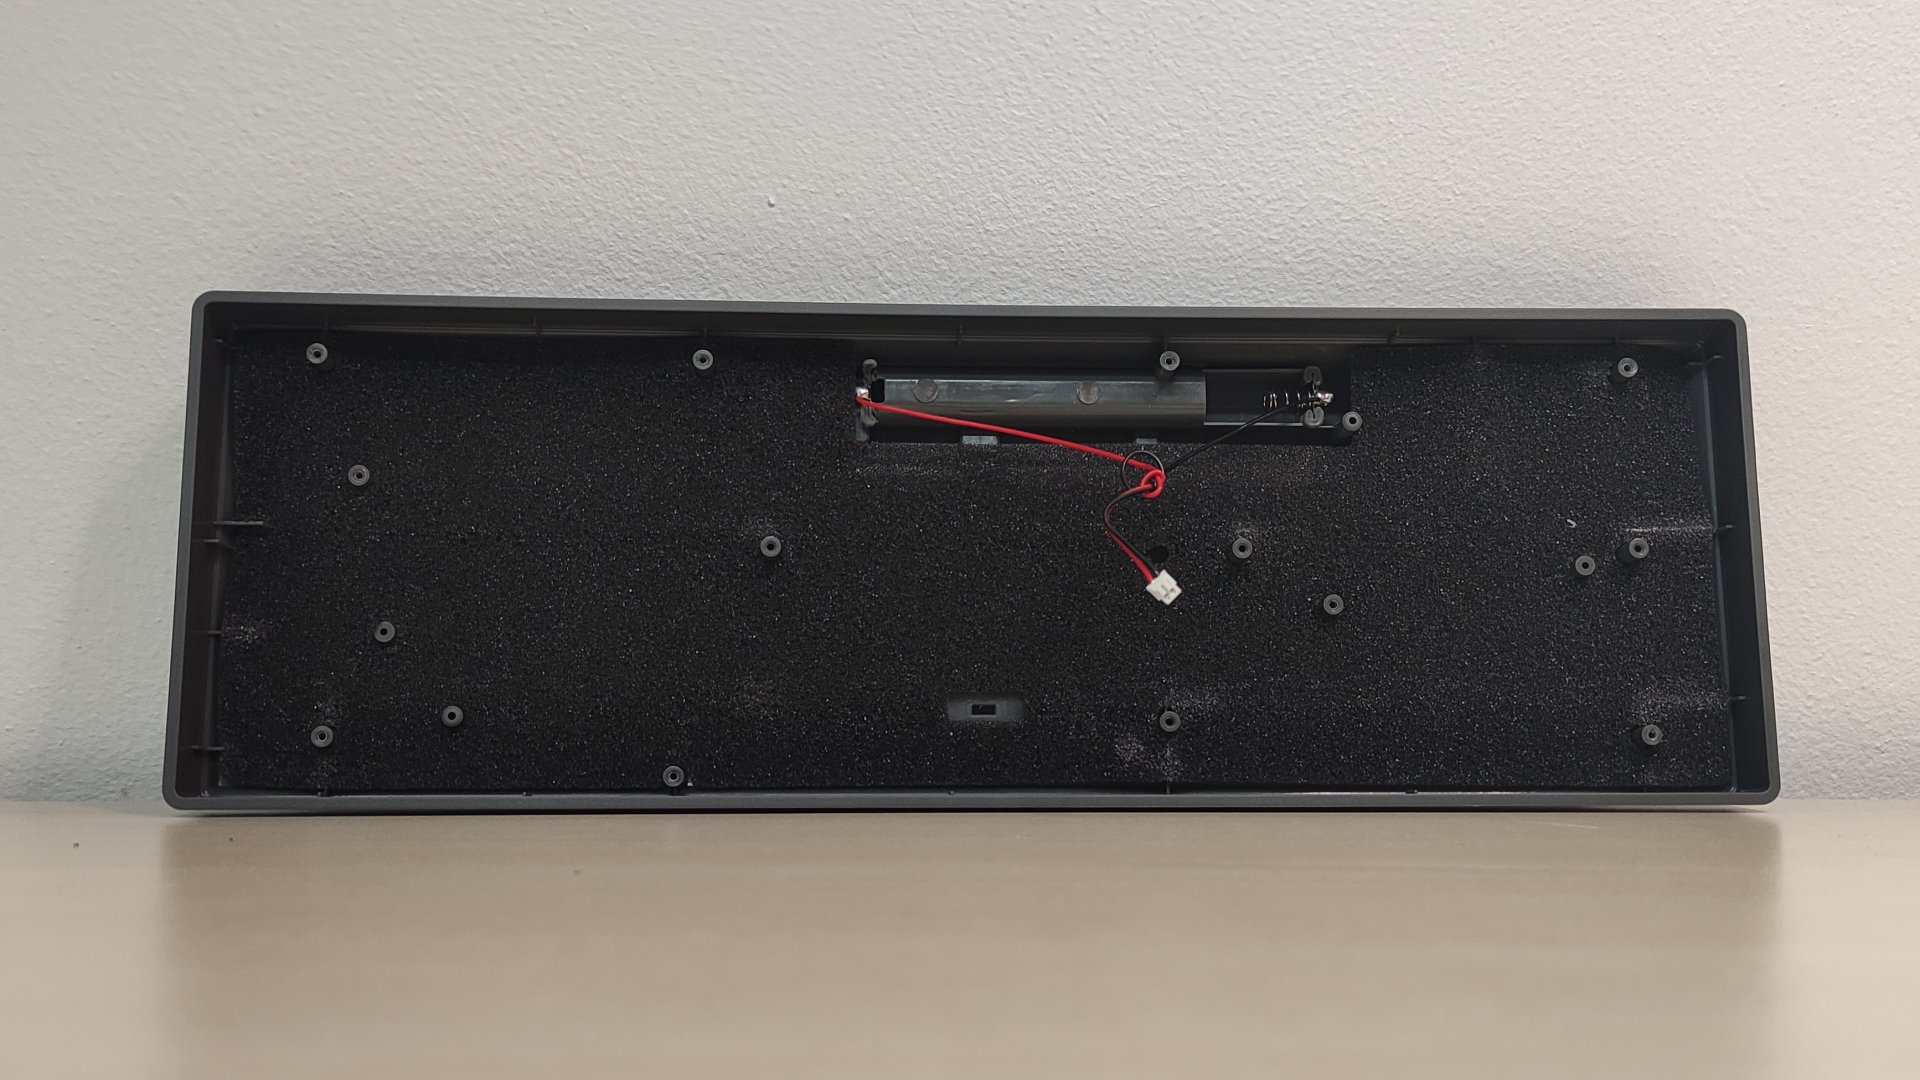
Here we have a first look at what twenty dollars gets you. The box is rather plain with few of the key features on it and a picture of one of the variations. Once we open it we find the barebone TES68 itself, four stickers to put on the back, a GK68 manual in English and Chinese and the 2.4ghz dongle in the back tray of the TES68. Here you also put 2x AAA batteries to power the TES68. Right below there we find the power on/off switch.
It uses the Q W and E keys combined with FN to swap between up to 3 devices. The Q is used for the 2.4ghz dongle and lights up green, while the other two color light up blue and allow pairing to two different bluetooth devices. Holding these allows you to set up a device for the first time.
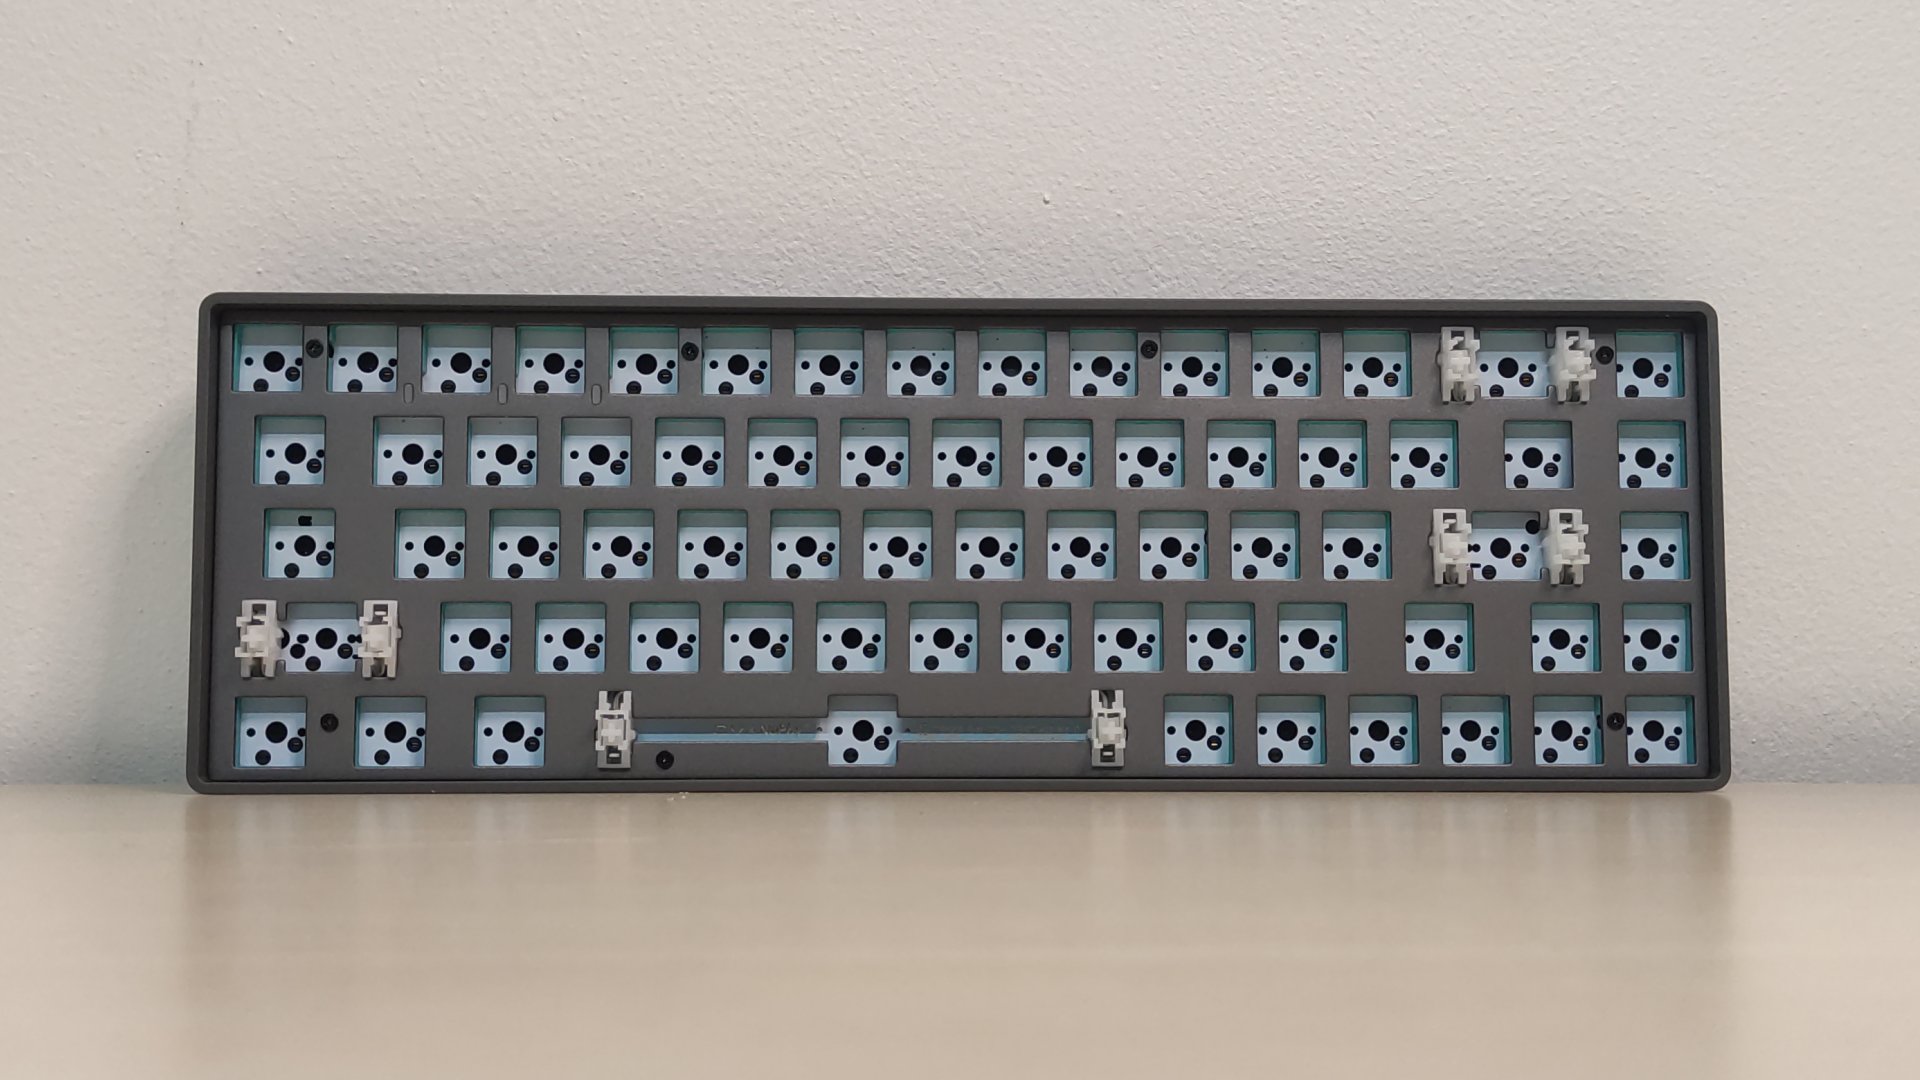
The housing is made of ABS plastic with four silicon feet that put it at 6.5 degrees. This is not configurable like with many boards, but should fit the average user. The build quality here is not amazing, but you expect a few rough edges at this price point.
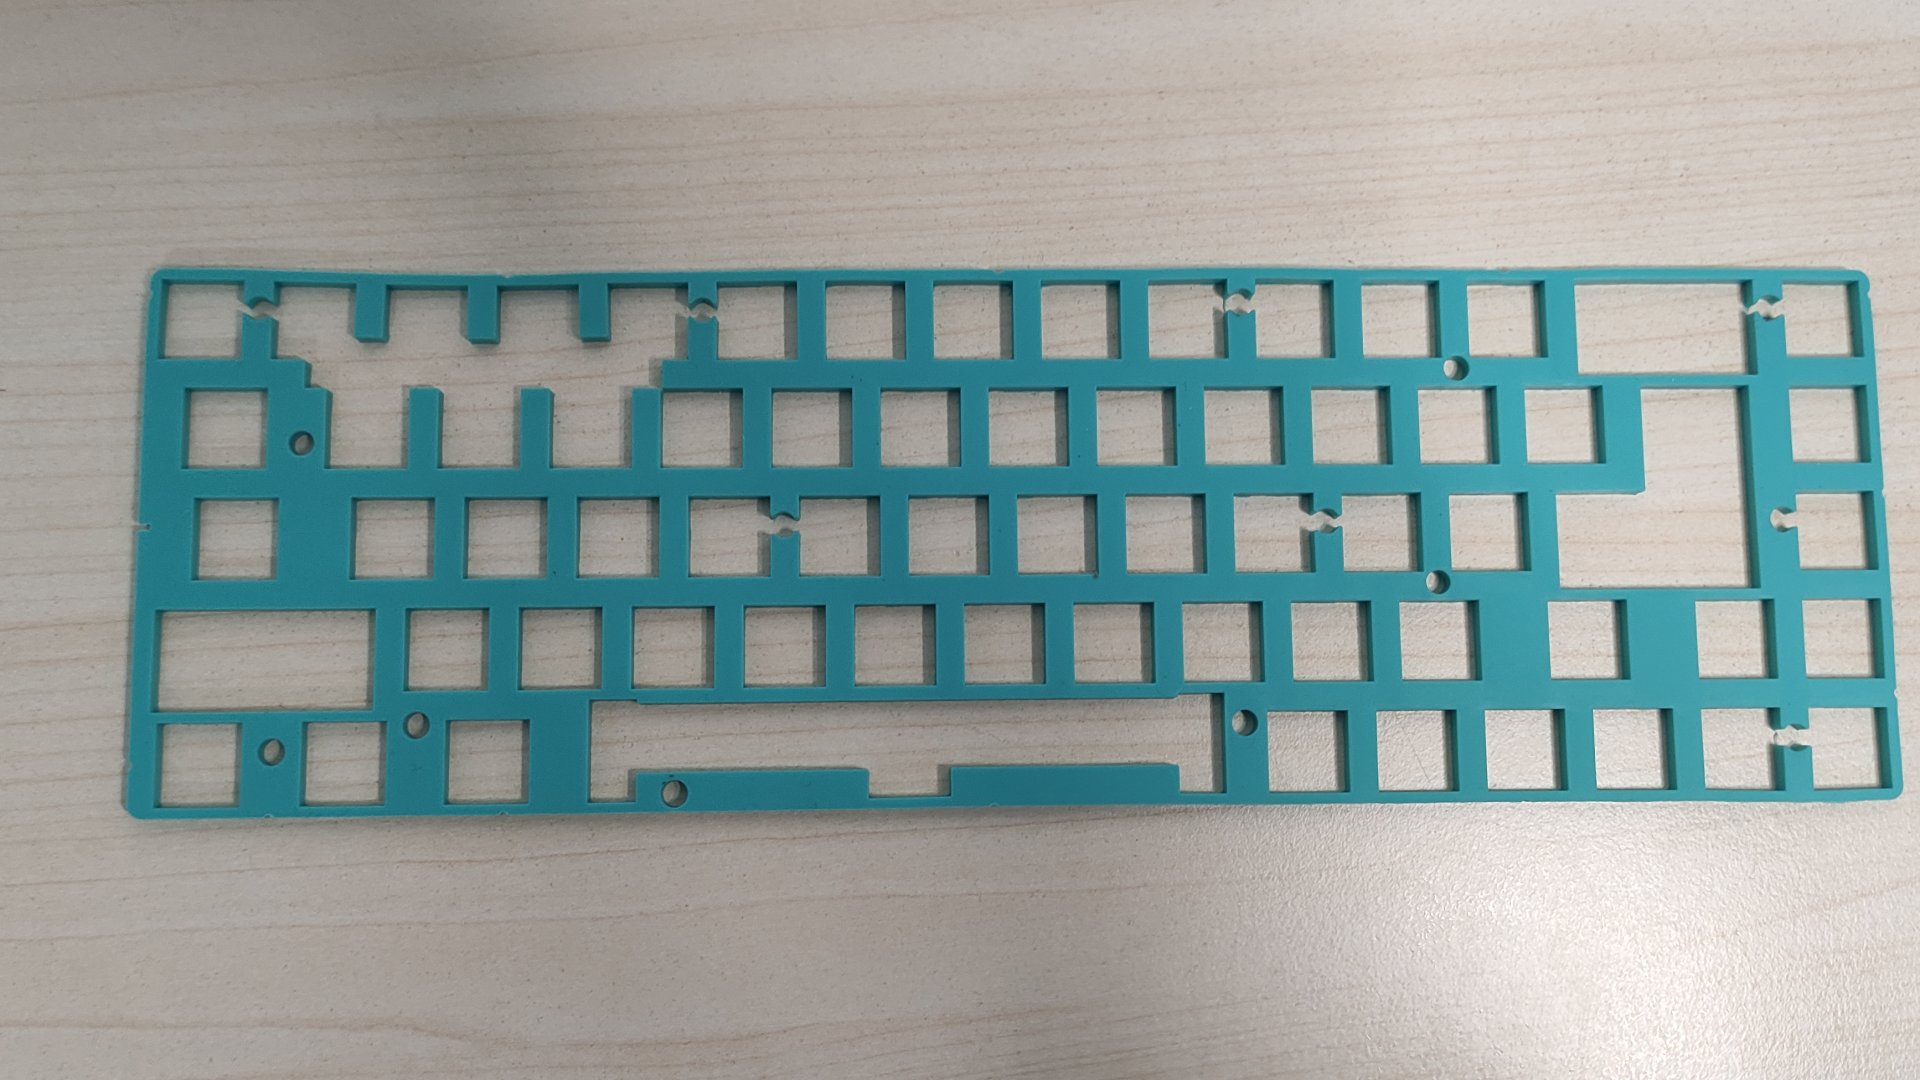
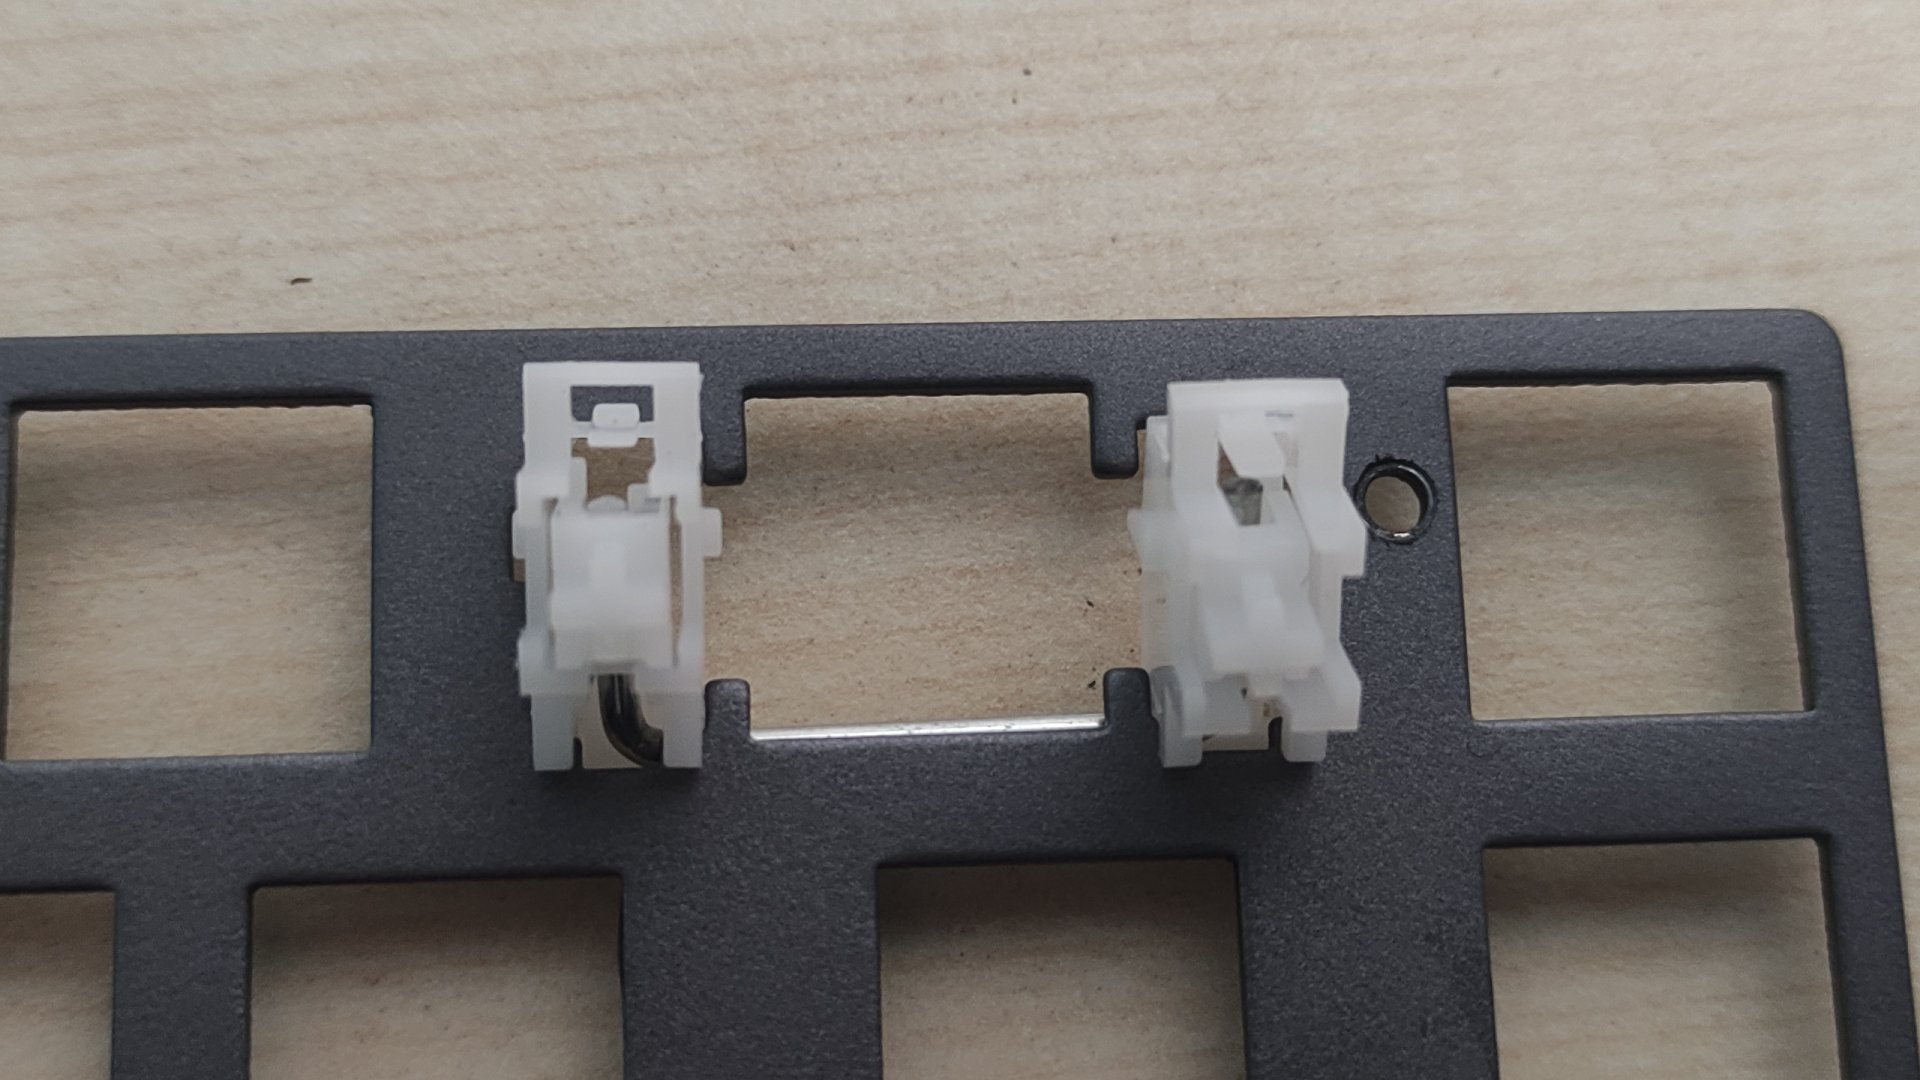
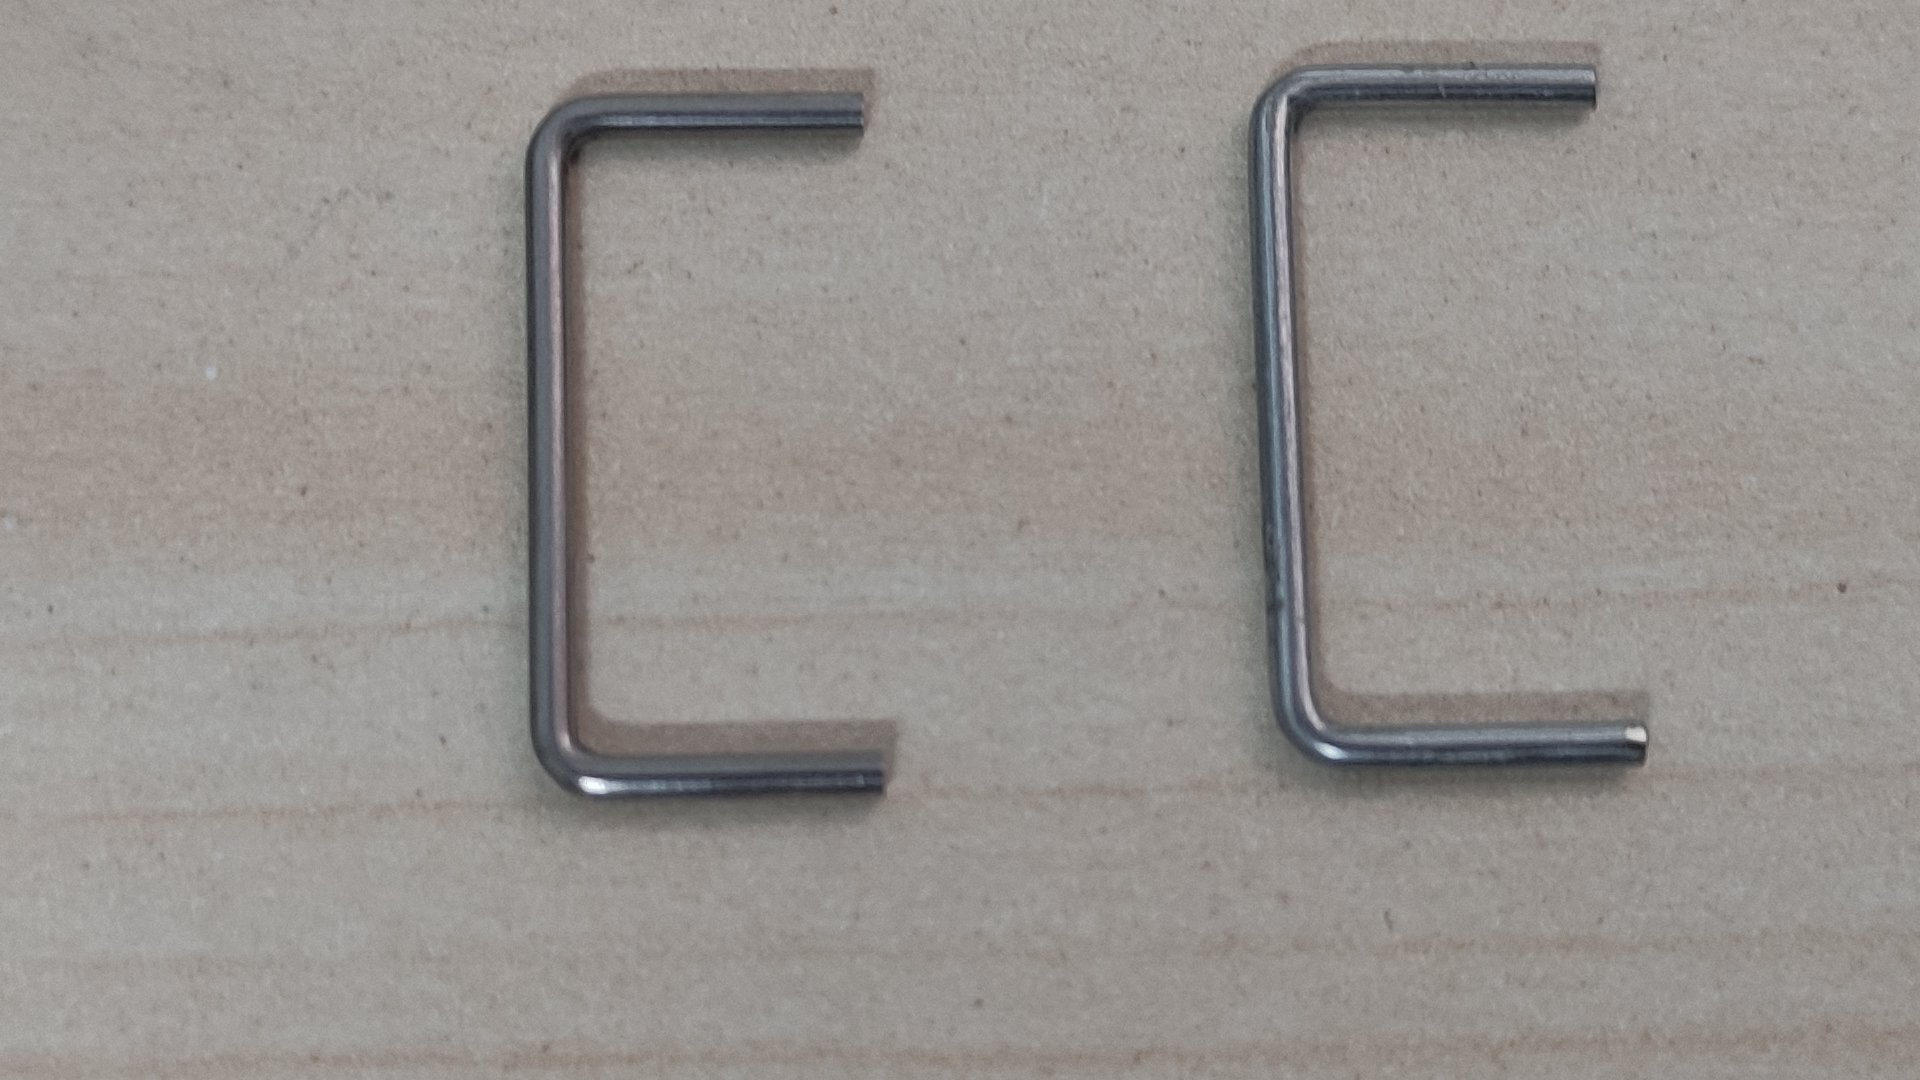
The plate is made of aluminium, a common choice for everything from cheaper boards to higher end mainstream. The stabilizers are mounted to the plate, which is not ideal, but expected at this price. Many higher end boards feature PCB screw-in stabilizers, which generally provide nicer sound, but at a higher cost.
But enough of the external side… let’s get to taking this thing apart!
Disassembly
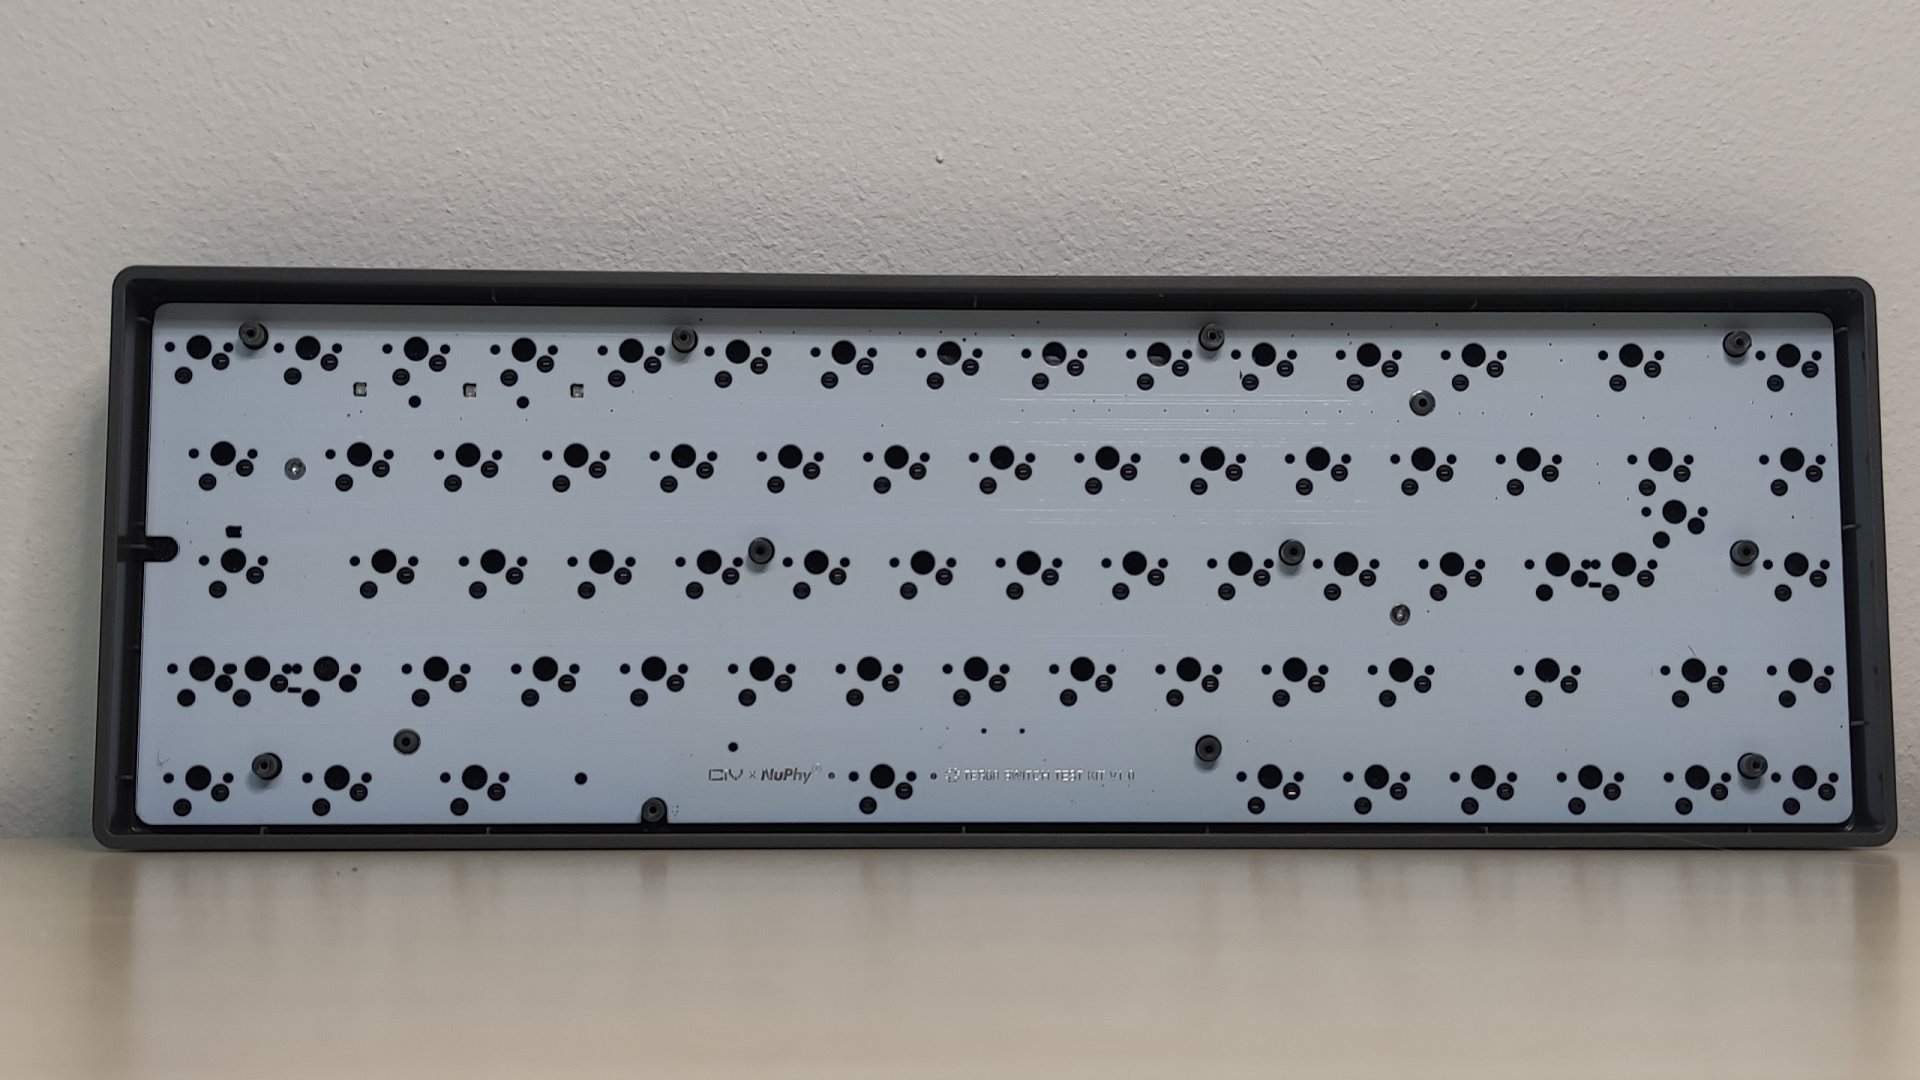
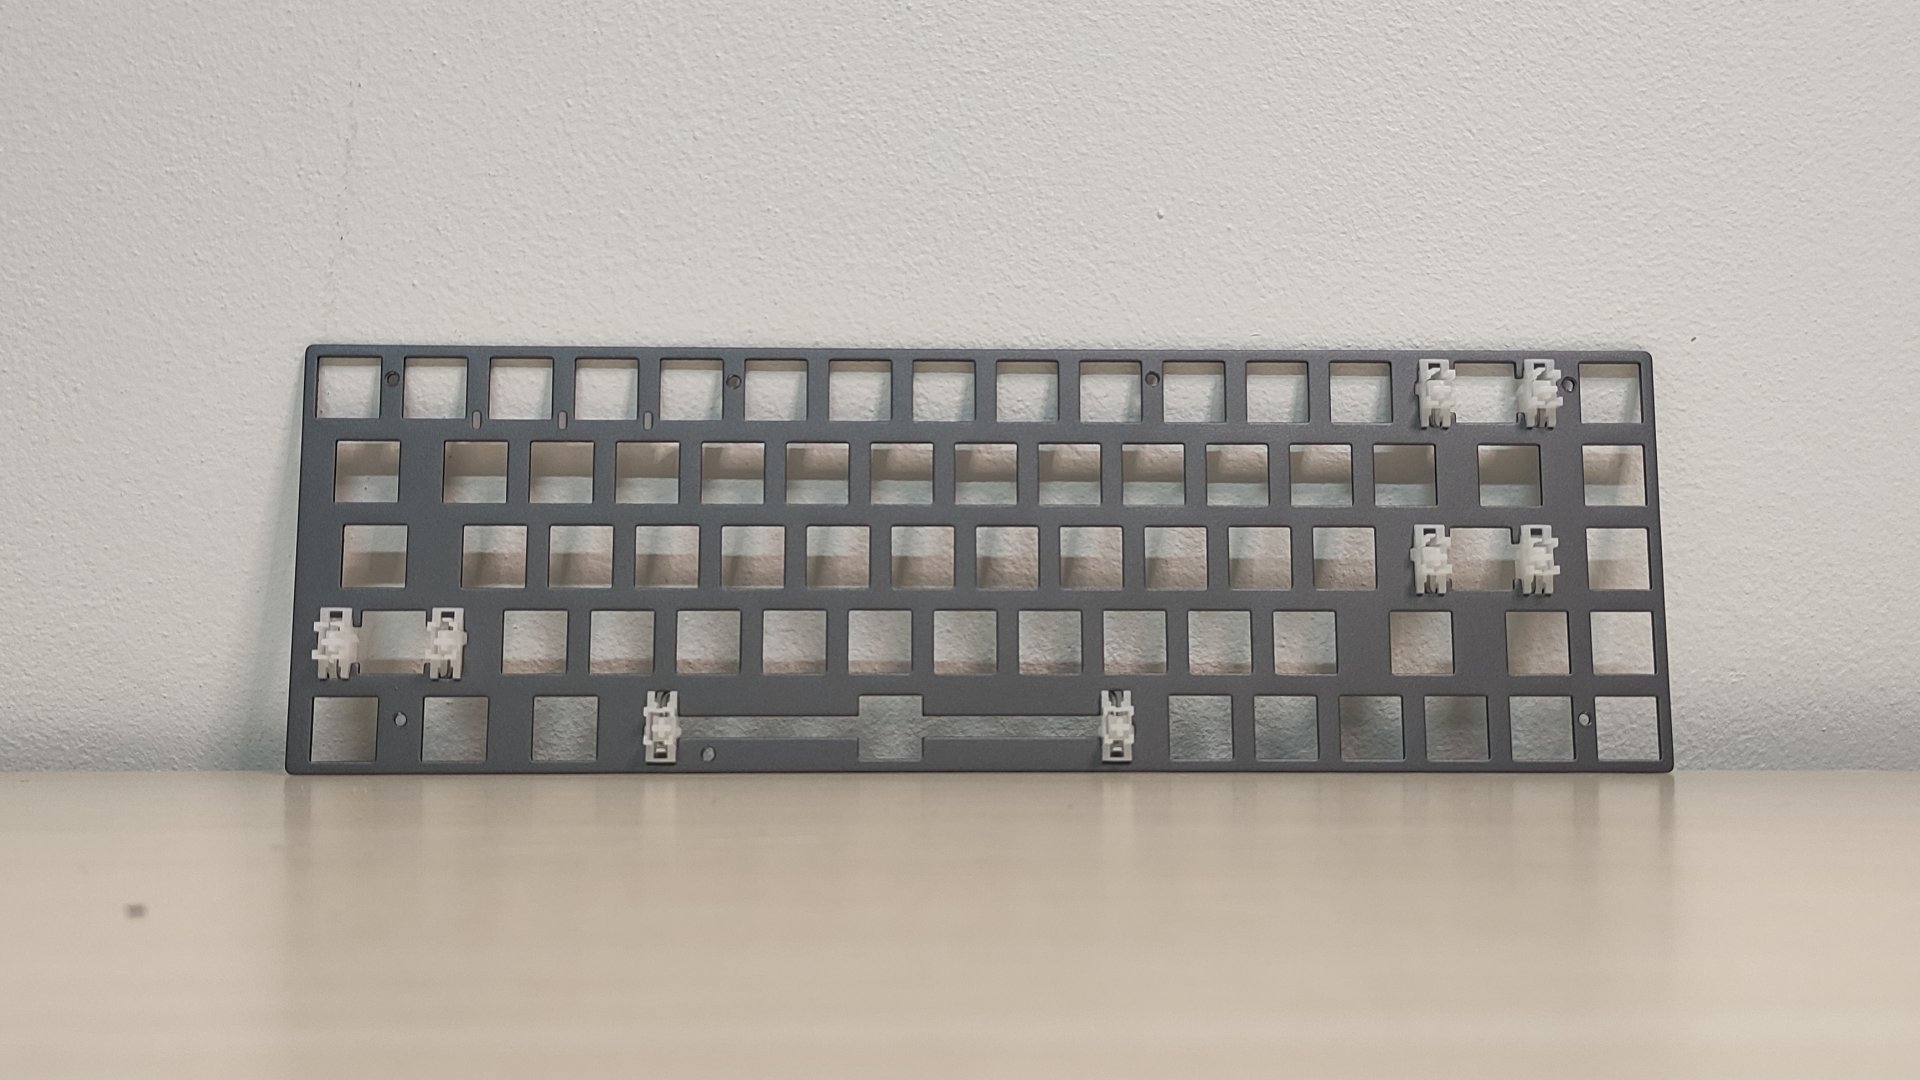
Taking off the plate, the first thing we find is rubber dampening below it, reducing the sound and vibration of the keyboard. This is unexpected at the price, and a nice addition to see.
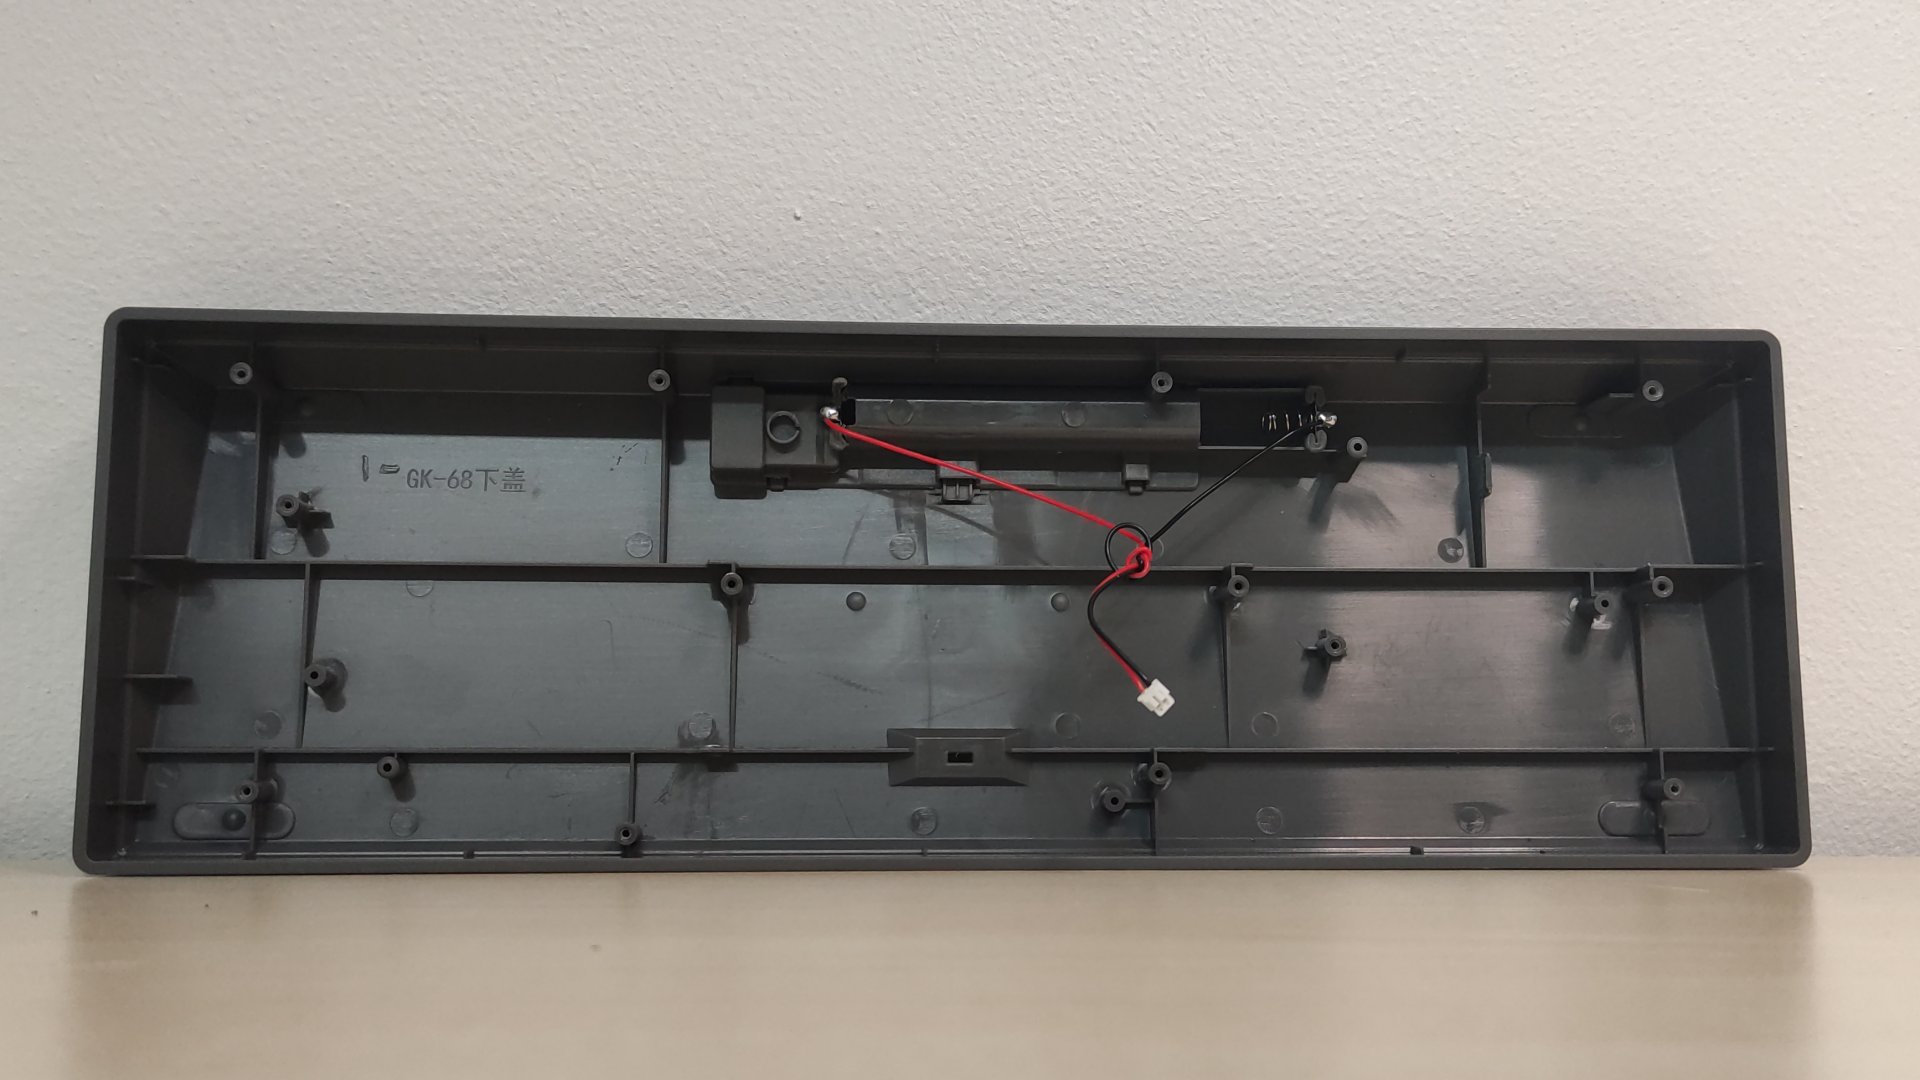
Below that, we find the PCB itself. This is a standard GK68 PCB for the most part, but lacks any kind of USB output to use the keyboard wired. The only connection it has with the casing is the wire that leads to the battery.
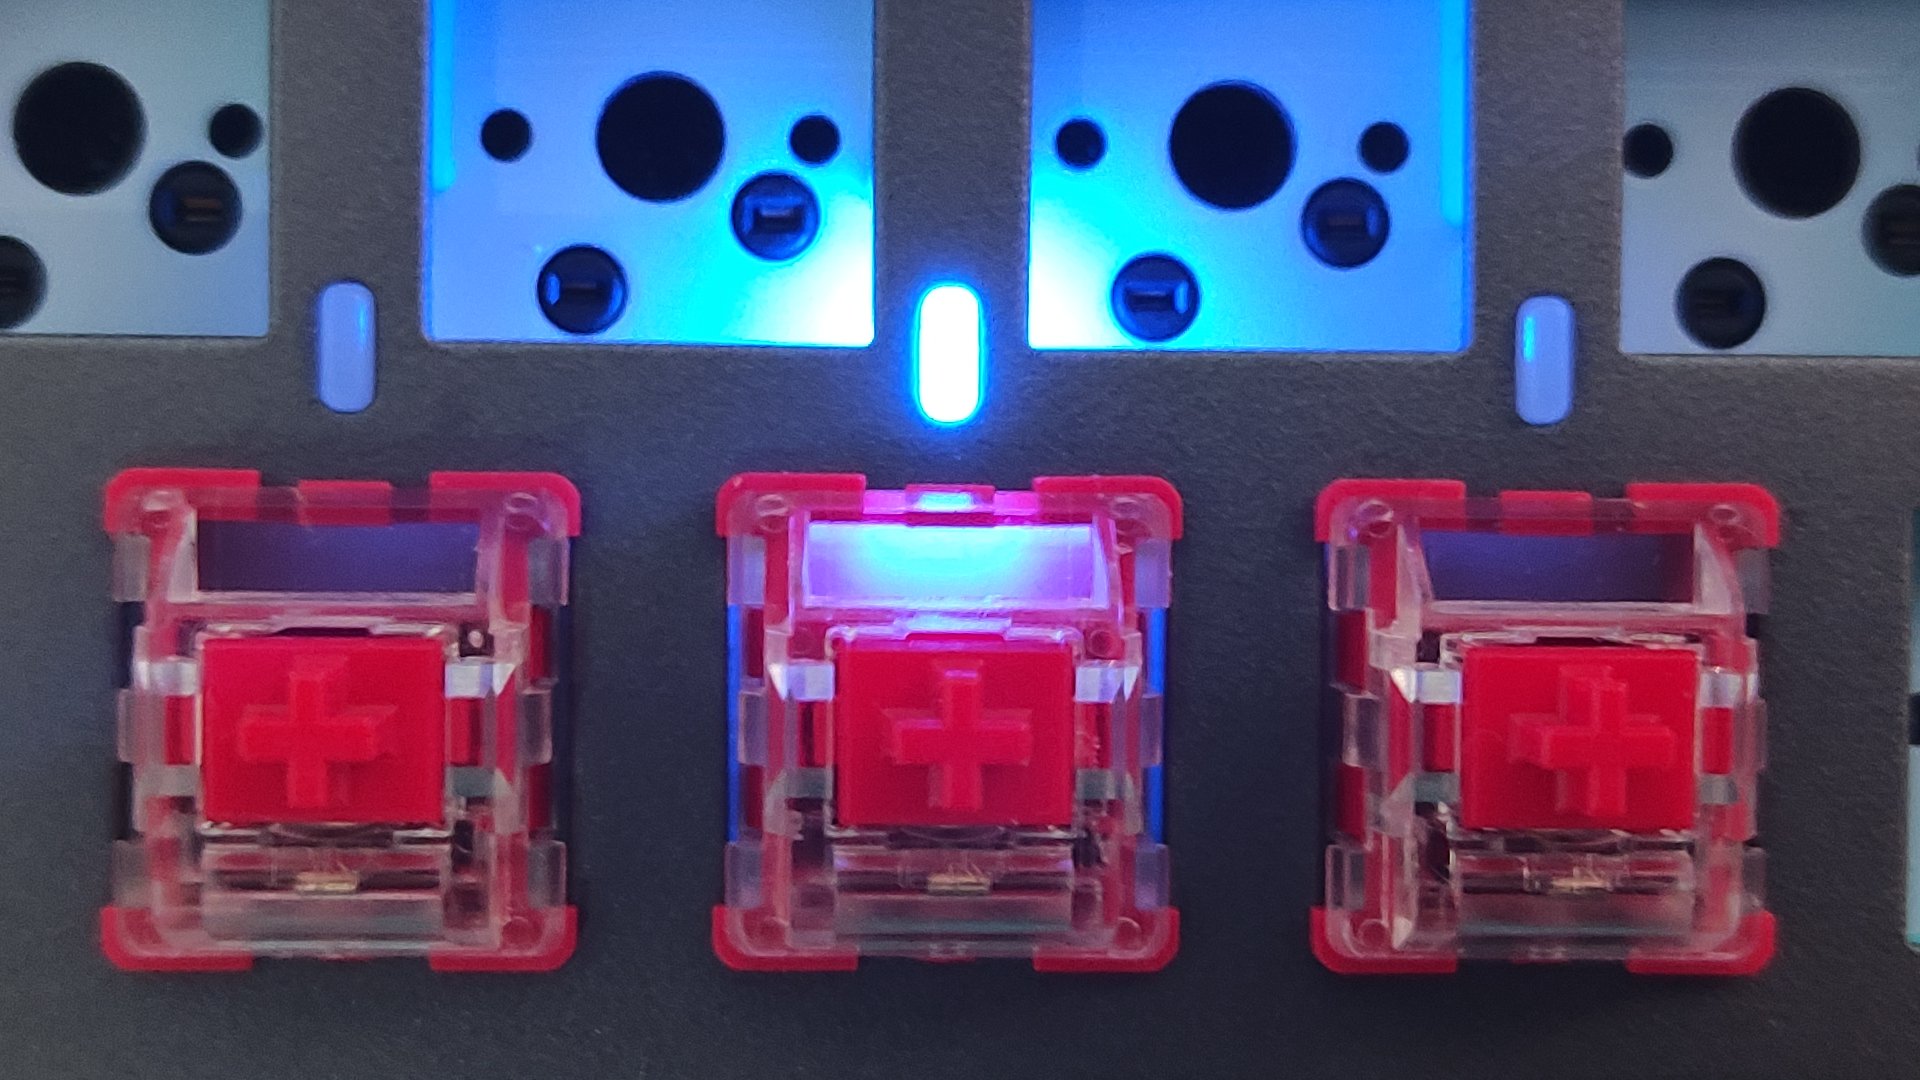
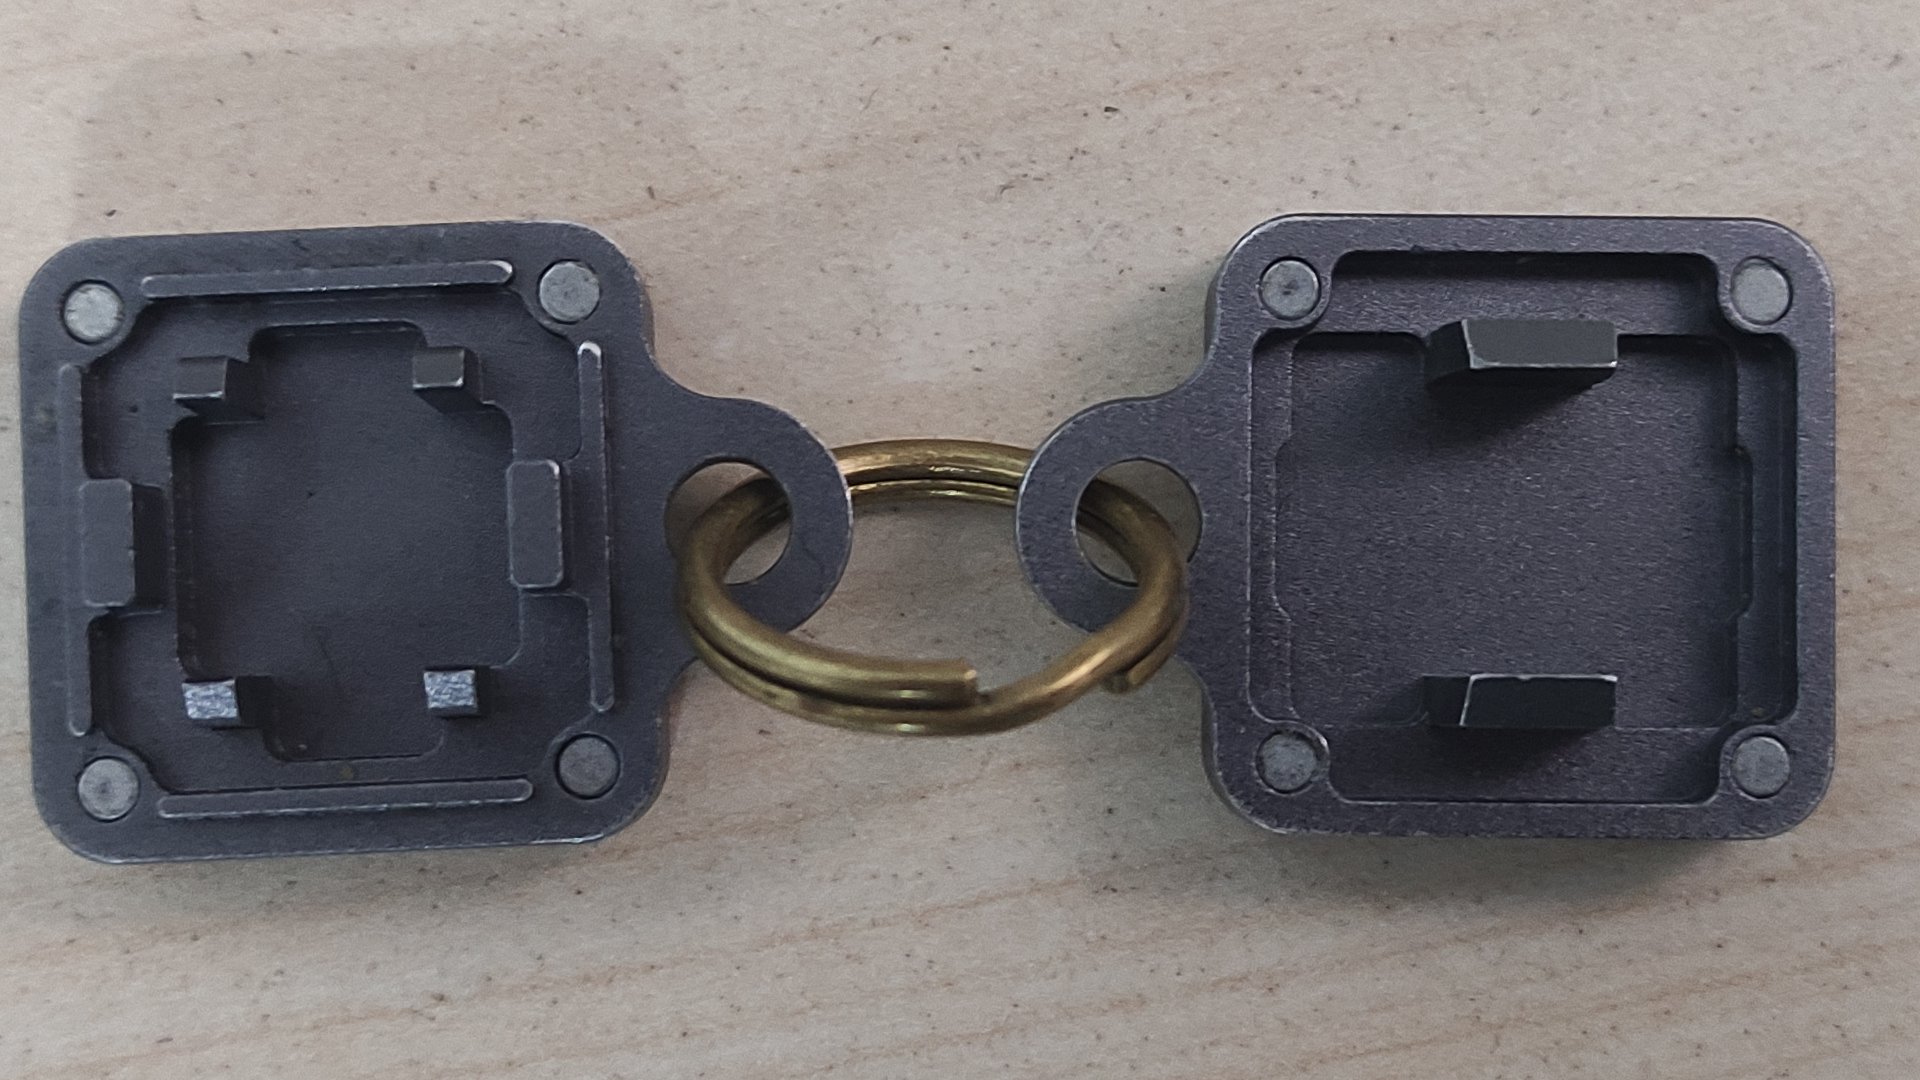
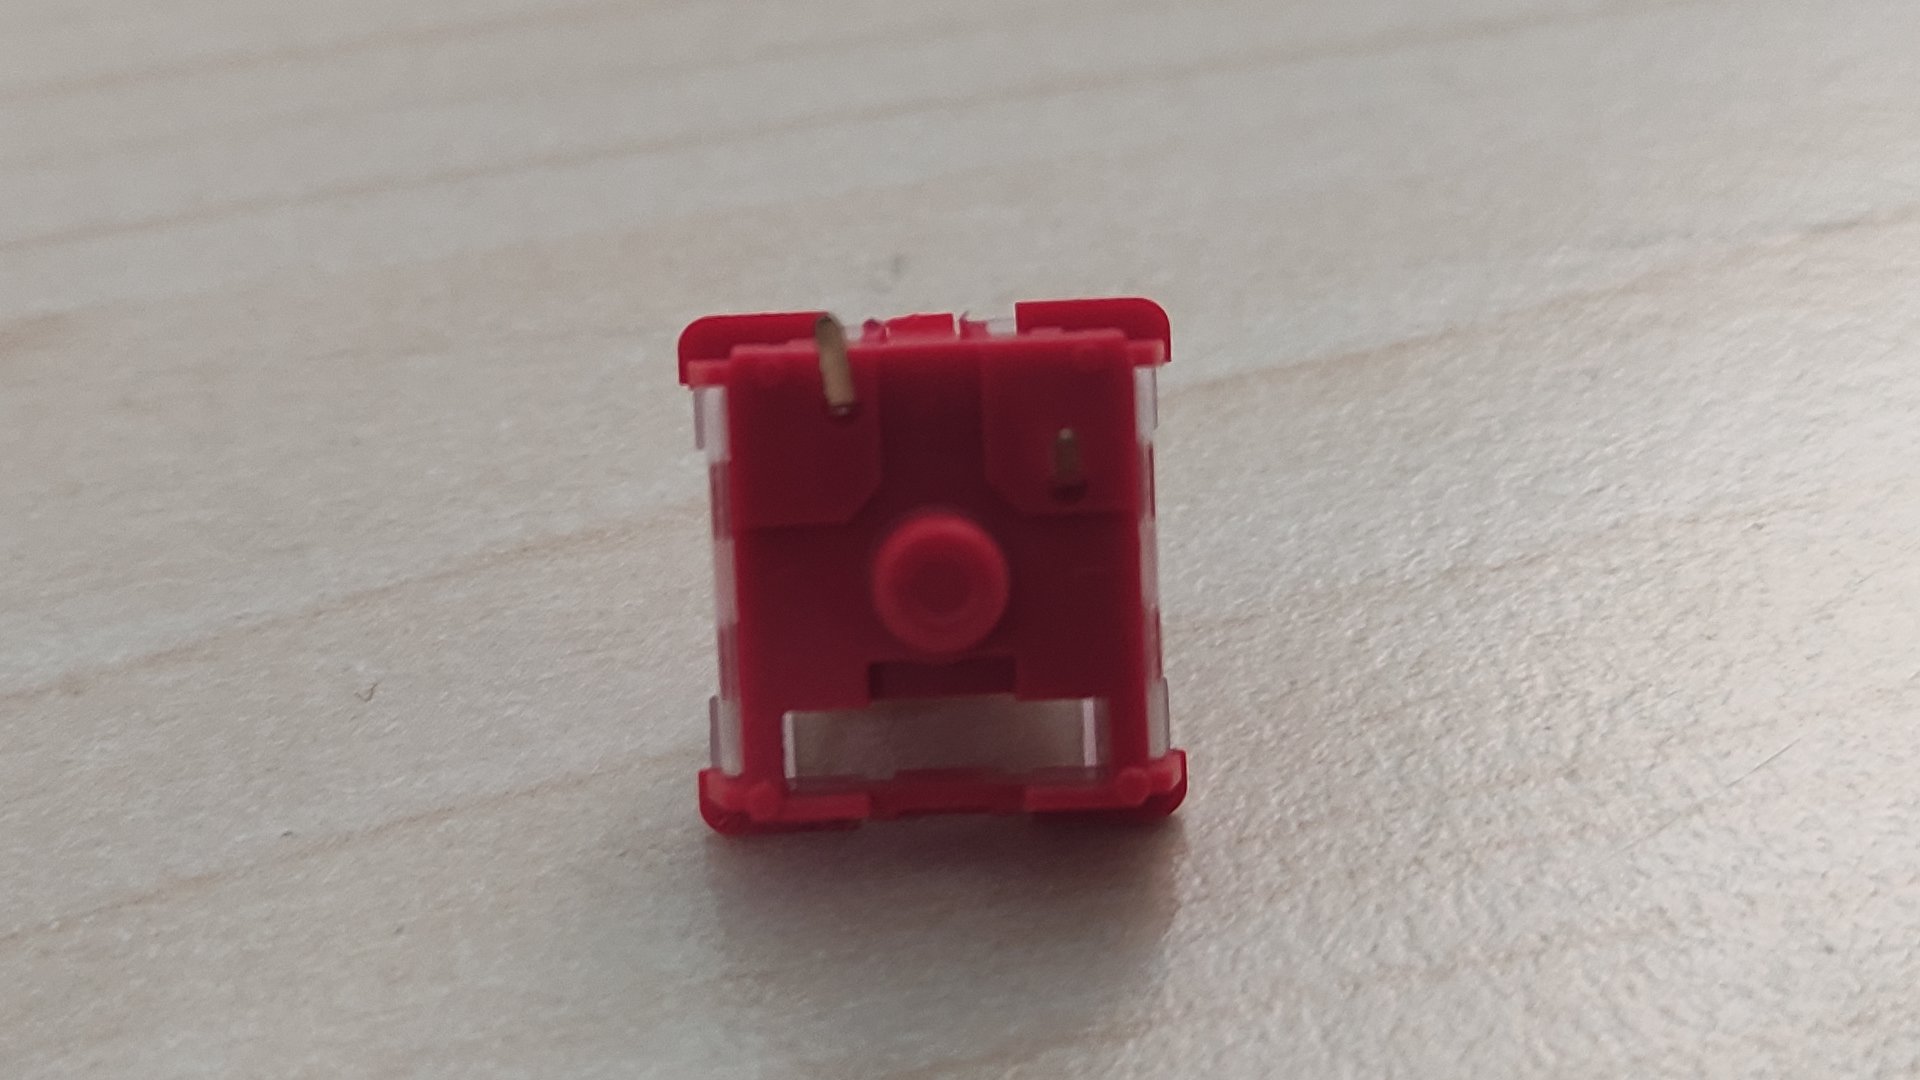
The sockets we see here are standard 5-pin MX. They’re fortunately not Outemu sockets like many other cheap boards, as these are narrower than most MX boards. This blocks out a lot of switches from the likes of Kailh, Gateron and many others.
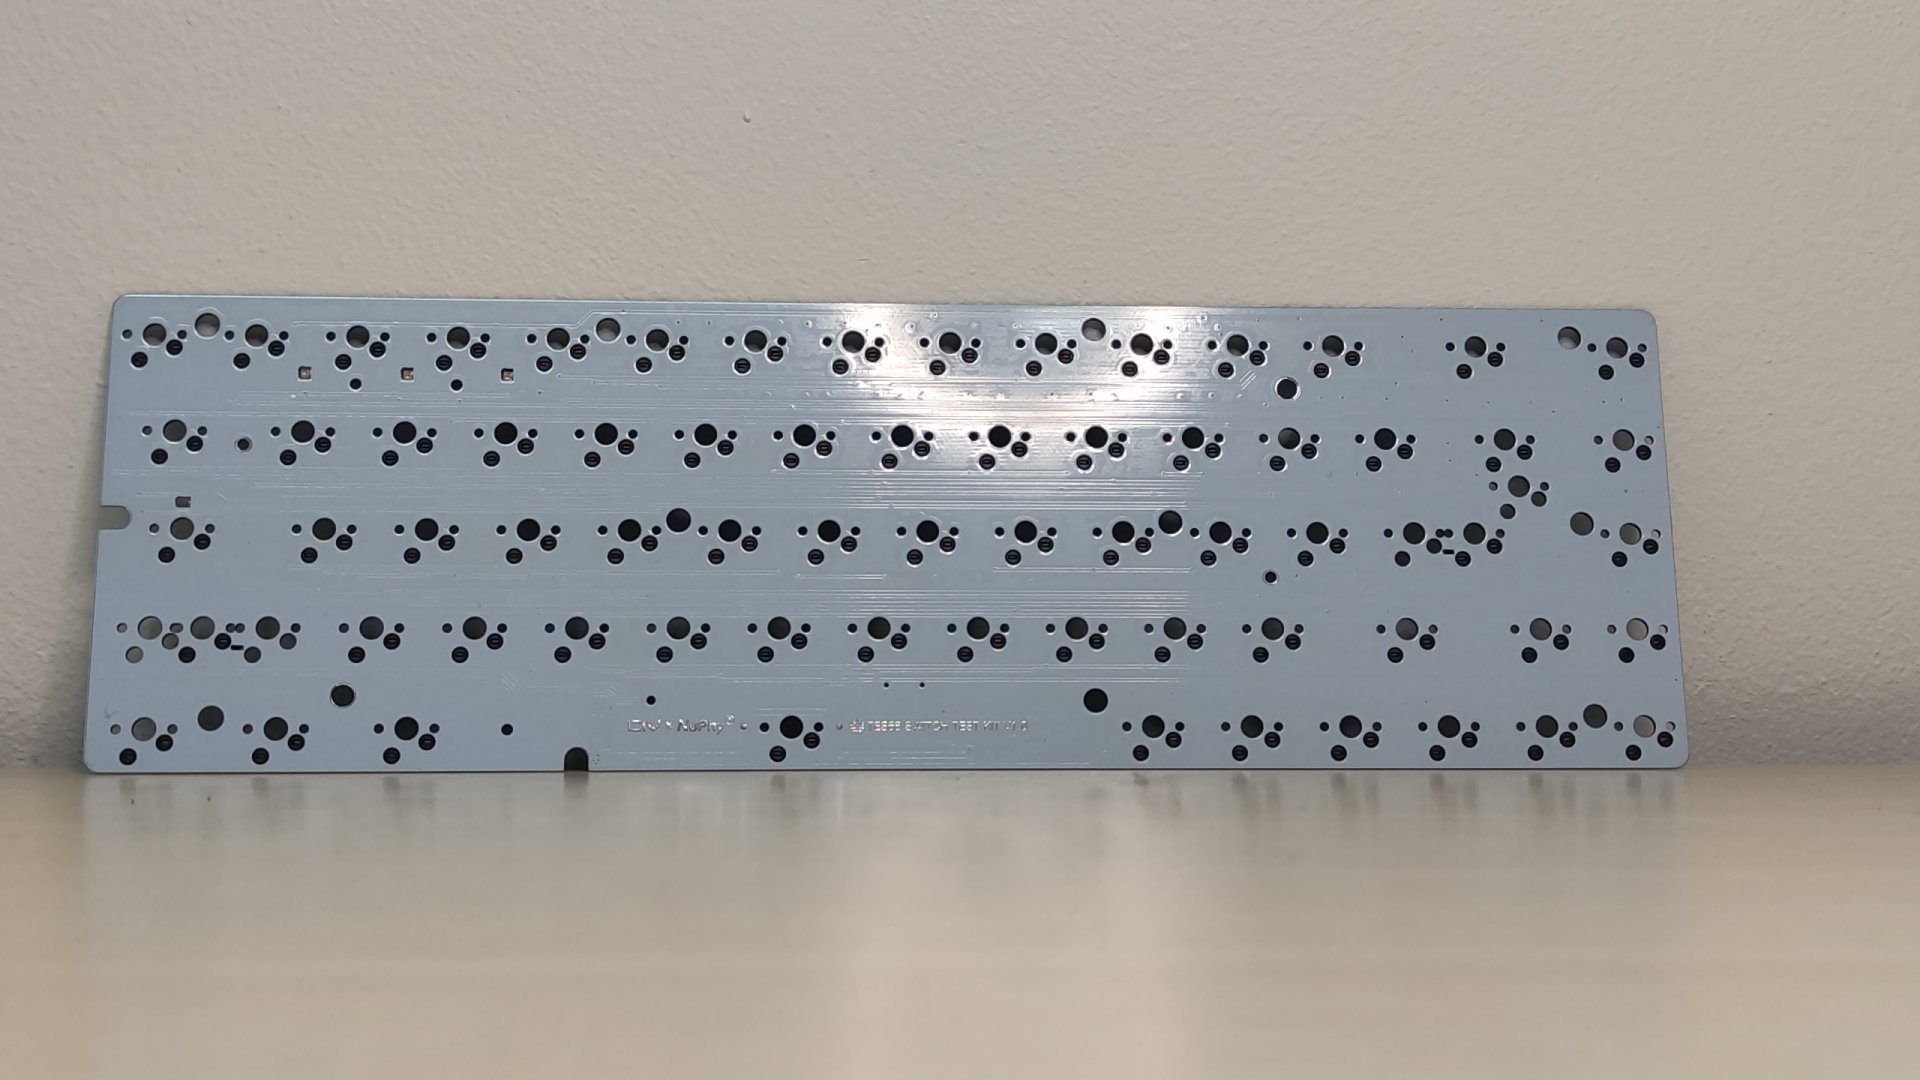
Below the PCB we find another layer of thin foam. This does look rather cheap, but helps make the case sound slightly less hollow. it’s a nice addition, but you would notice a difference between the stock foam and something slightly thicker.
With the stabilizers however comes my first complaint. I expected the stabilizers to be rather cheap, and because of that ordered some Durock plate mount stabilizers elsewhere to replace the stock ones. I sadly had to find out that the plate is too narrow for the stabilizers to fit, keeping you stuck with the stock ones. Nuphy/CIY should make these slightly wider in a revision of the board.
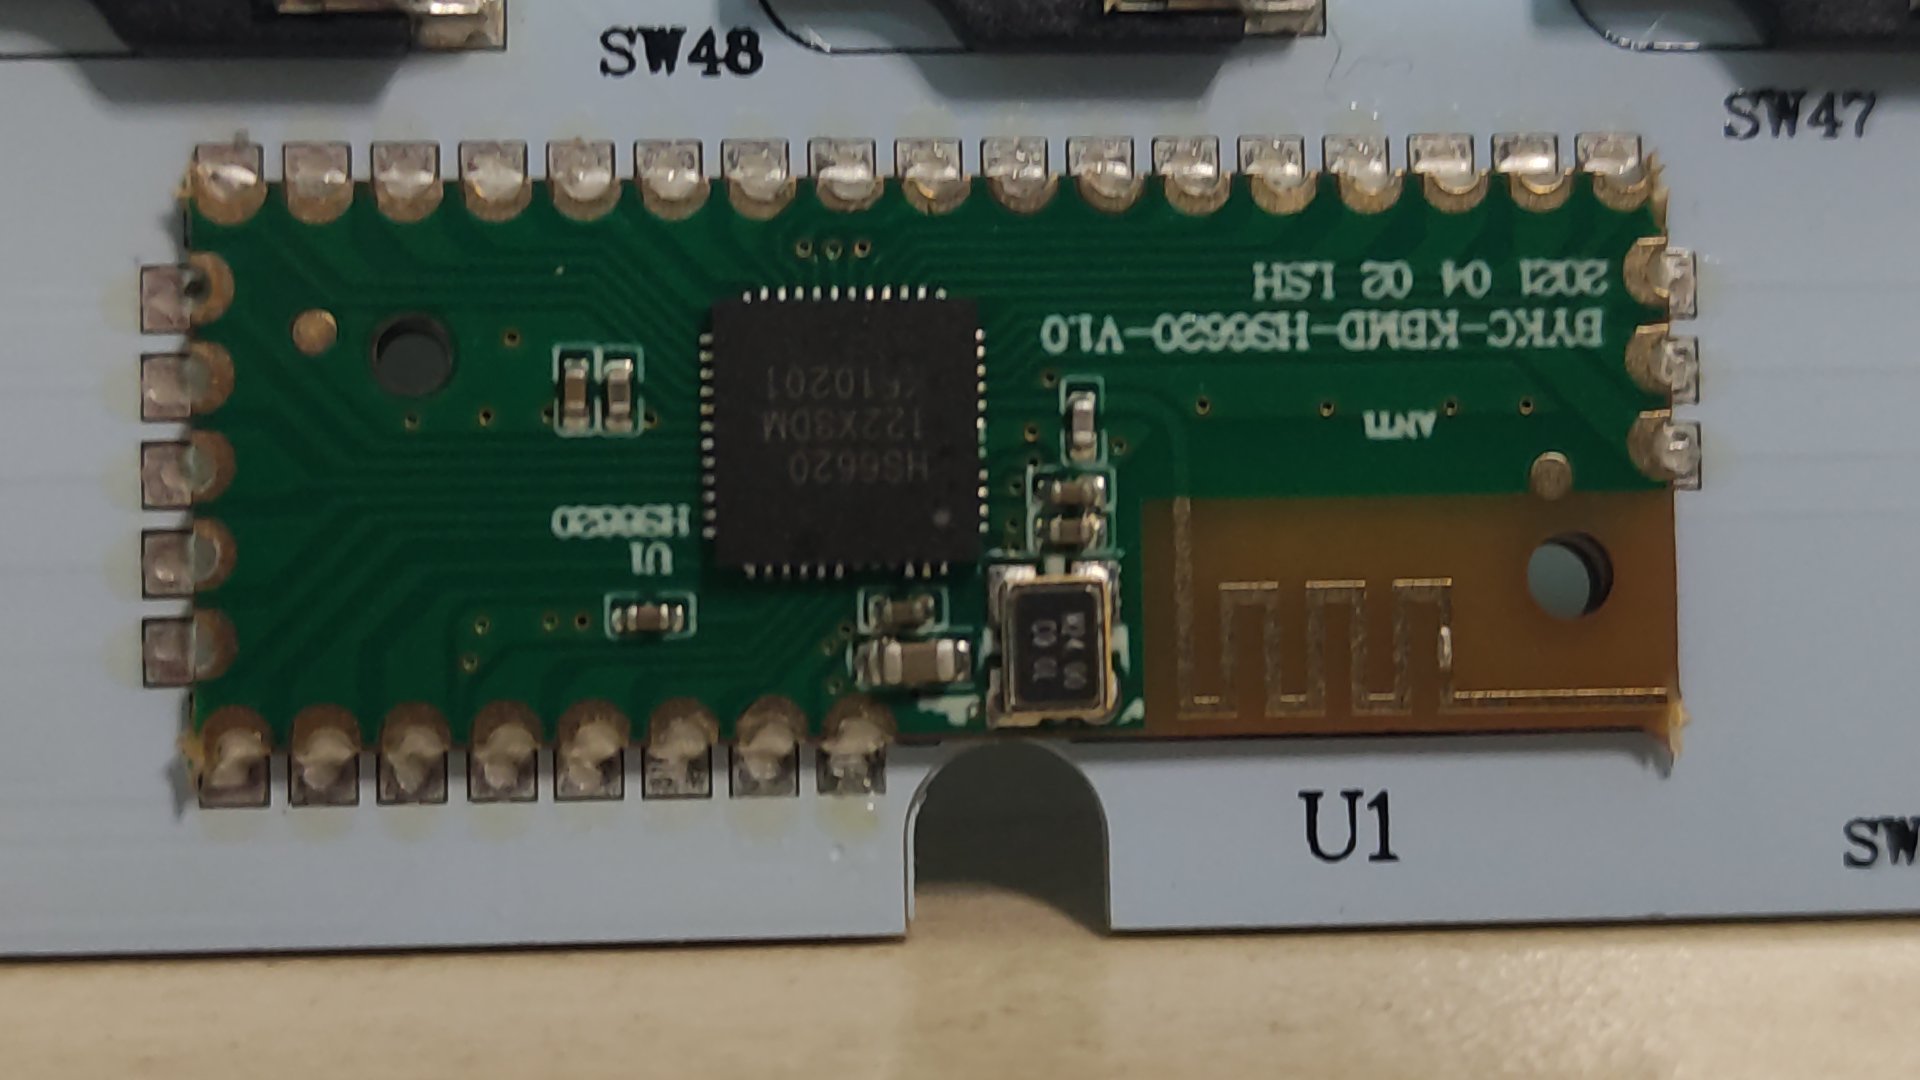
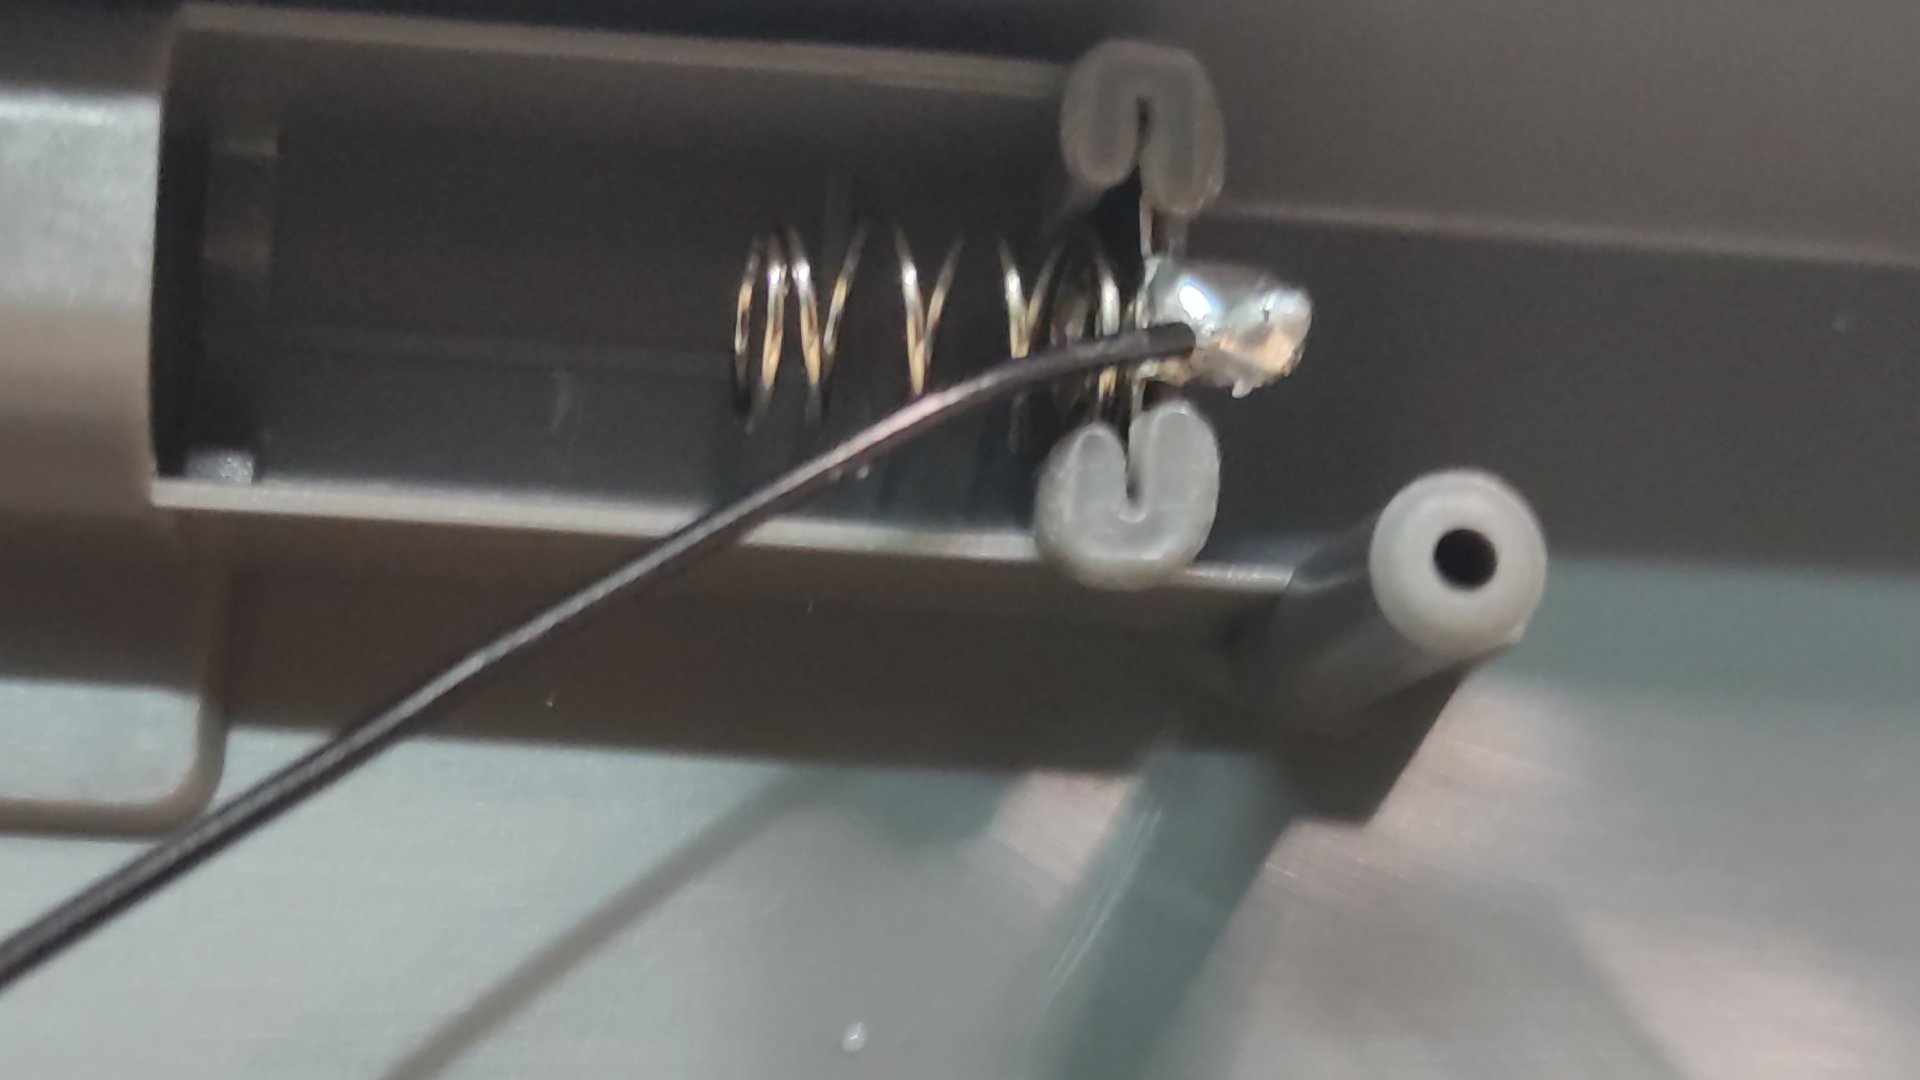
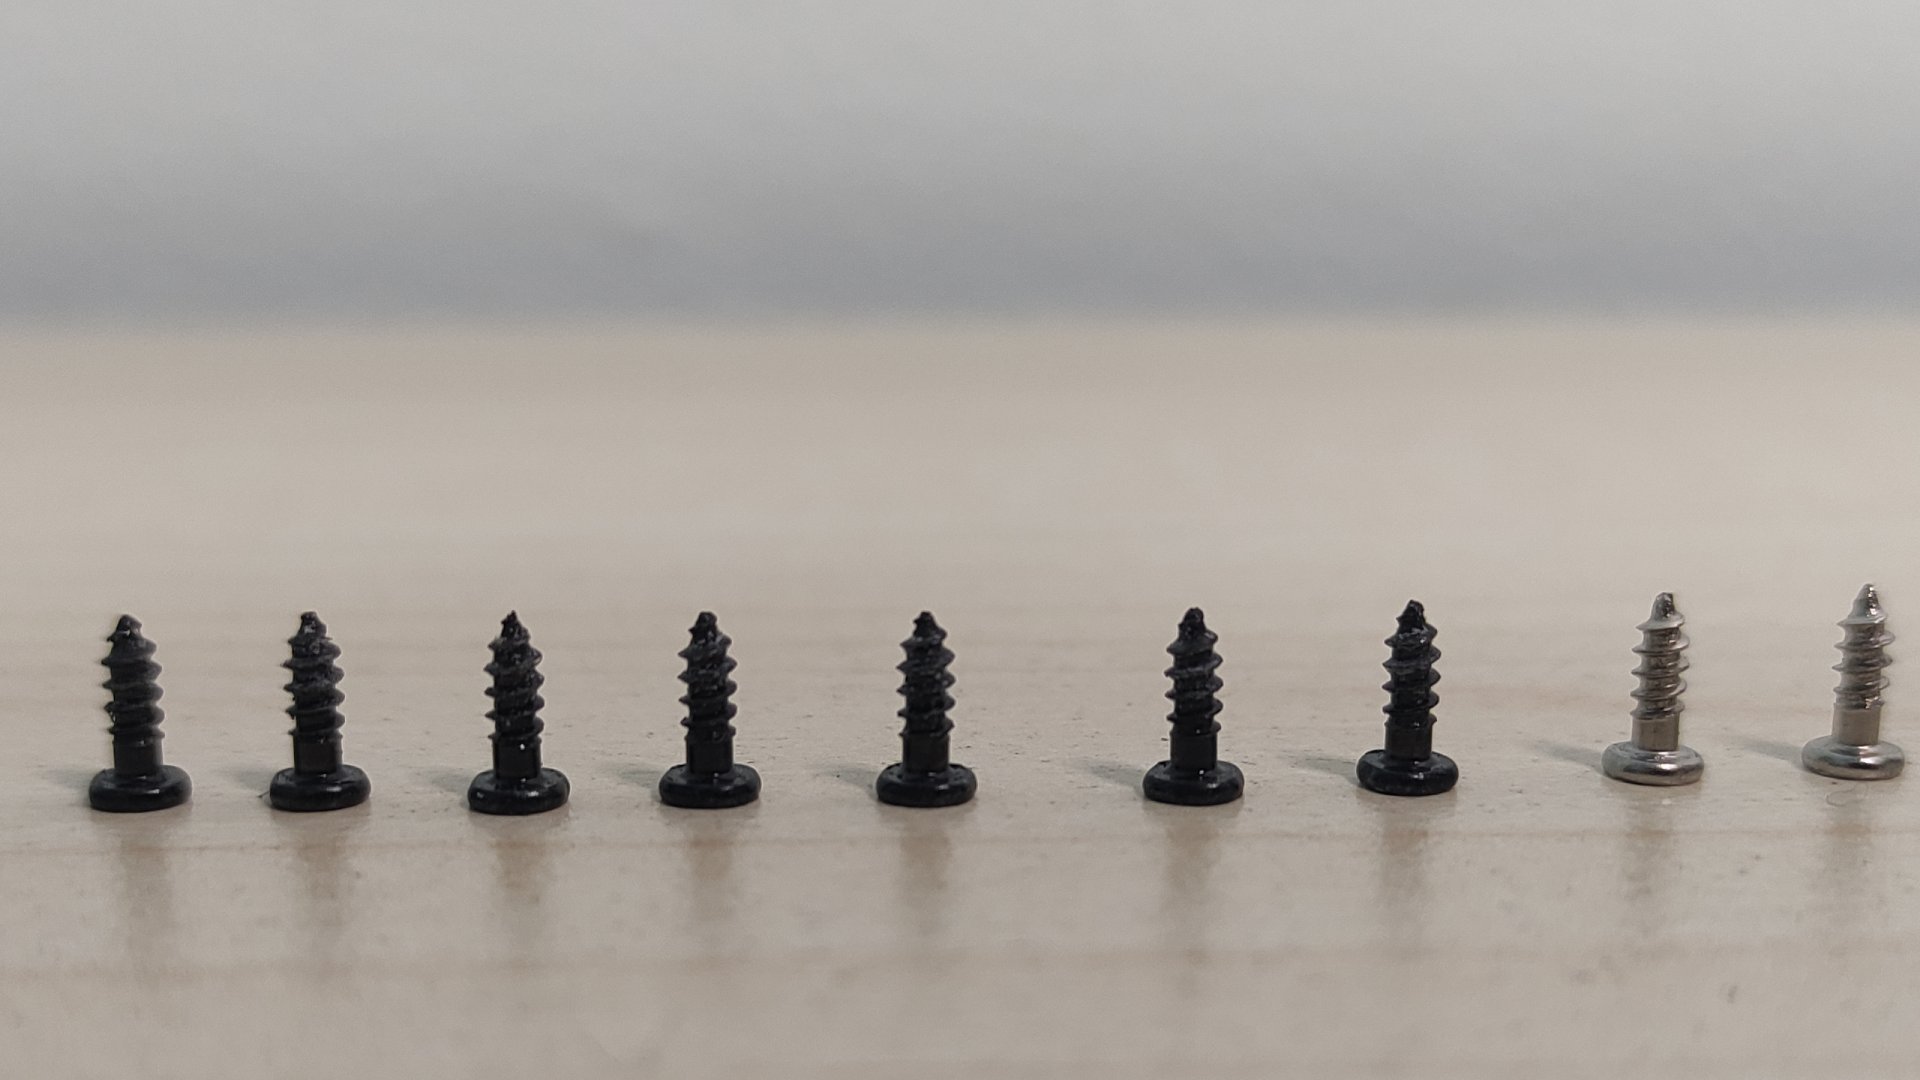
My second complaint is in the soldering. It’s not great to say the least. My expectations of course were low at this price point, but I still consider this something that could use an improvement and is likely one of the cost cutting factors. This can sadly affect durability on the longer term.
Overall, improvements can be made, but other parts are surprising at this price. Let’s get to building a keyboard with this!
Assembly
Parts used
G-MKY Black Lotus
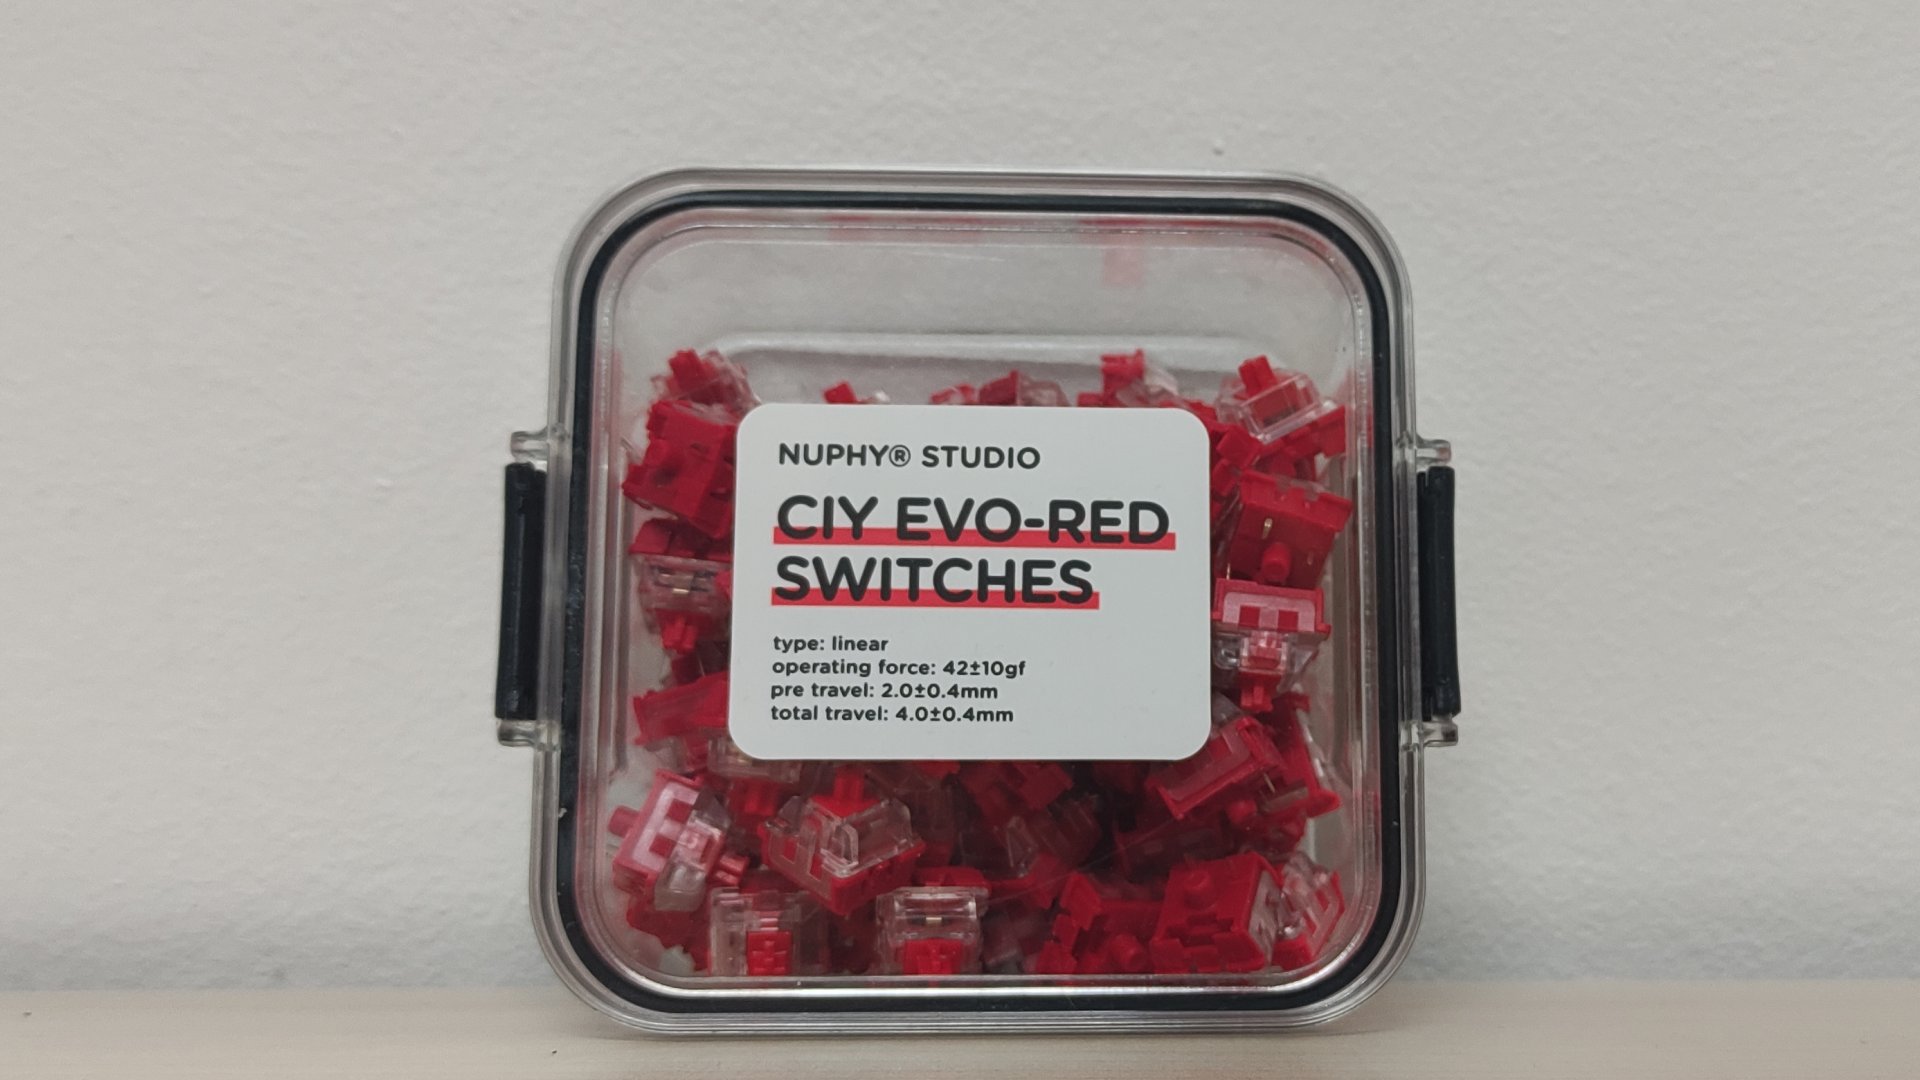
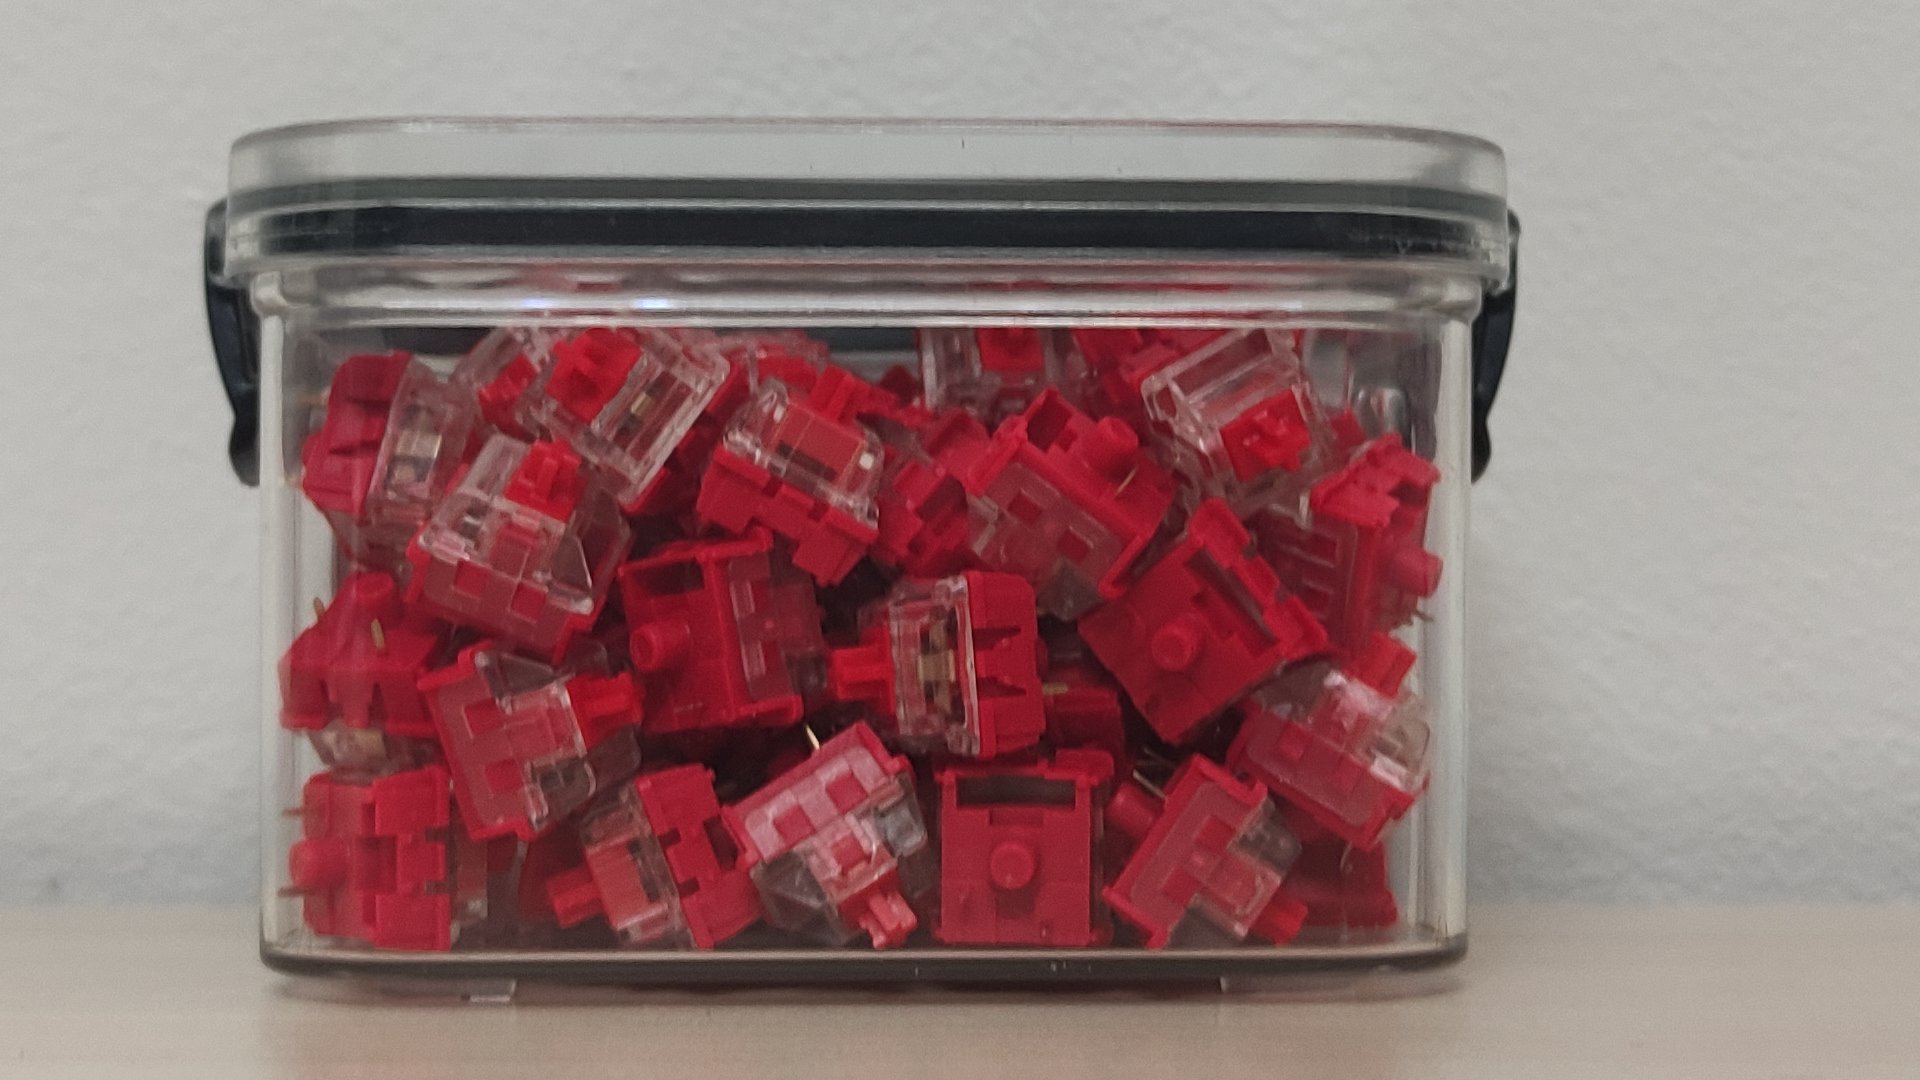
CIY Evo Red
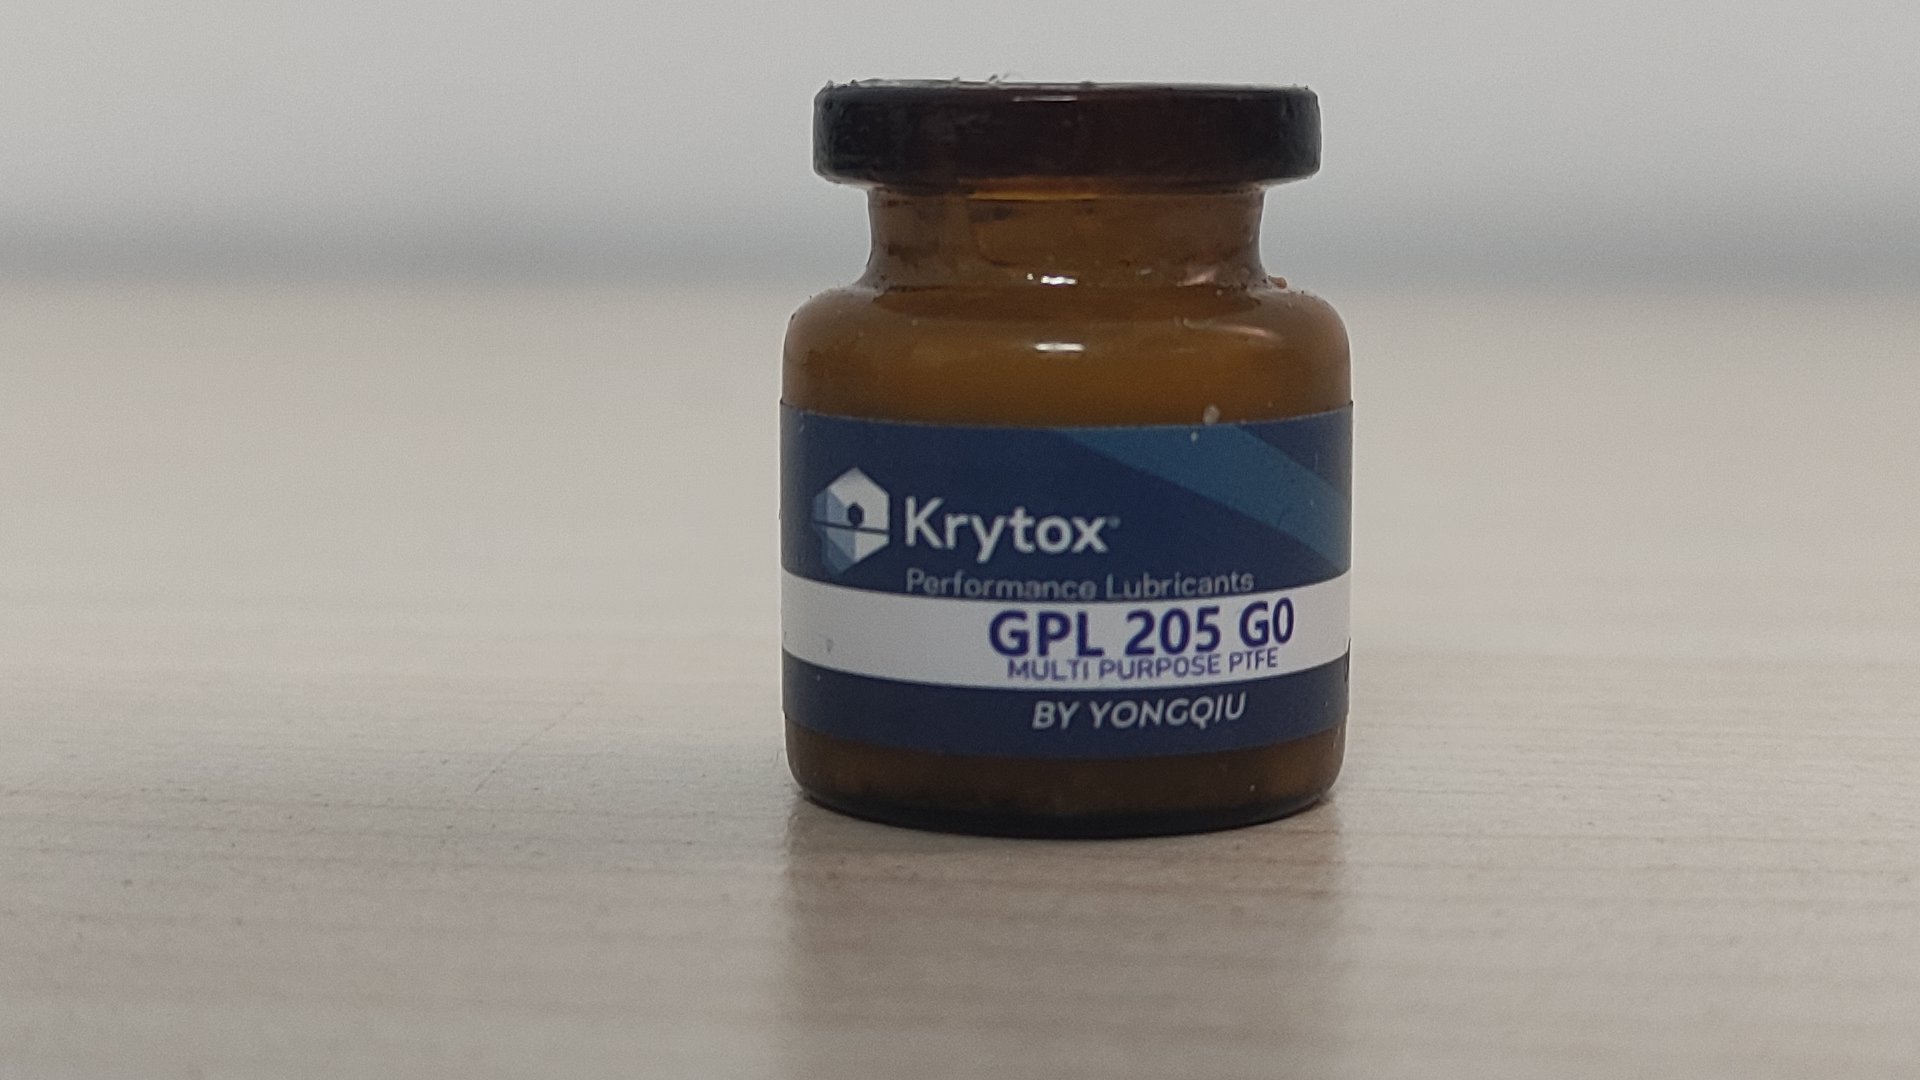
Krytox 205g0
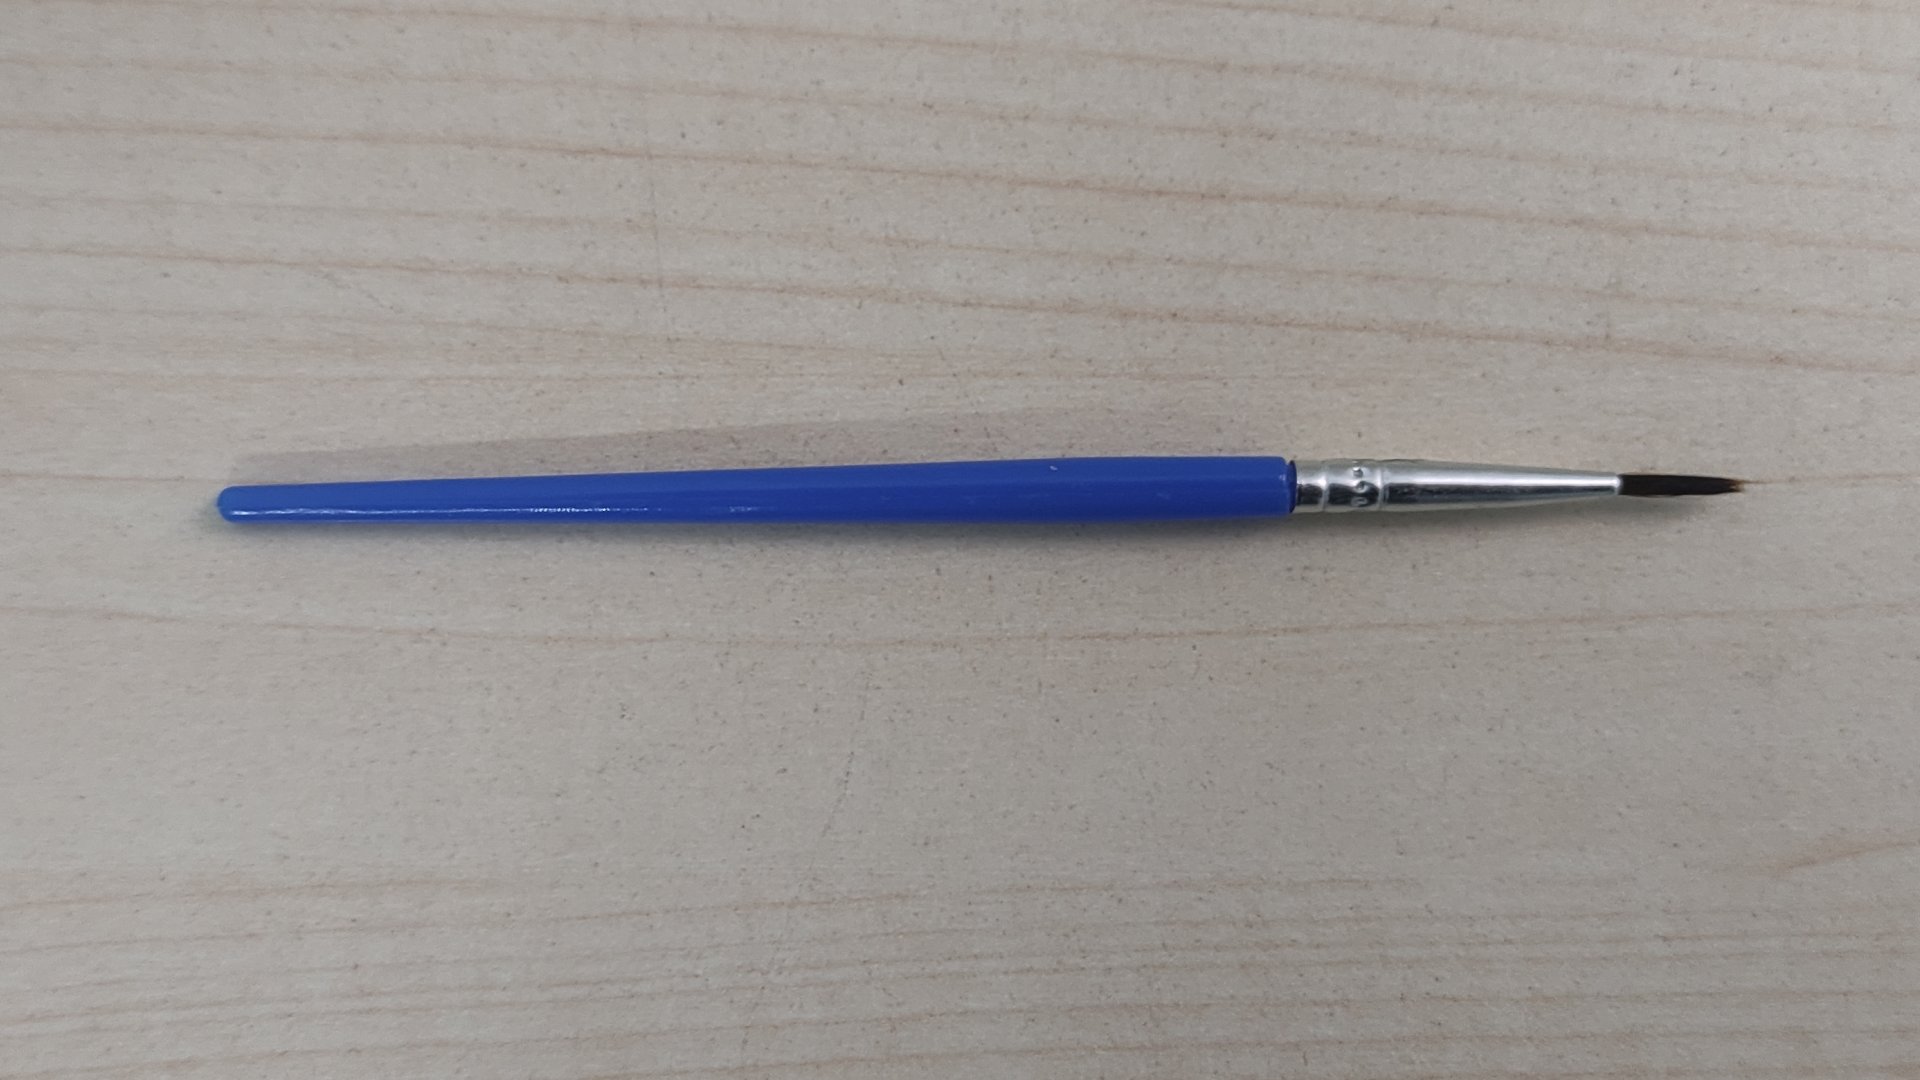
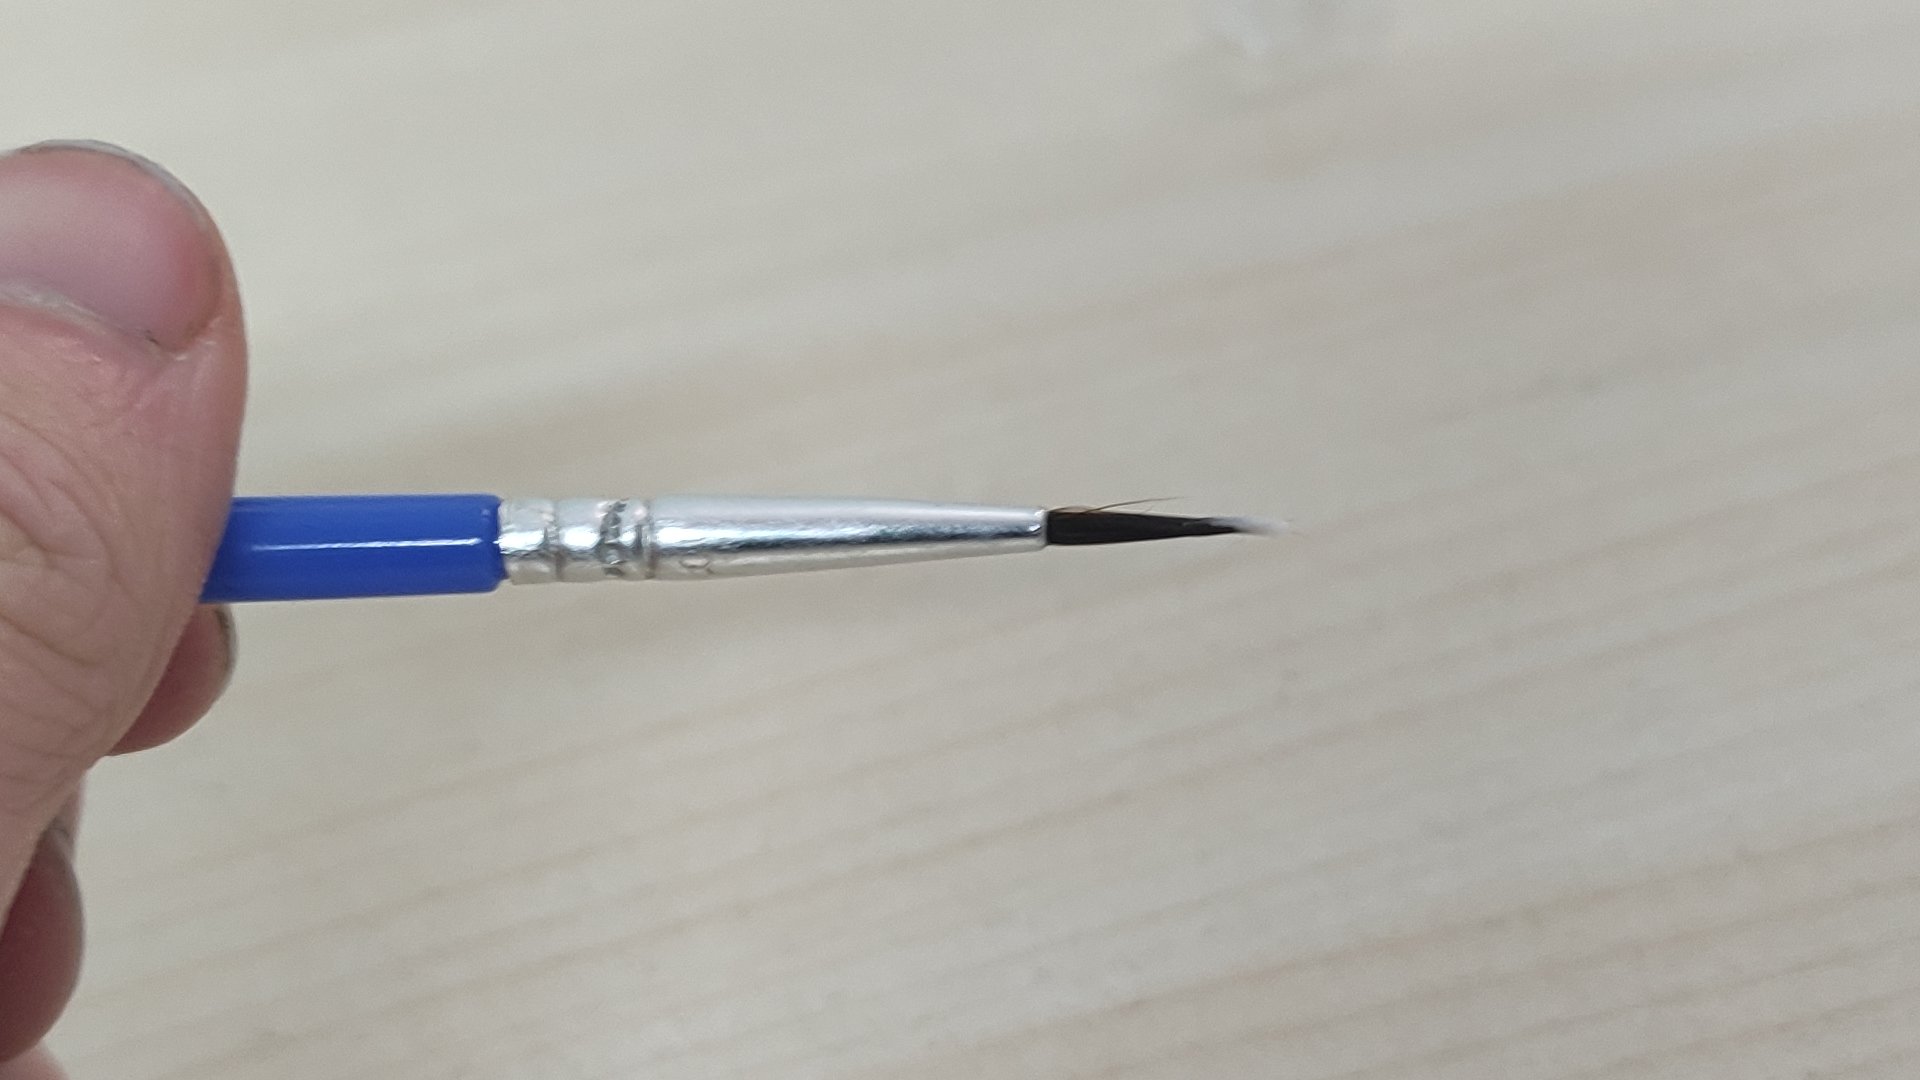
Thin brush
2x AAA batteries
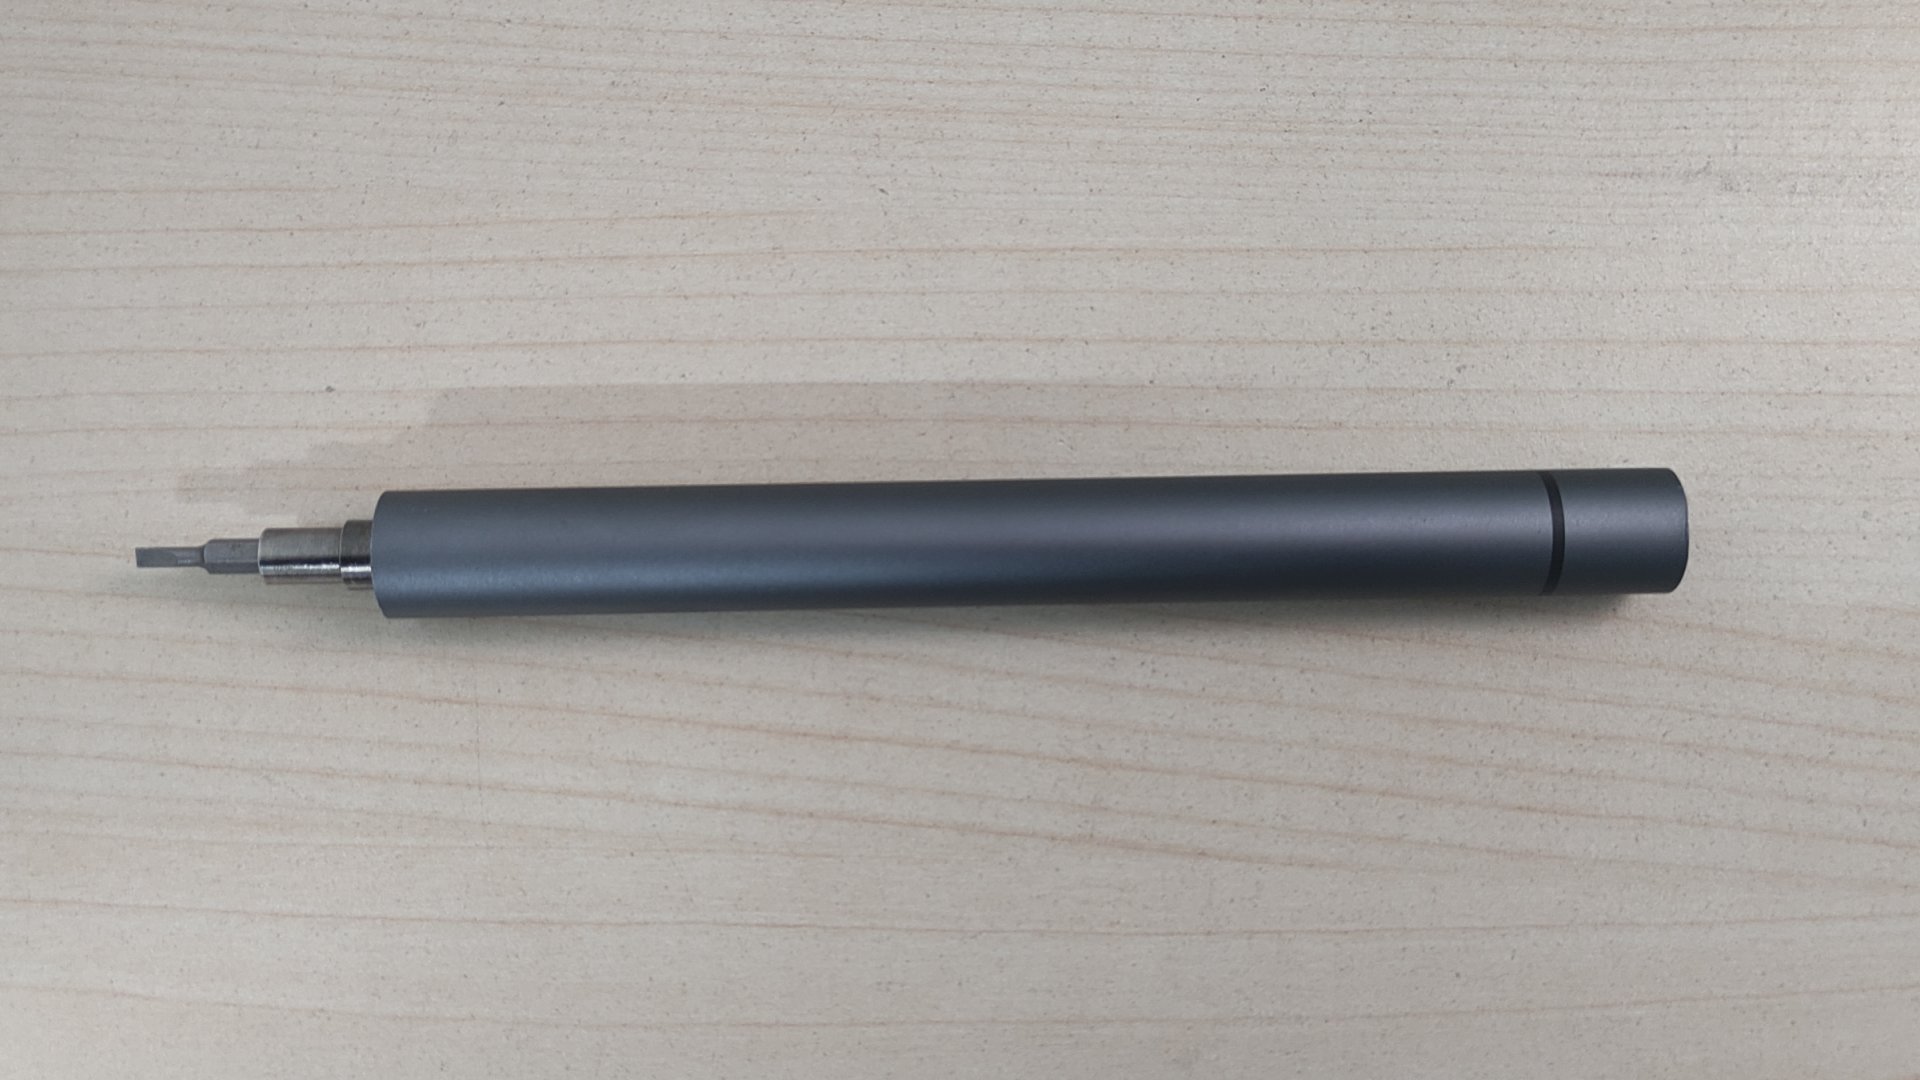
Screwdriver
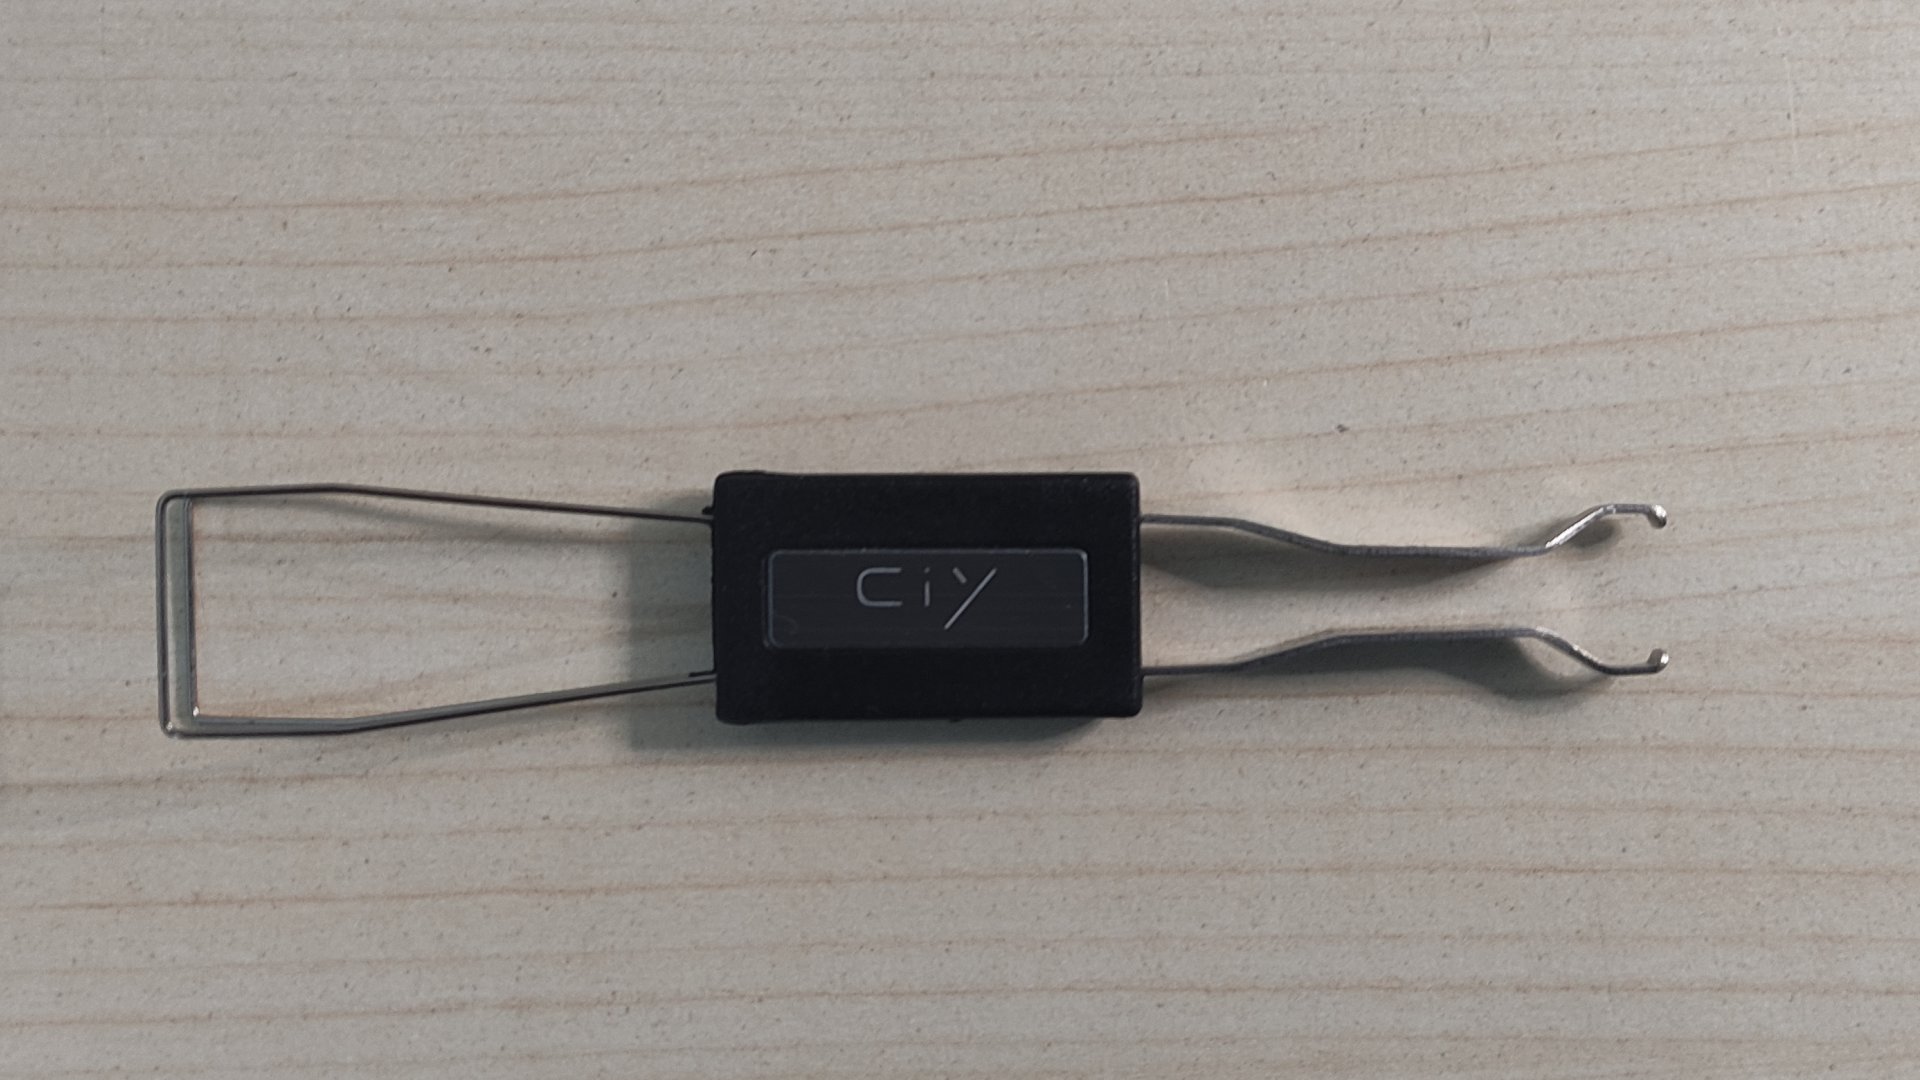
Keycap/switch puller
Switch opener
The assembly of the TES68 is simple, you don’t need to do any of the disassembly unless you want to swap specific parts not mentioned here. But for a basic assembly, all you need to do is push in the switches and put on keycaps.
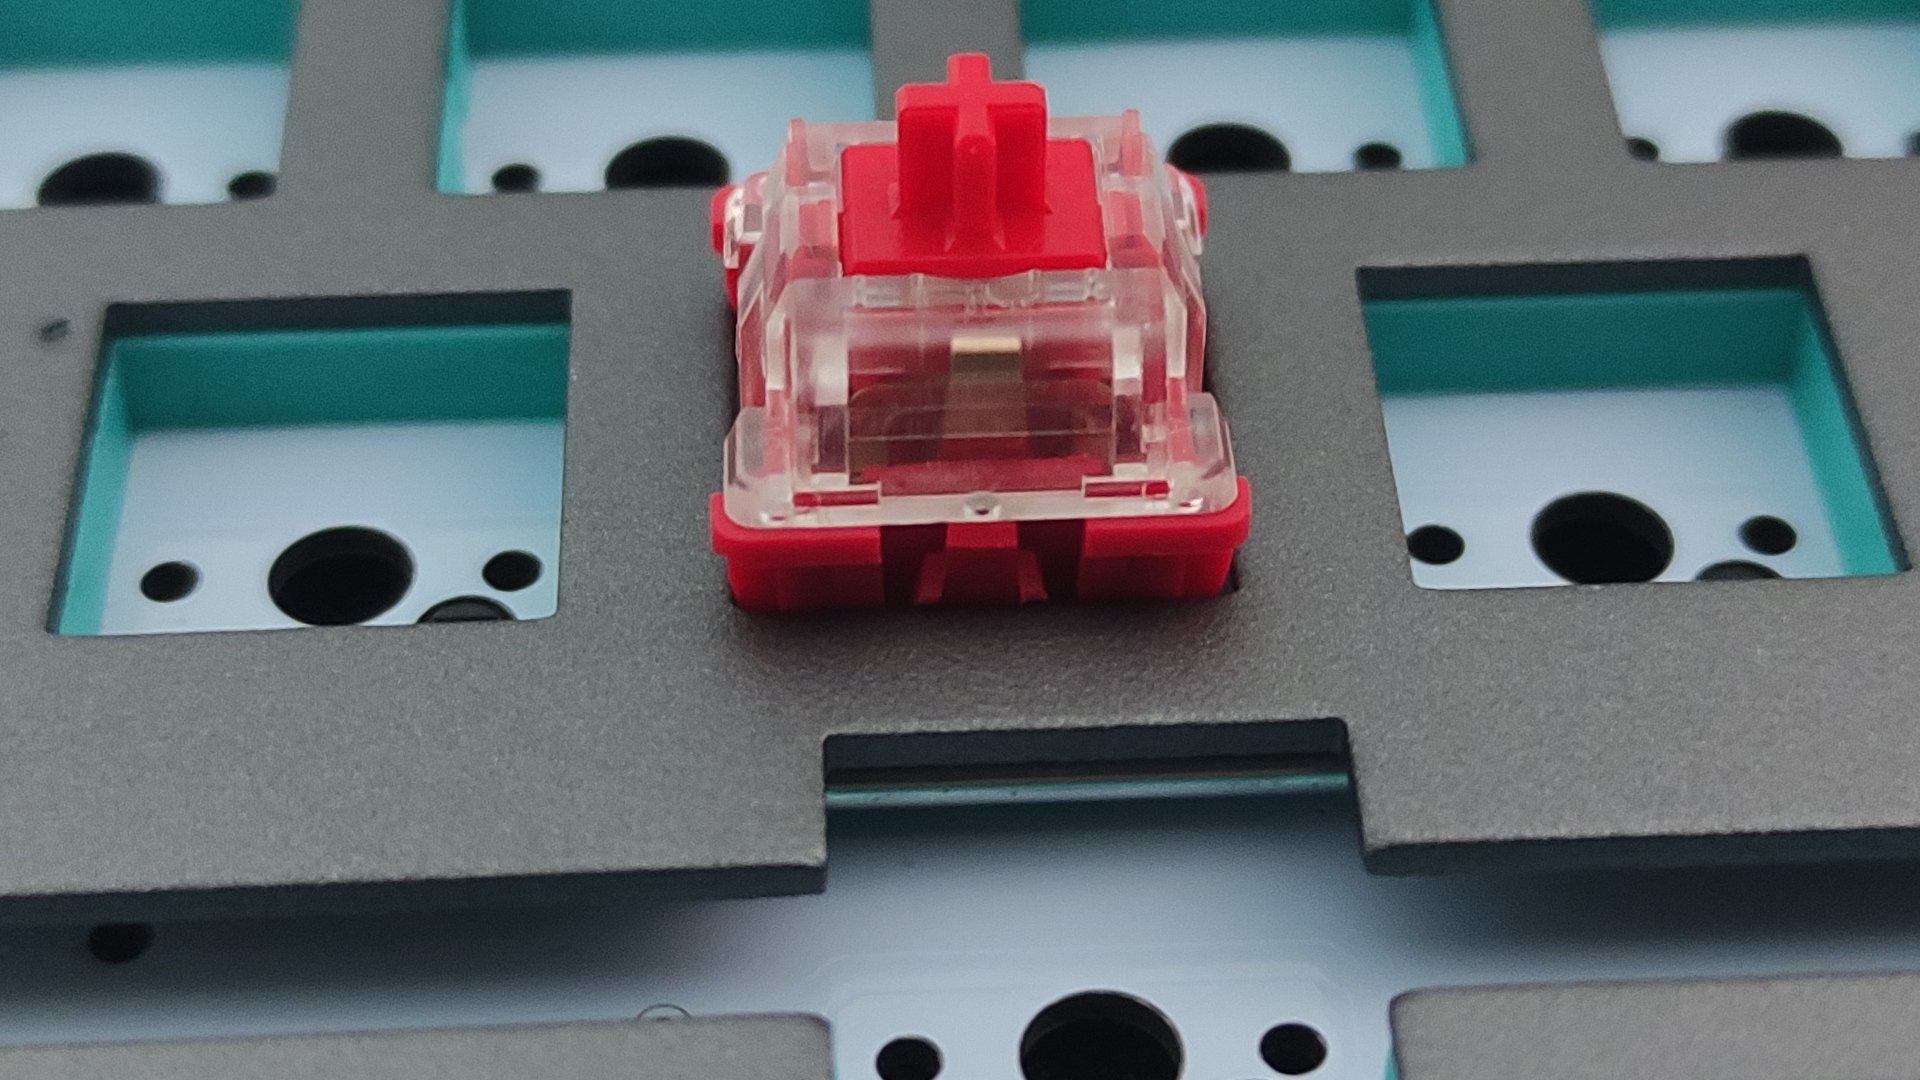
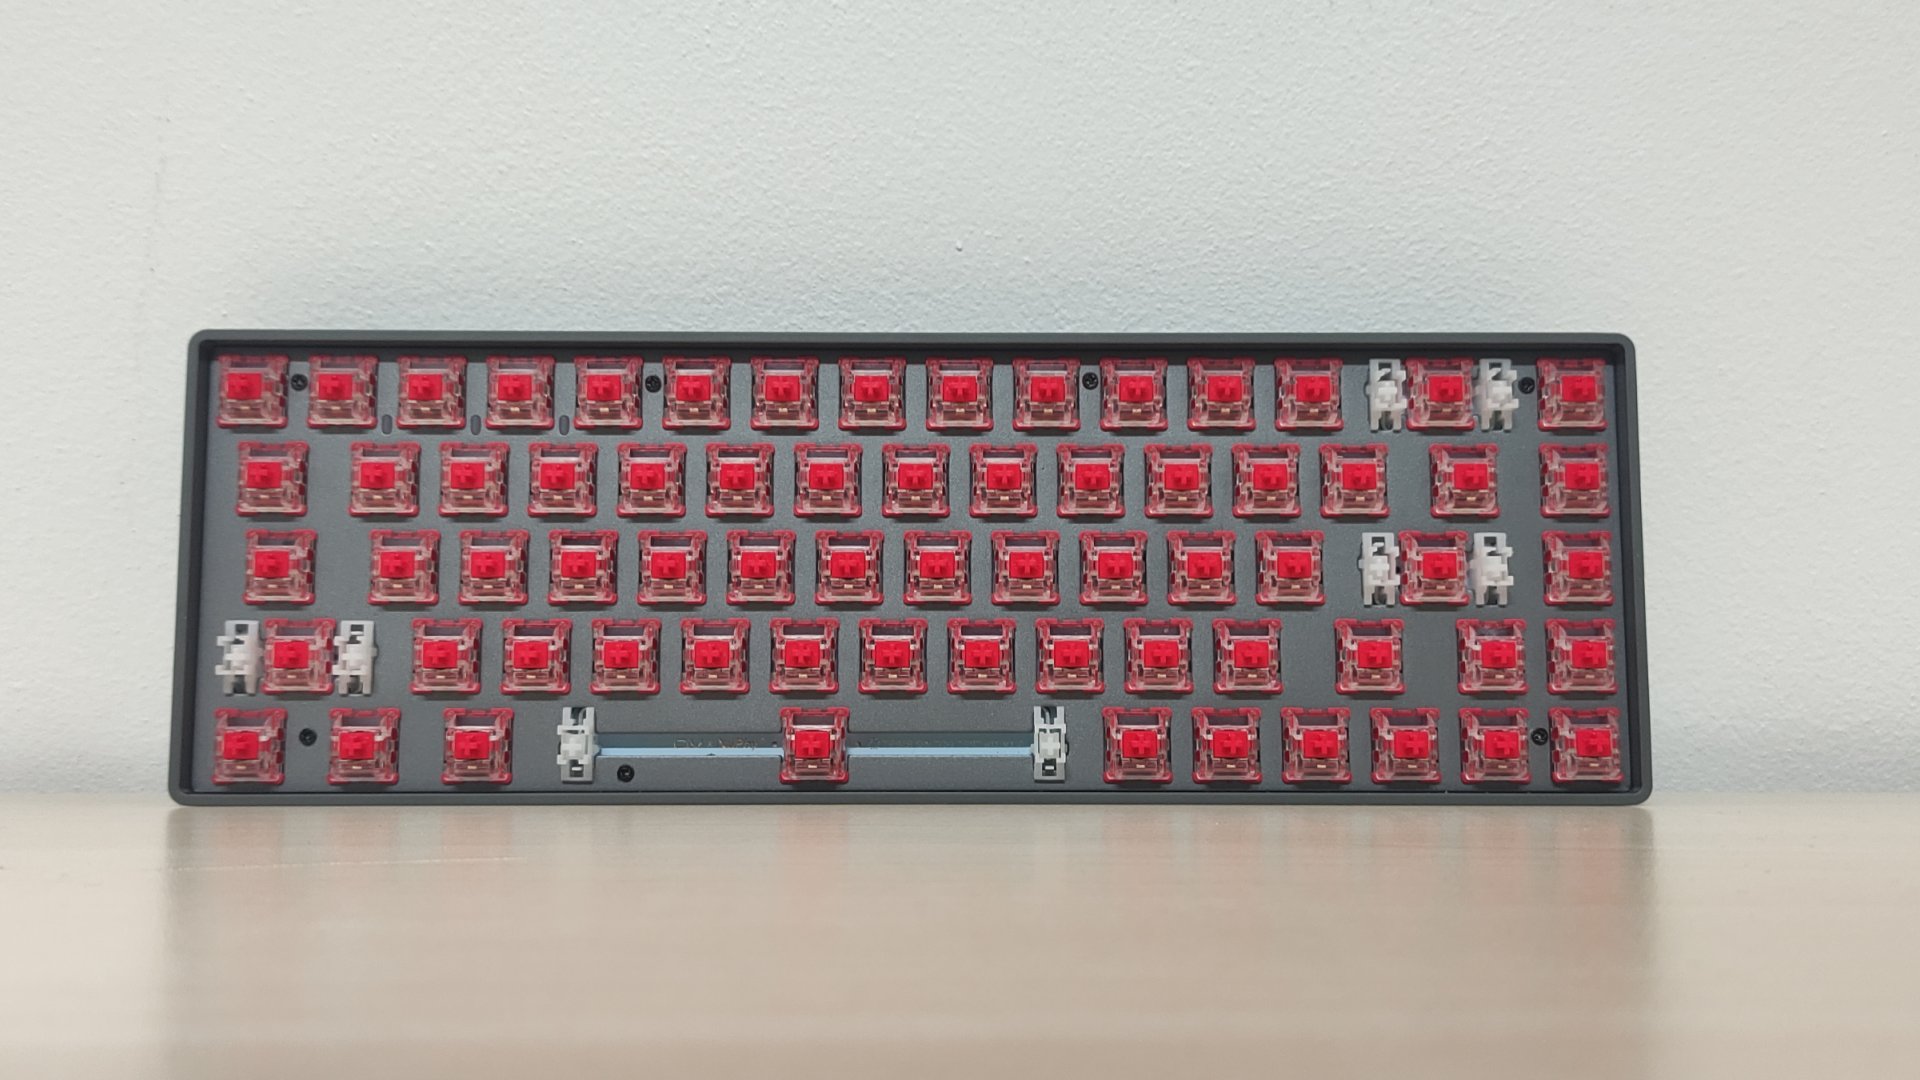
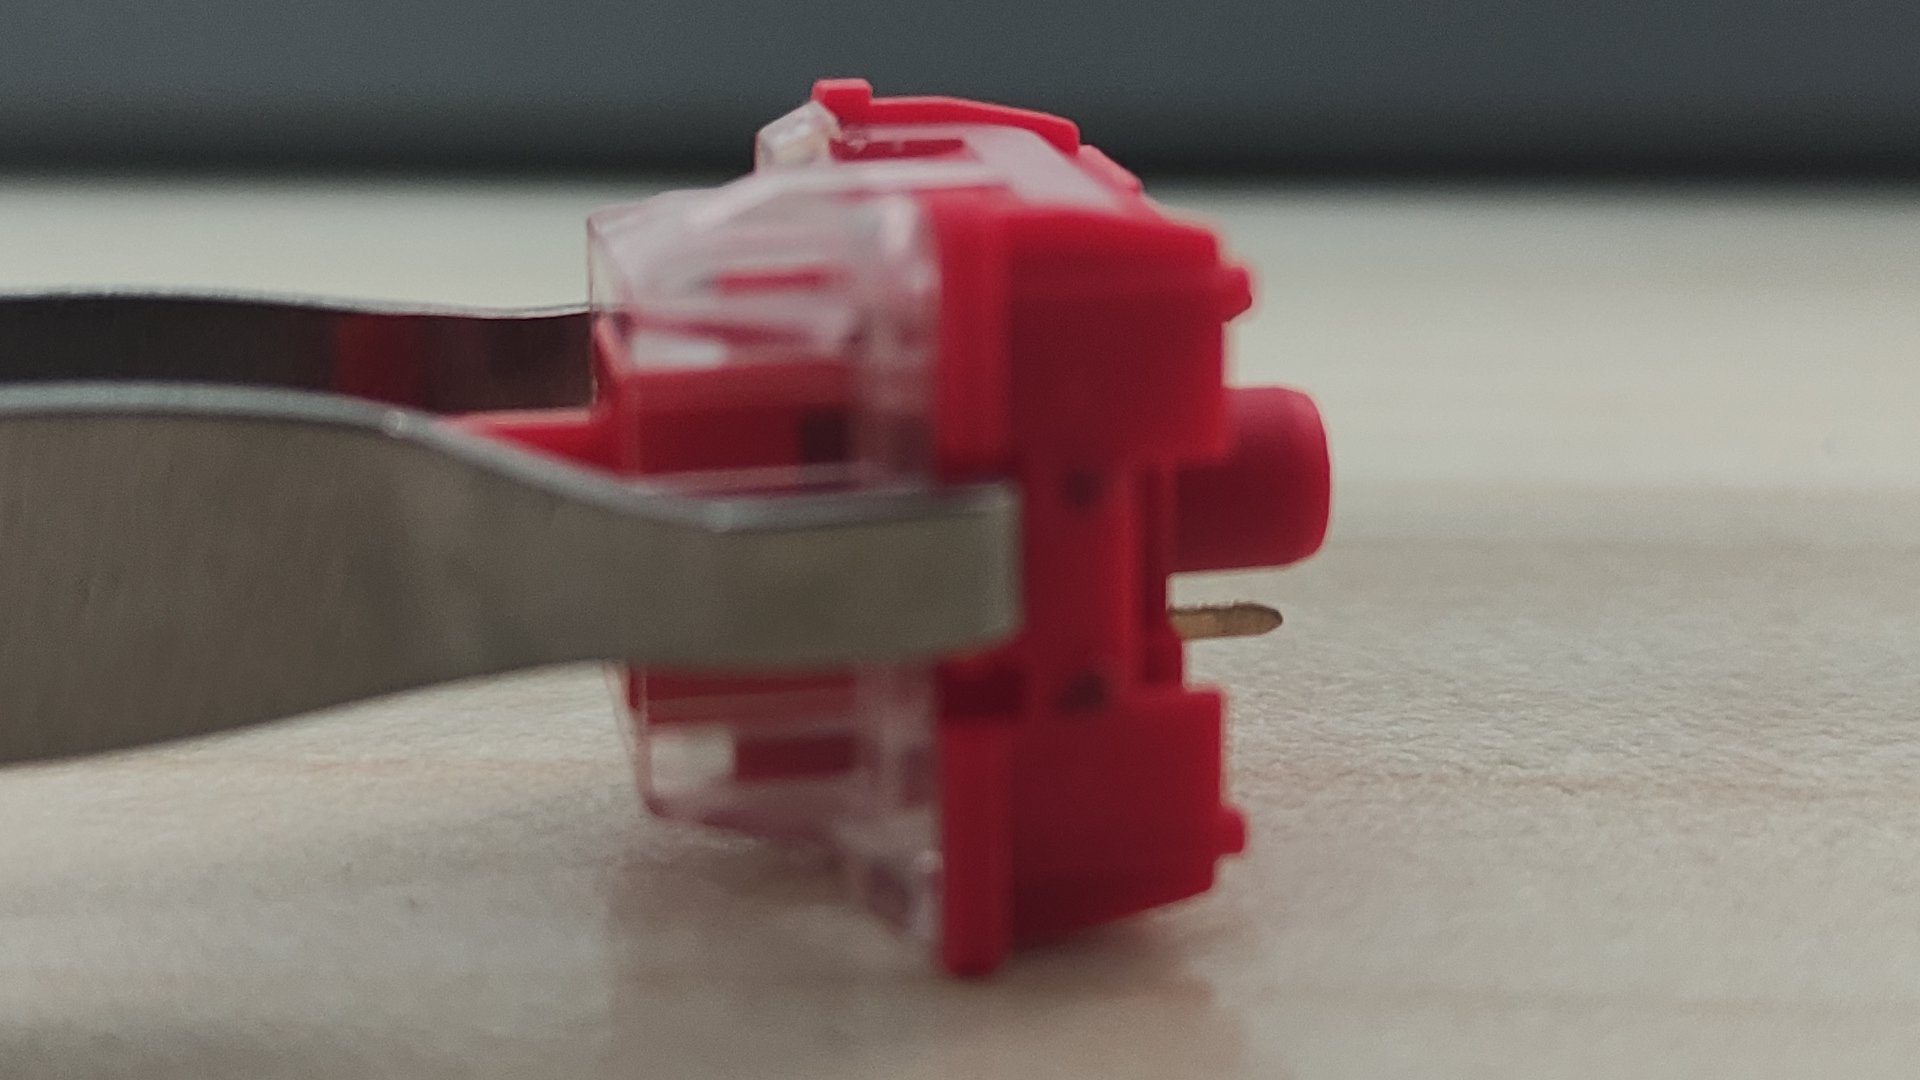
To start you push the switches into the socket. Align the two smaller pins with the bottom pins on the board and push it down with a little bit of force. Repeat this for all 68 keys and test the board with a keyboard tester on a desktop before continuing. It’s possible you bent a pin on the switch, and this can get hard to bend back if you do this after you put on the keycaps.
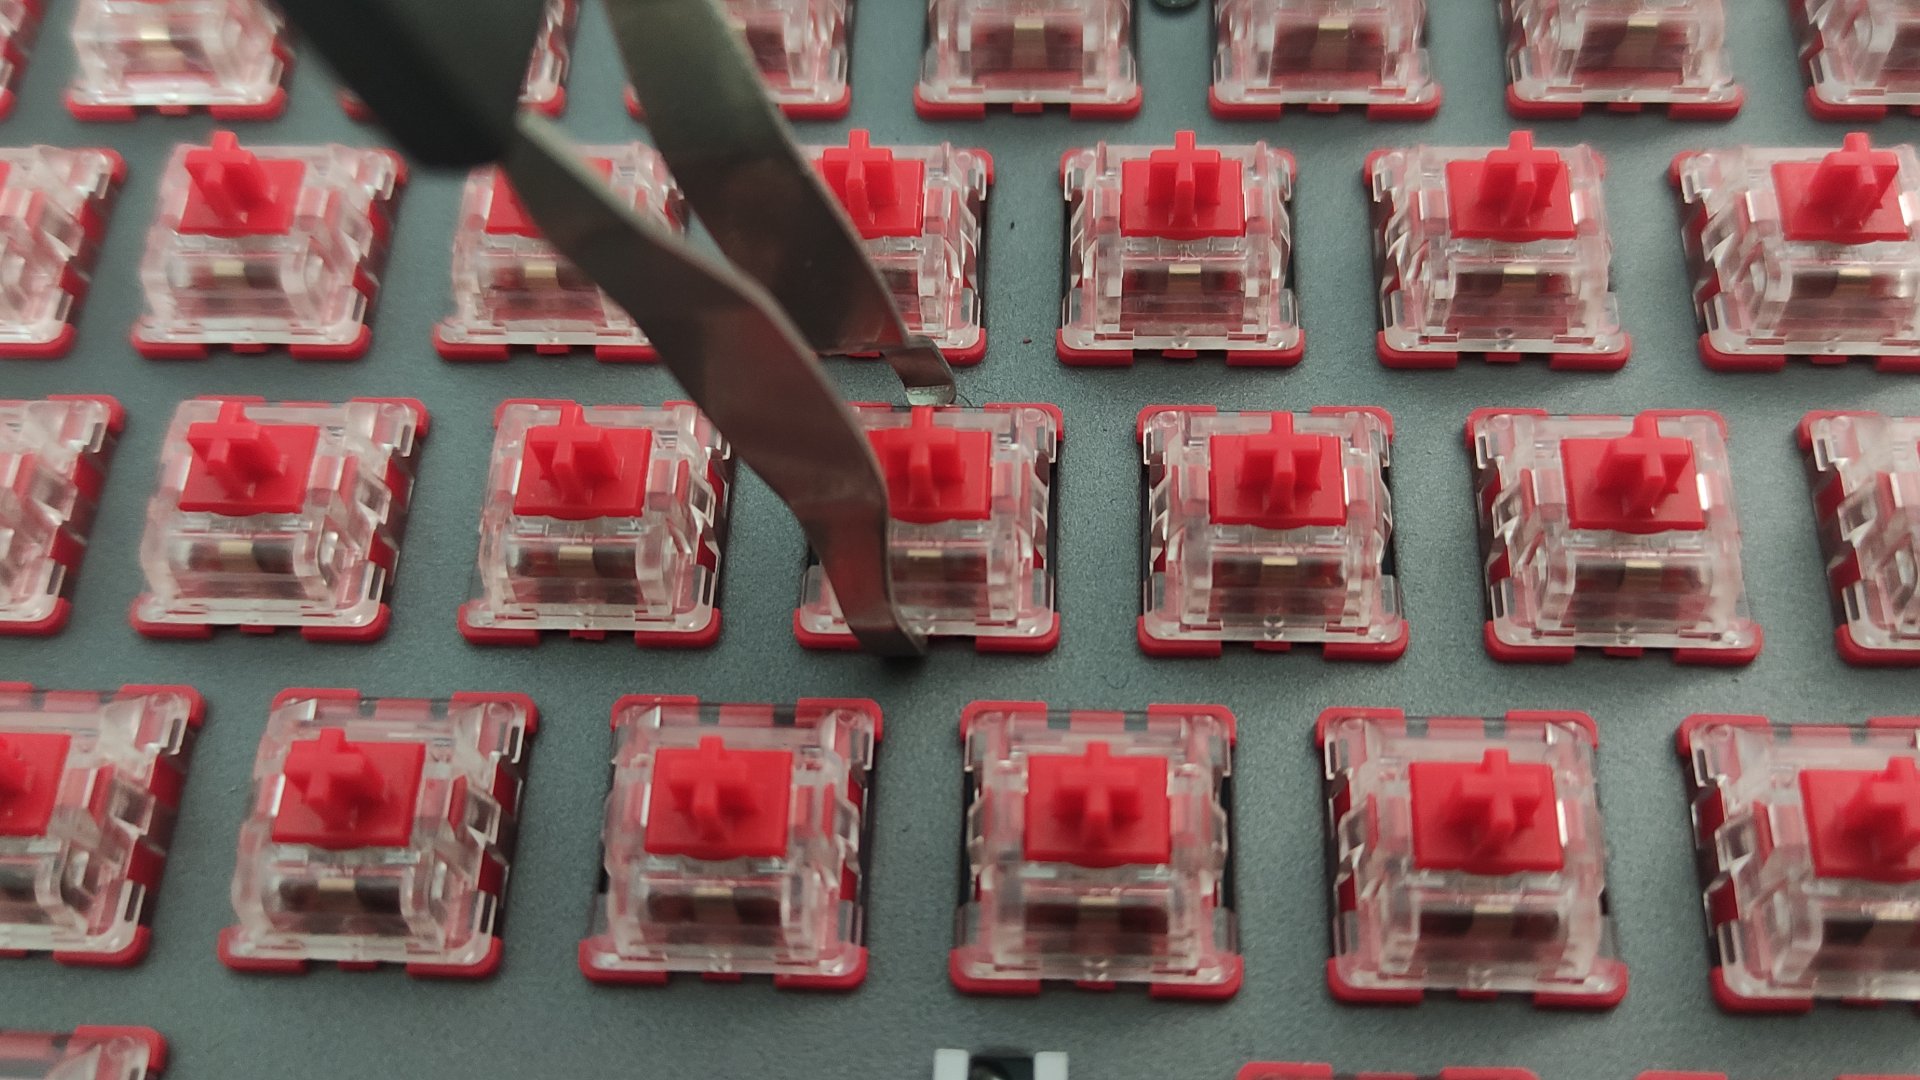
If you realize one of the keys doesn’t register, take the switch out. With a switch puller you grab the top and bottom of the switch and pull this out without using too much force. If you don’t have one, use a flathead screwdriver to whip below the switch and take it out of the socket. Use a flathead screwdriver to slowly bend the pin back into shape and try pushing the switch in again. Occasionally you may not be able bend it back or the pin may snap, therefore most recommend you have a few extra switches just in case.
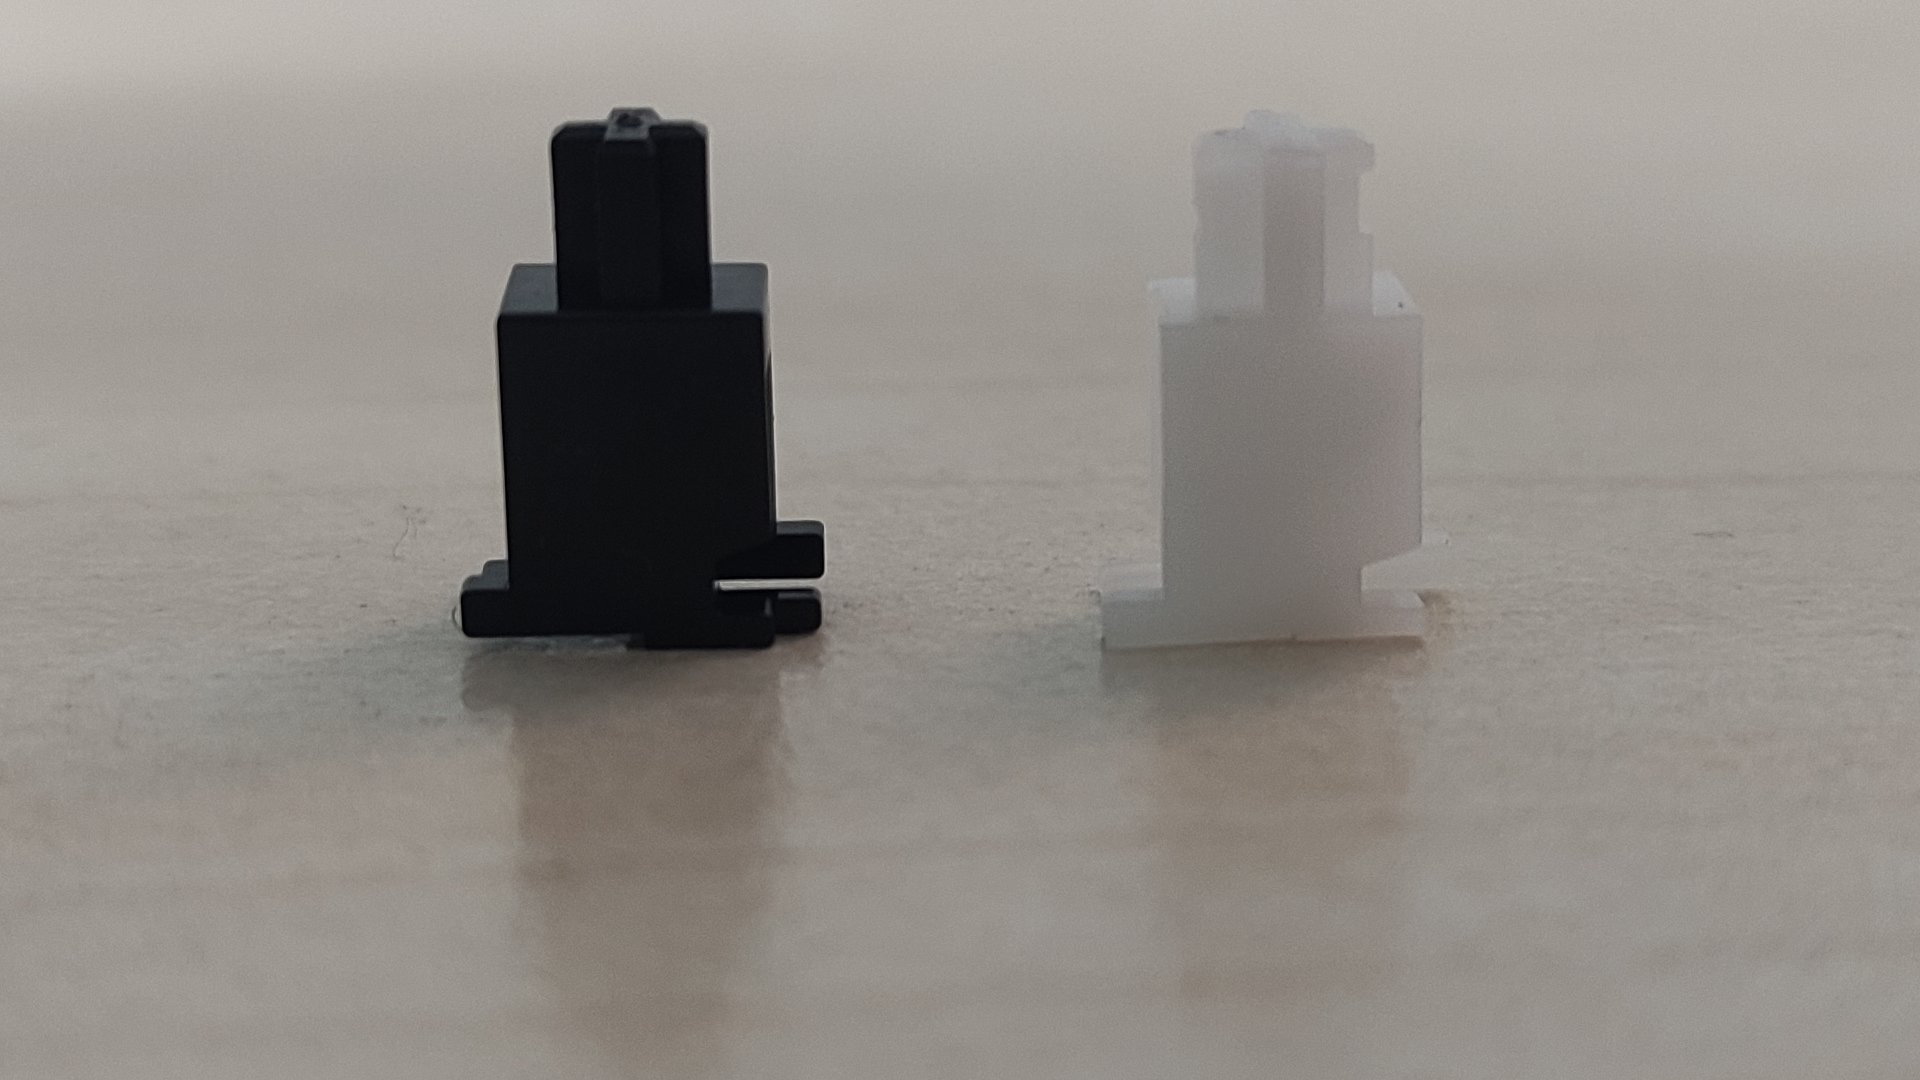
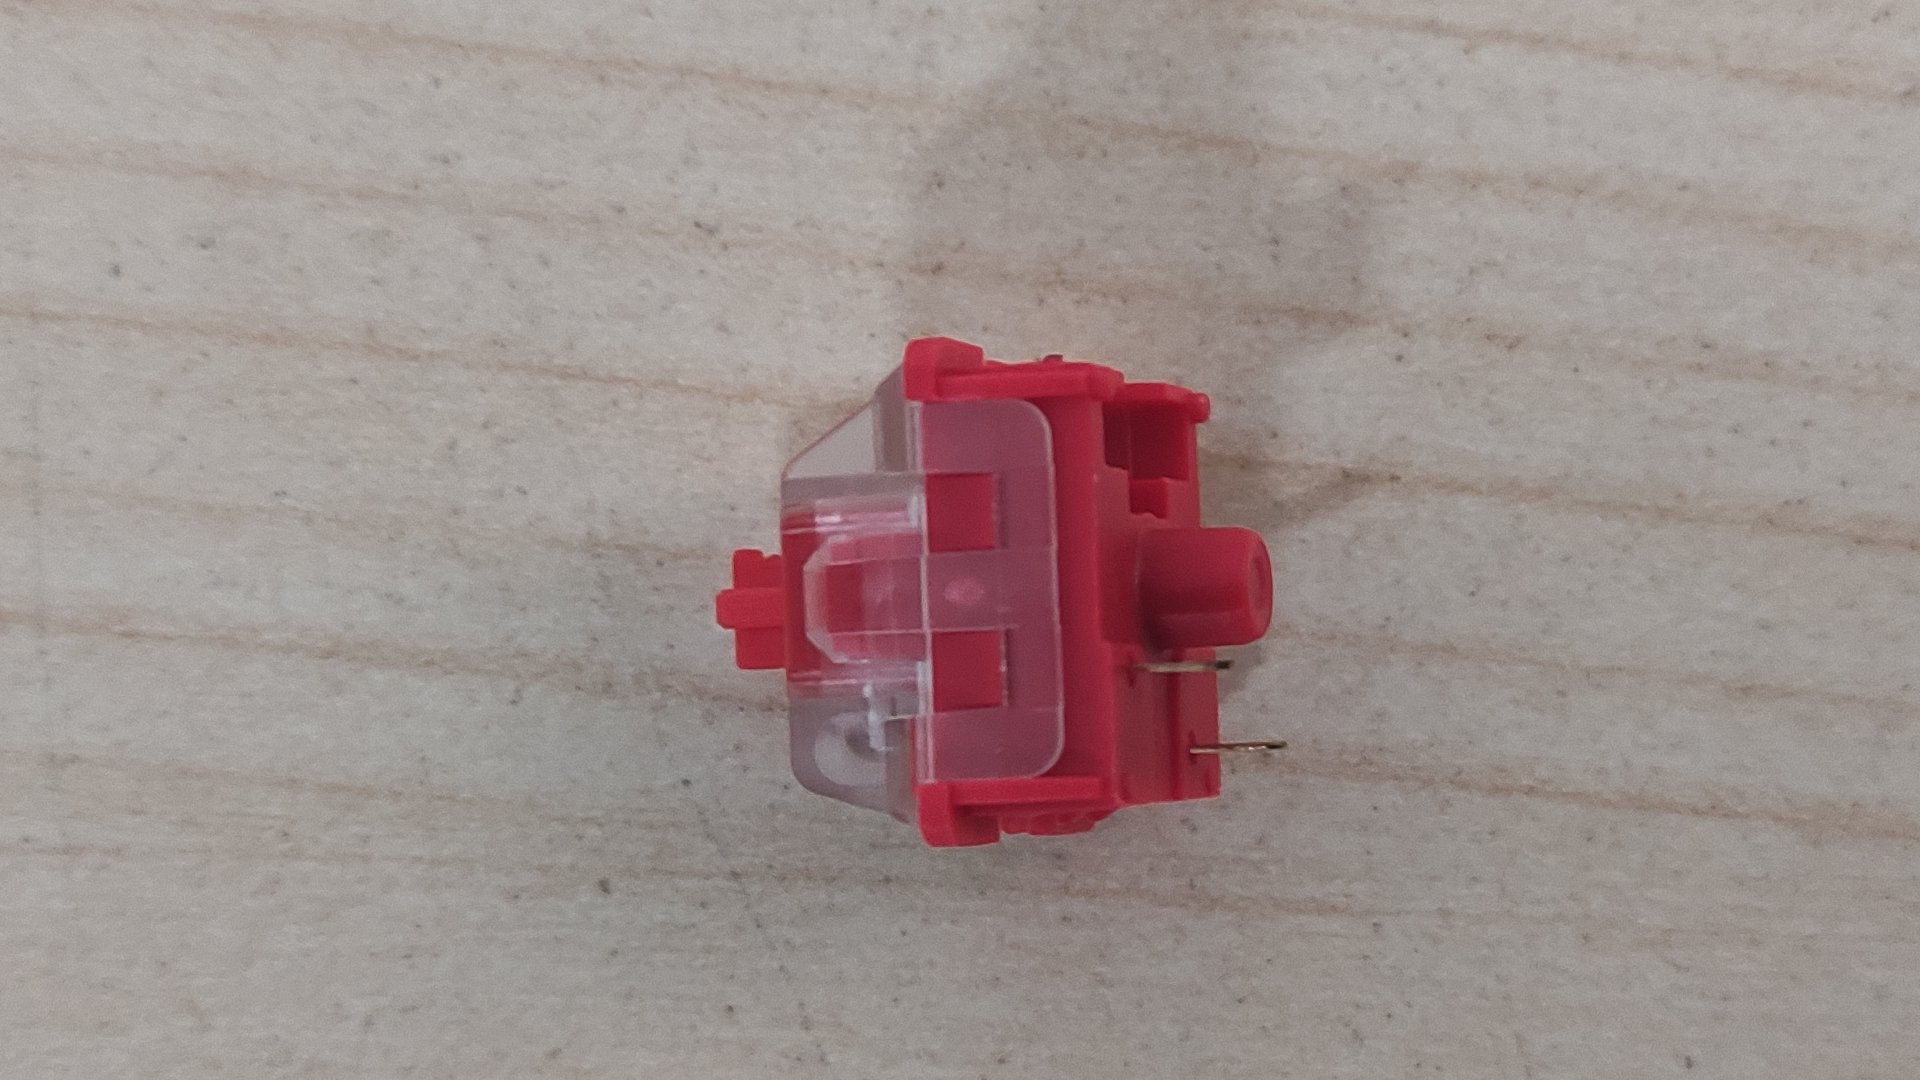
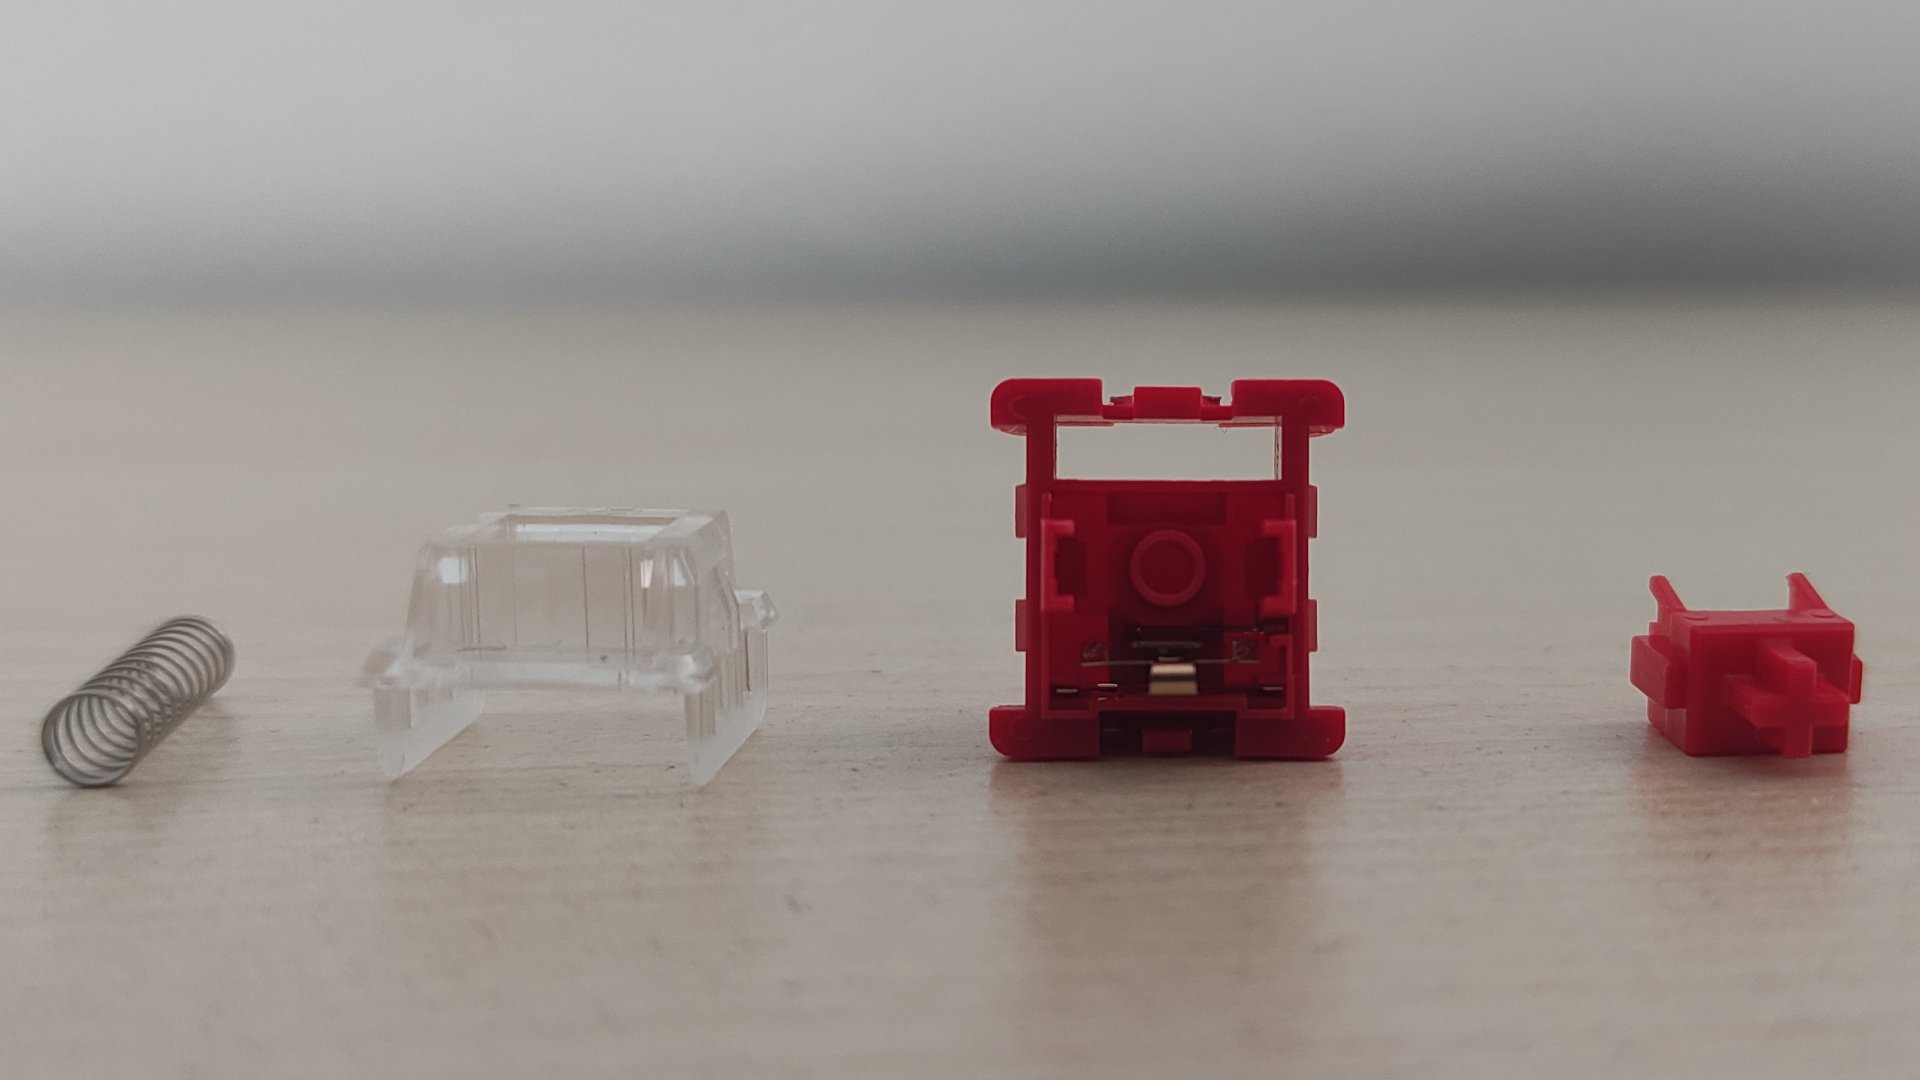
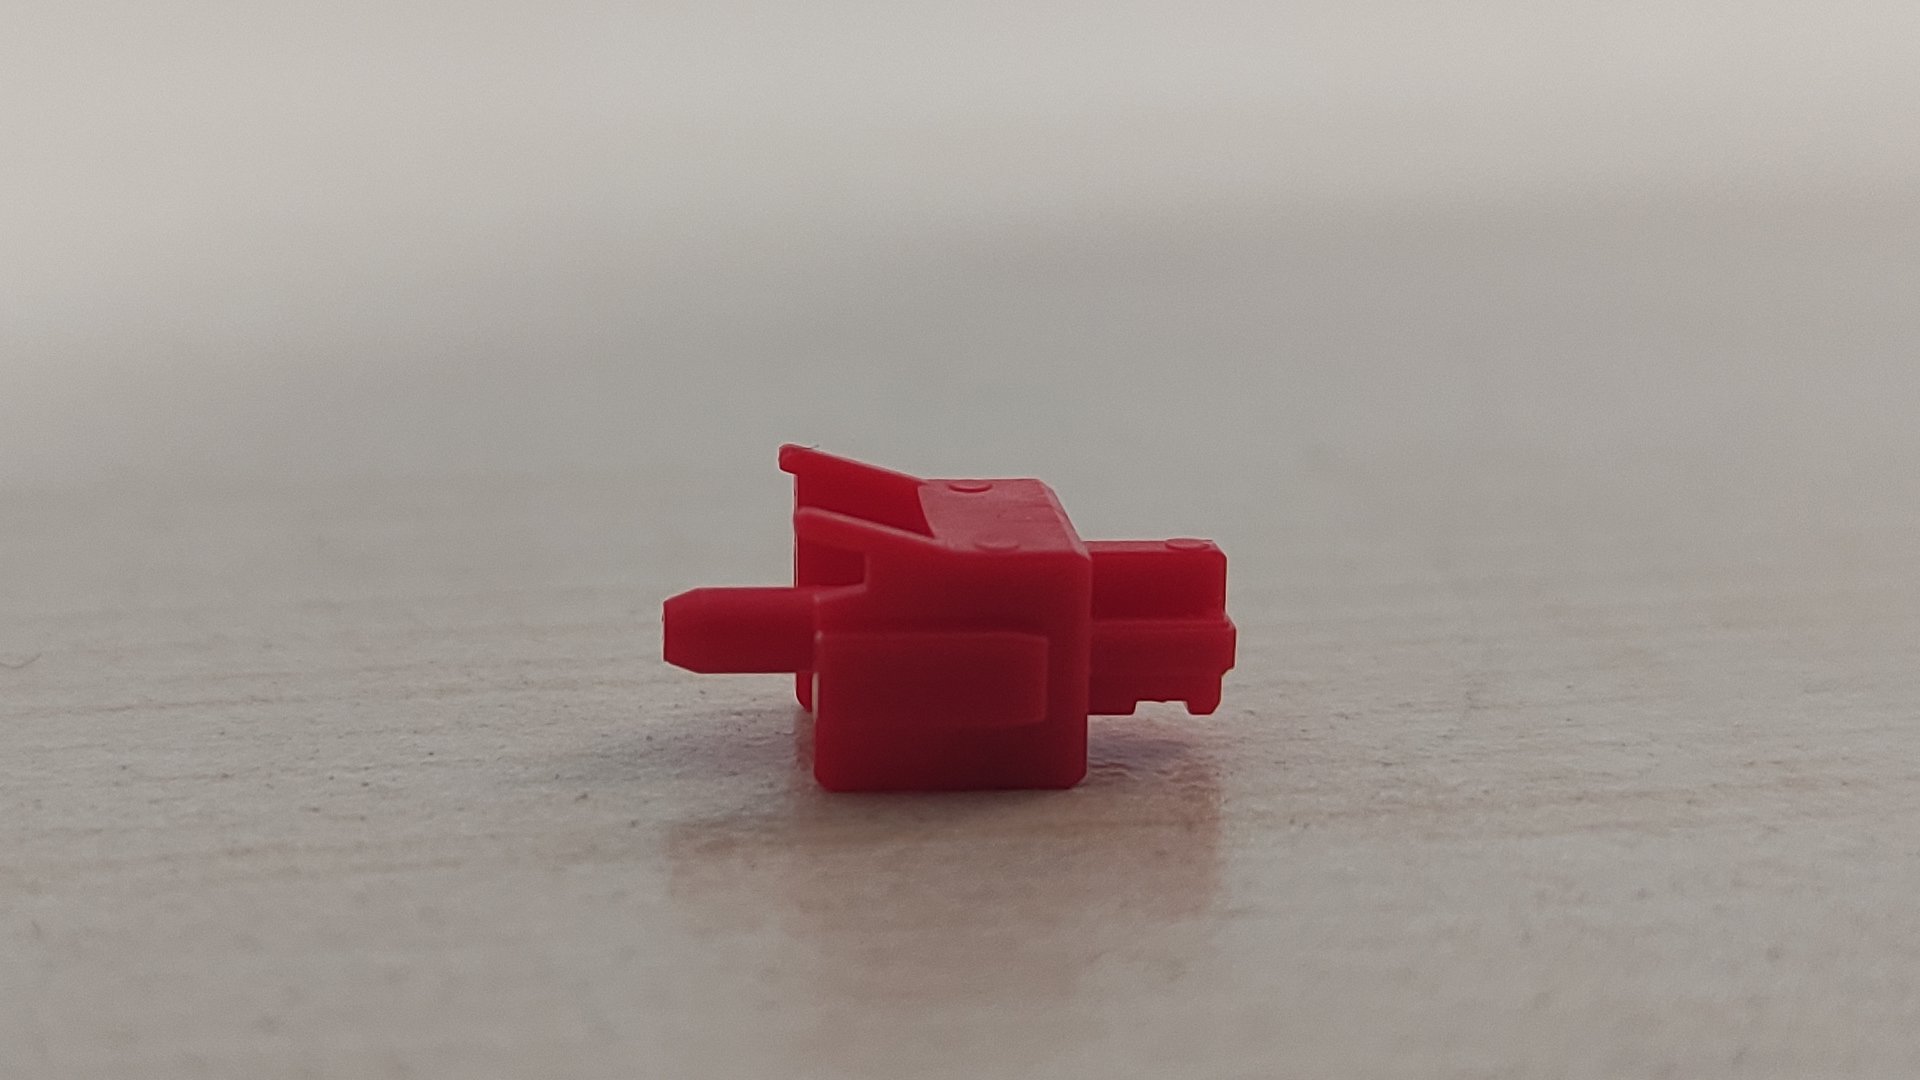
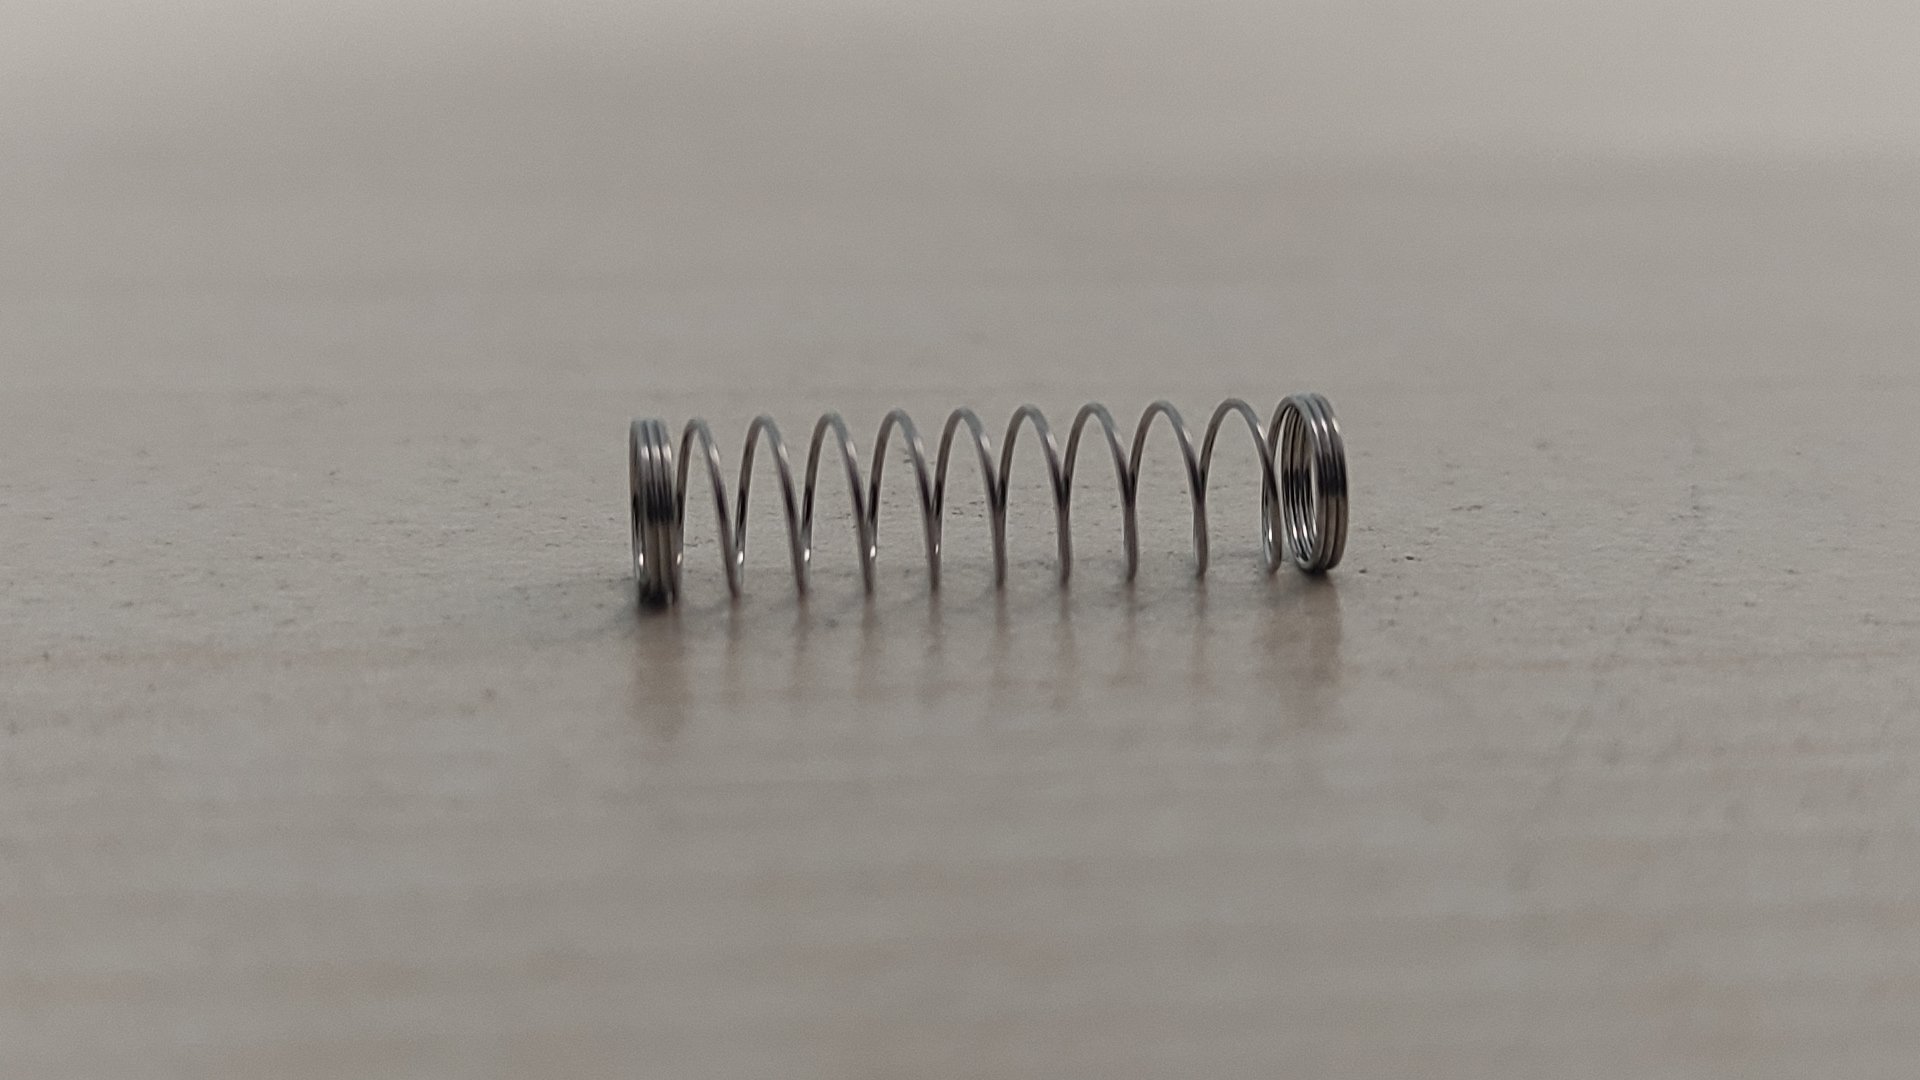
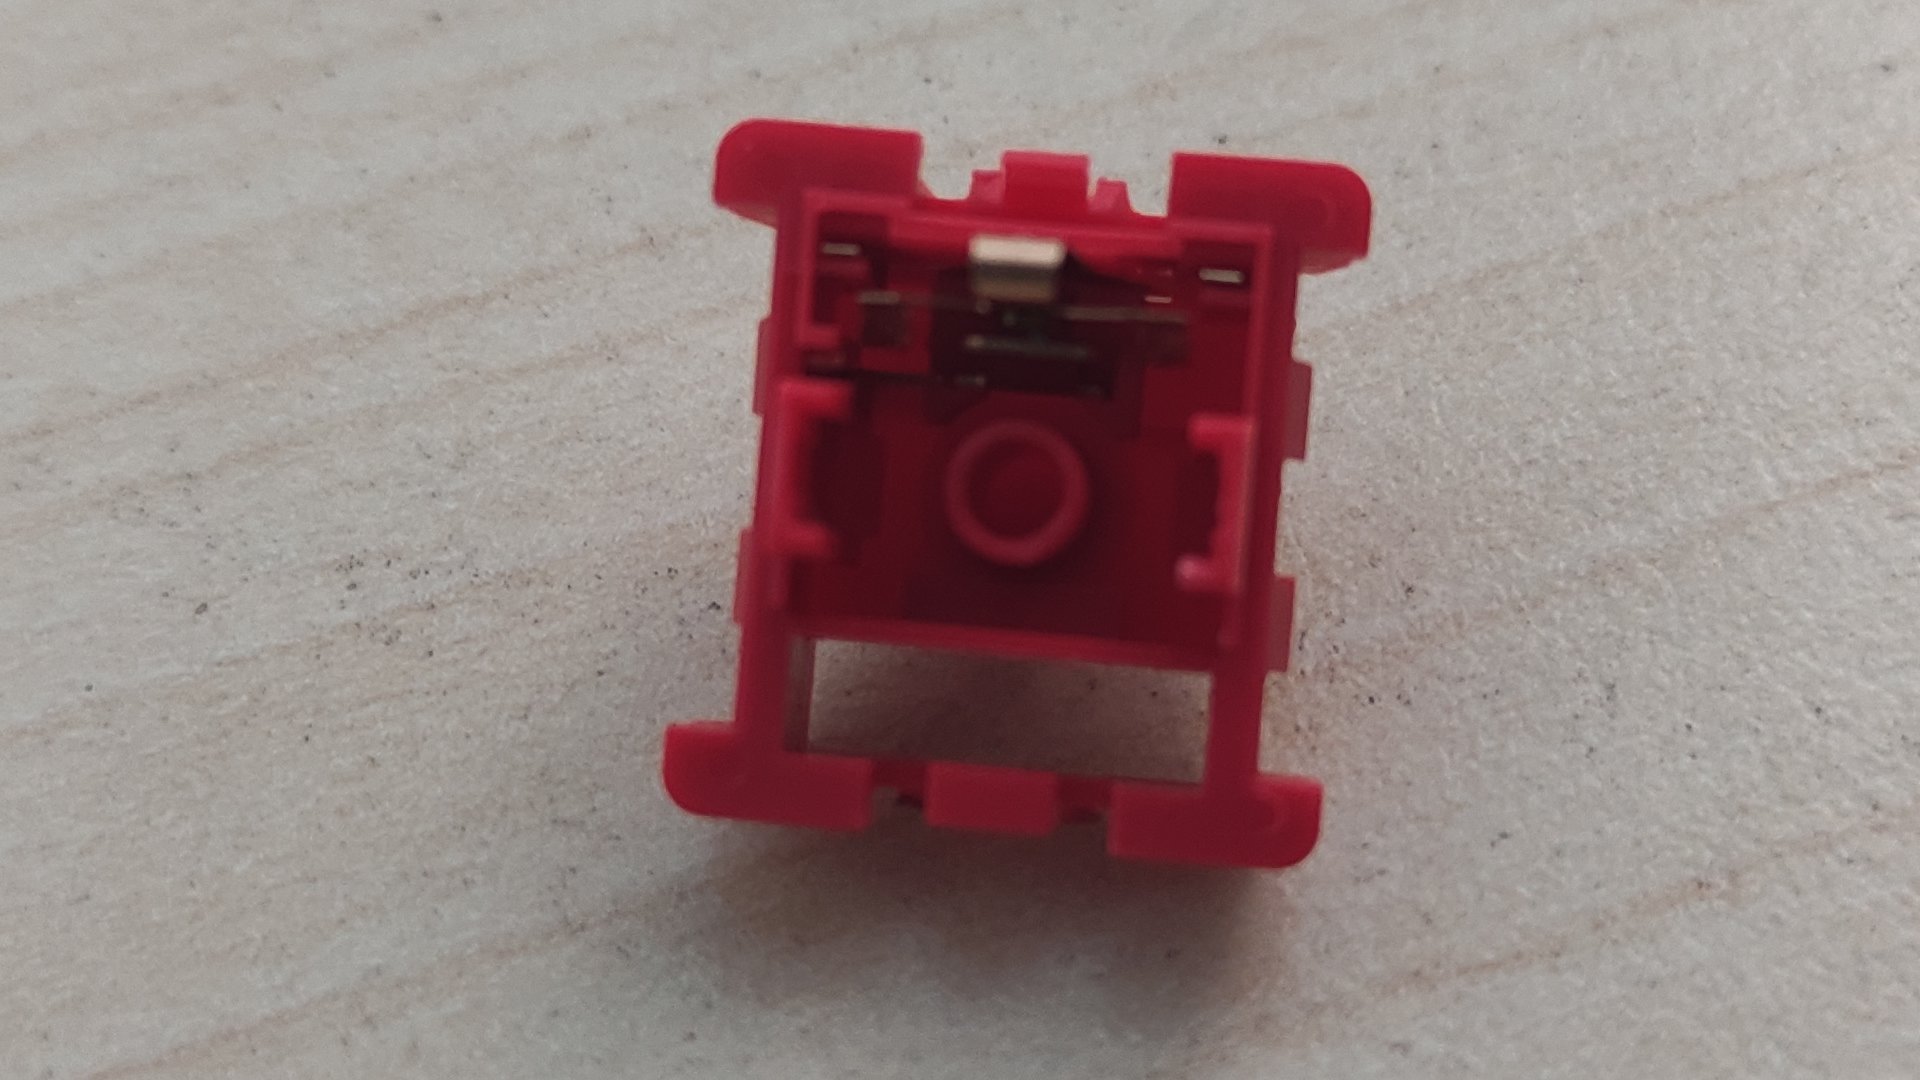
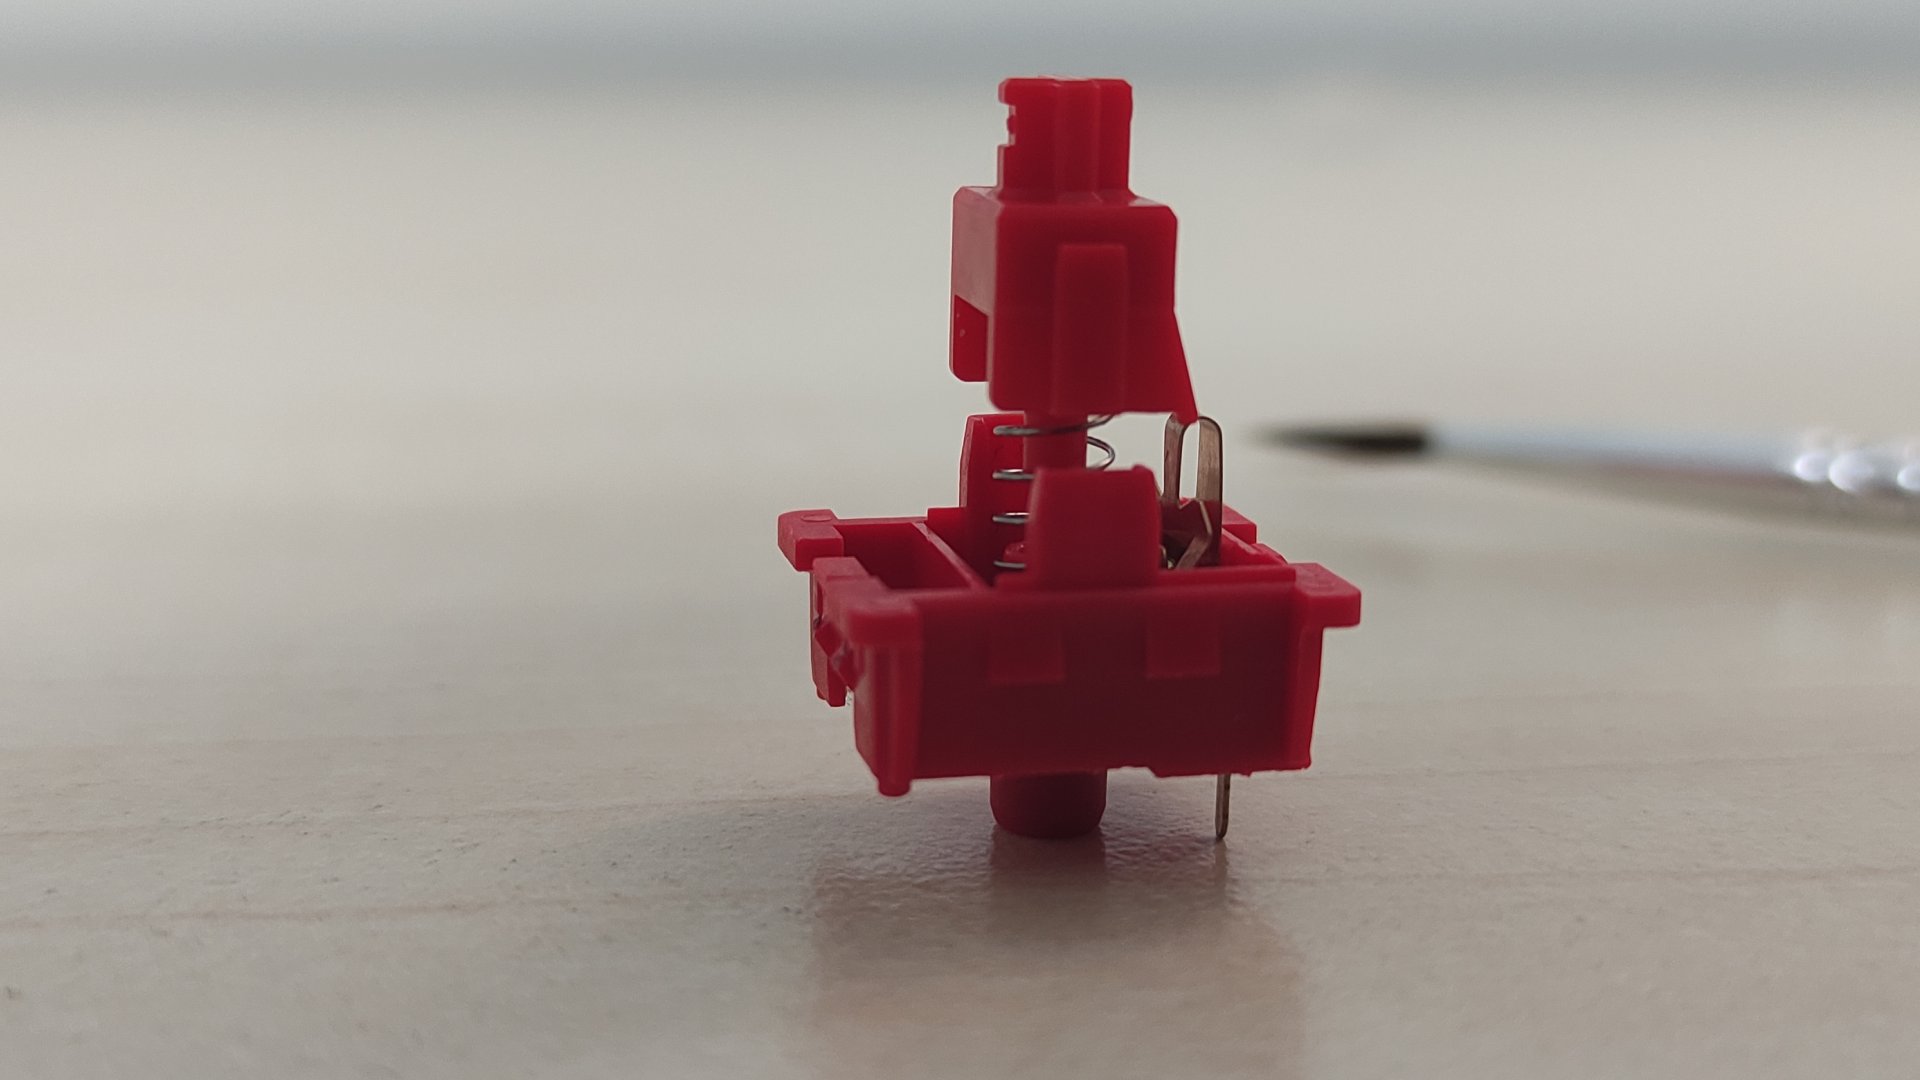
If you want to lube the switch (which is completely optional), the most ideal way is to use a switch opener (1st picture). These save a lot of time and only require you to push the switch down on top of it. You can however use a flathead screwdriver too to whip off the sides of the switch. With Outemu/Kailh box style switches this doesn’t break often, but it’s easy to break an MX style switch this way. From there you apply a light bit of lube on the brush and put this on the sides of the stem, the bottom housing sliders, spring and optionally the top housing. DO NOT apply lube to the stem or the side of the bottom housing with tactile or clicky switches, as this removes part of the tactile feel. As this is a linear switch, I lubed the sliders, spring, stem side and bottom of the switch with Krytox 205G0, a rather thick lube. However, I noticed that CIY reds don’t benefit sufficiently from it for me to justify doing it to all switches.
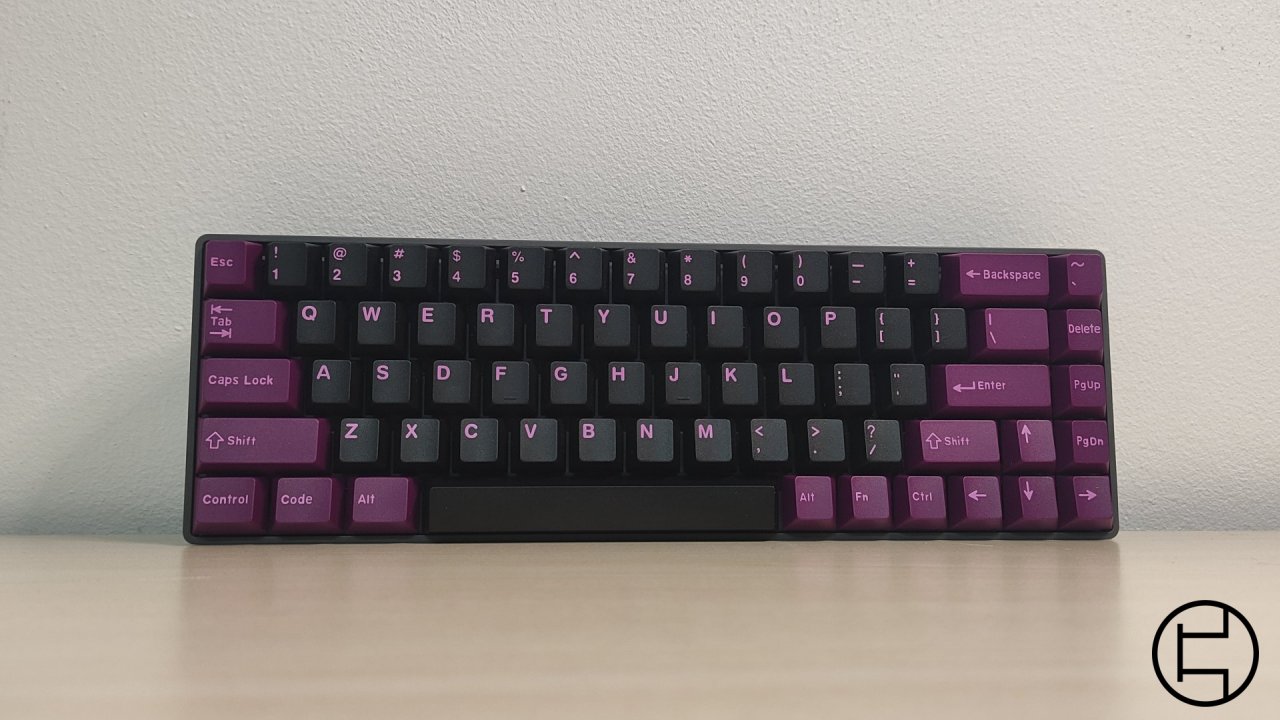
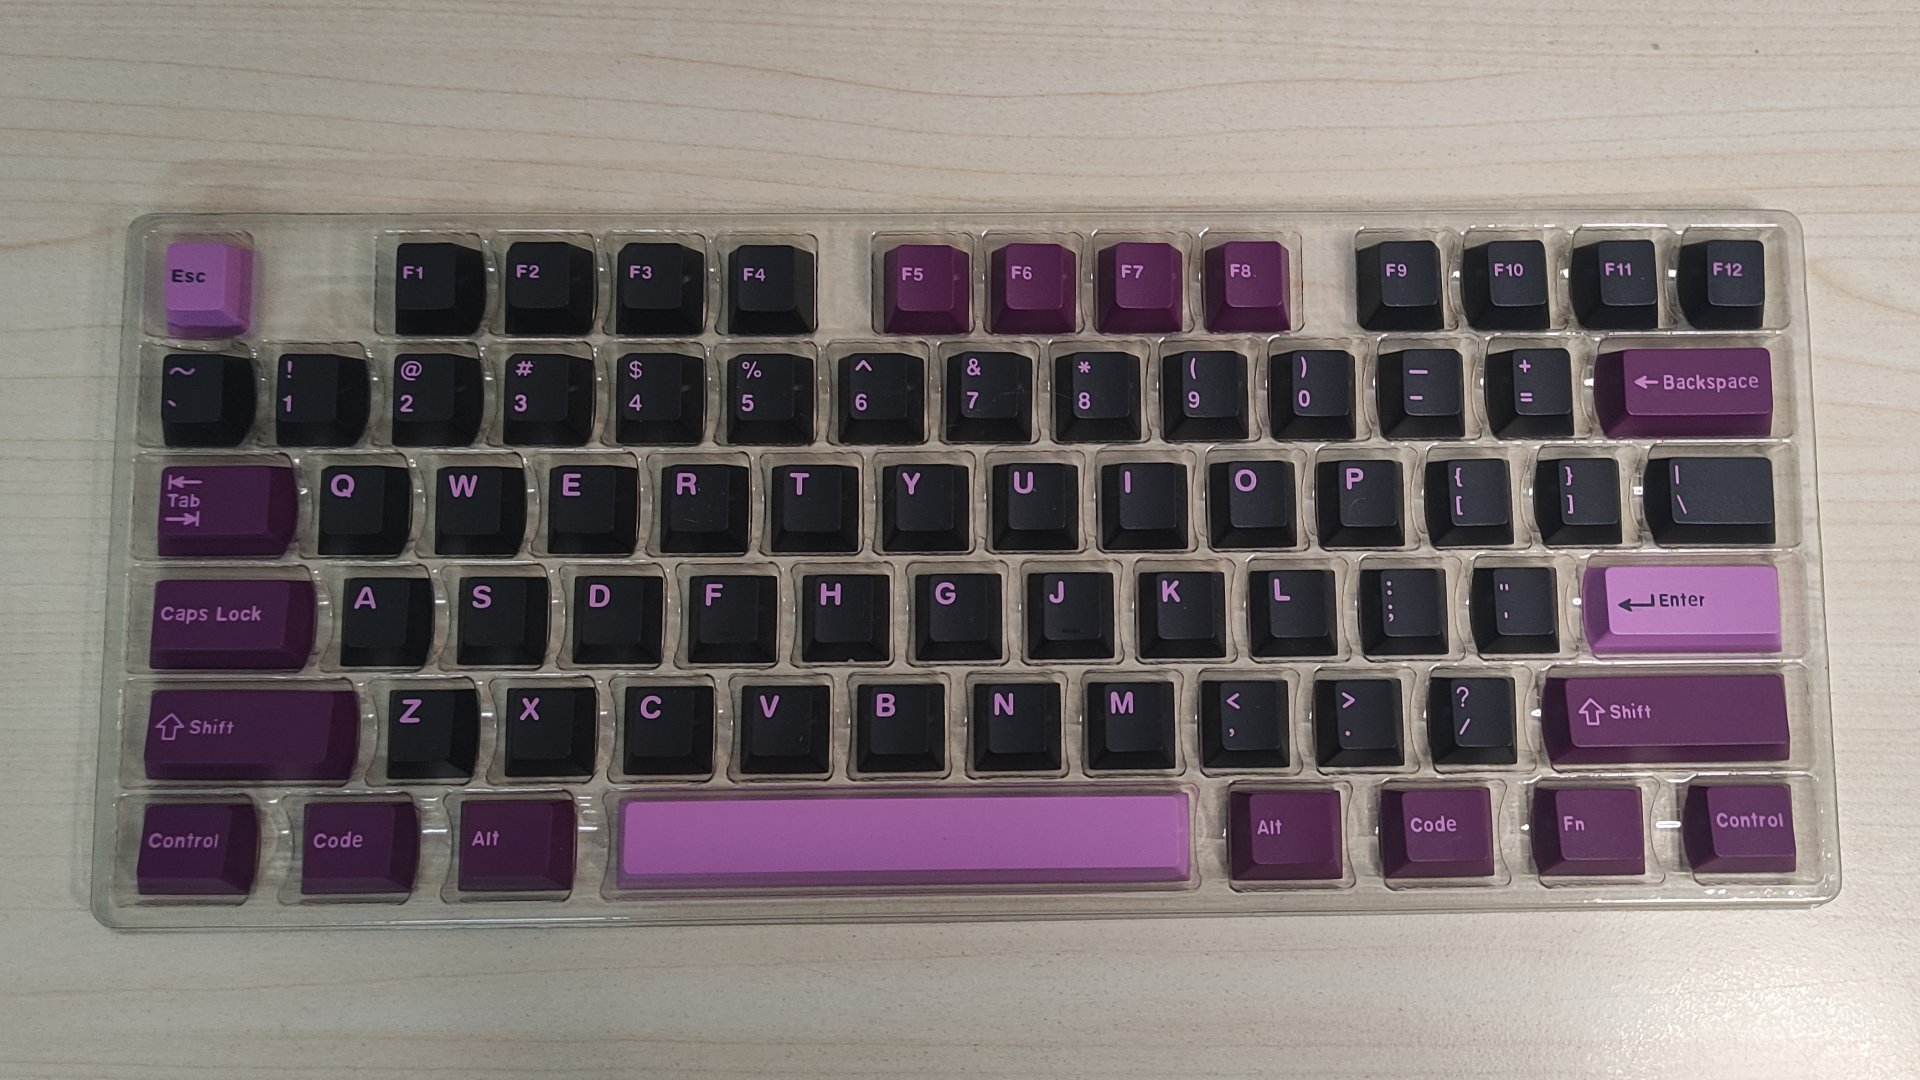
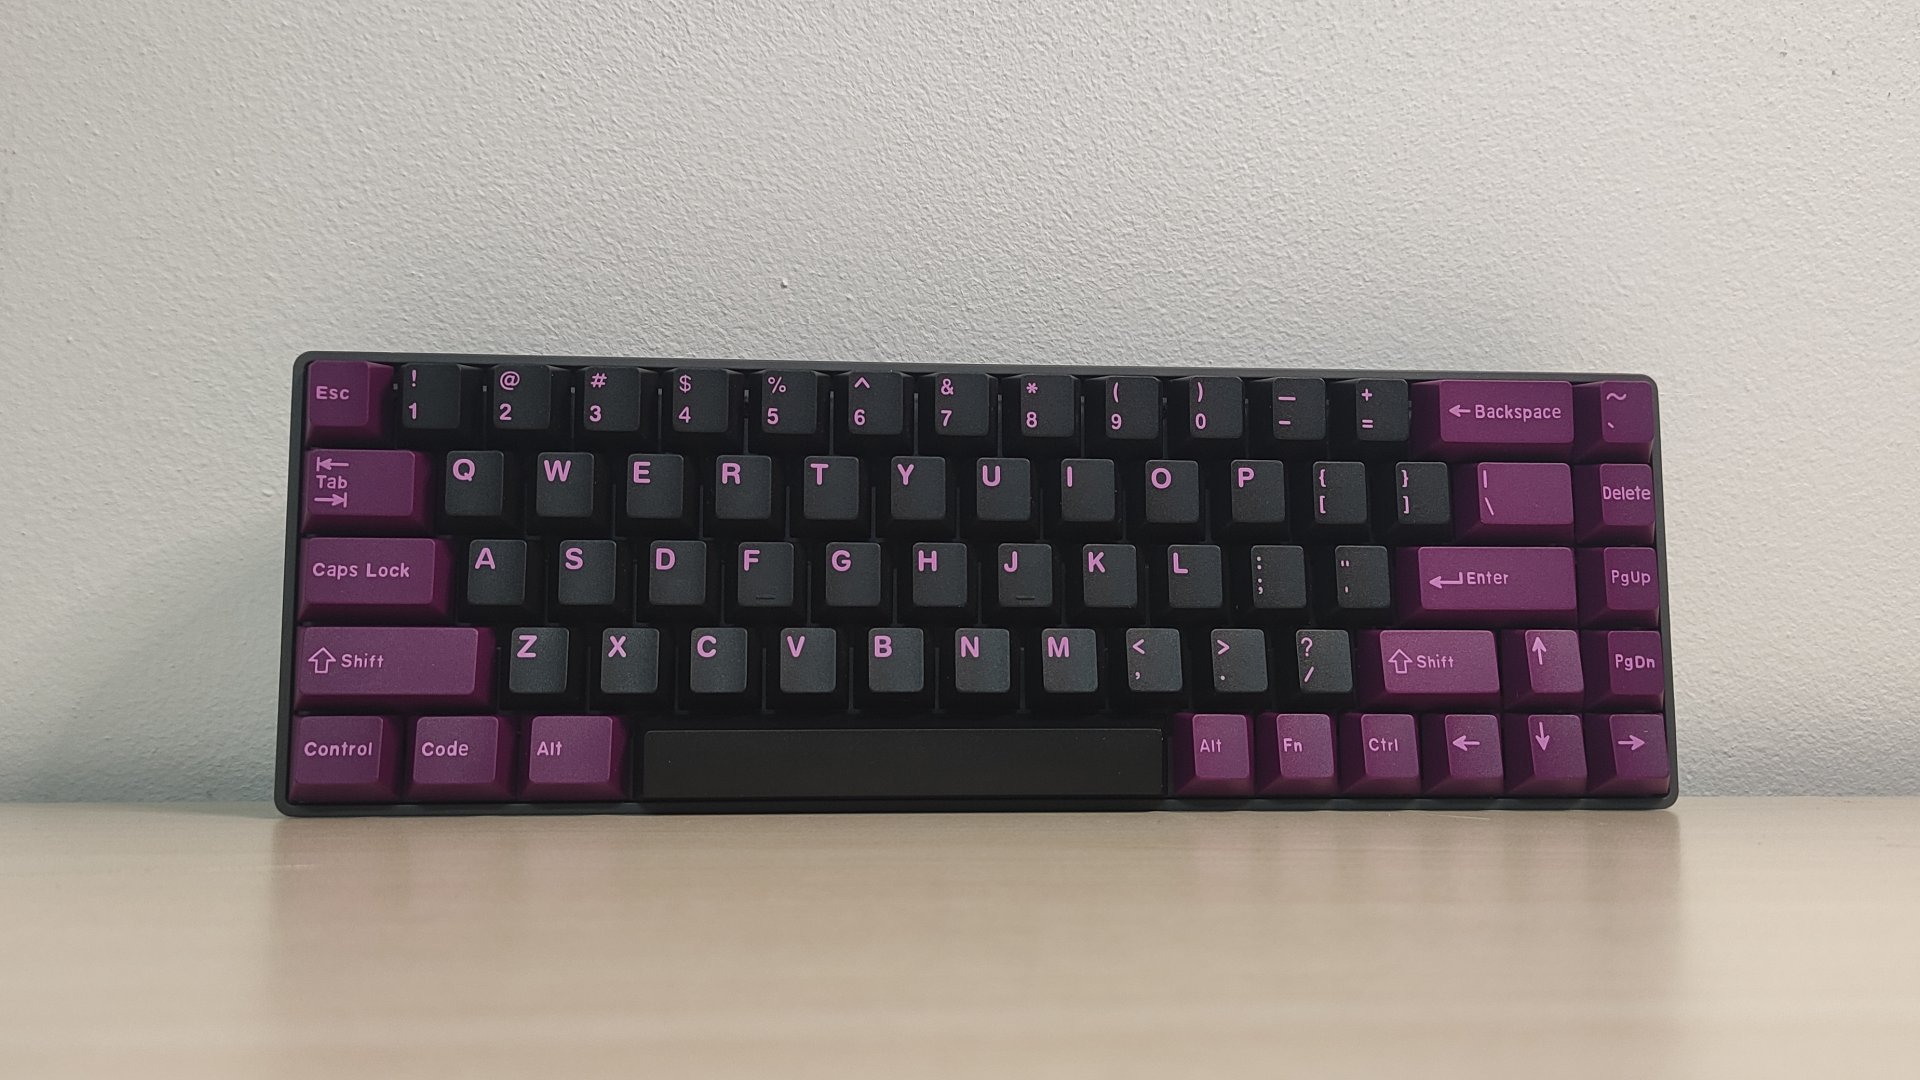
If all the keys now work, it’s time to put the keycaps on. You put the keycap on top of the stem and push it down with a bit of force until you feel that you can press the key comfortably. Repeat this for all keys and after that… You’re done! The TES68 can now be connected to your device(s) of choice and used to its full potential.
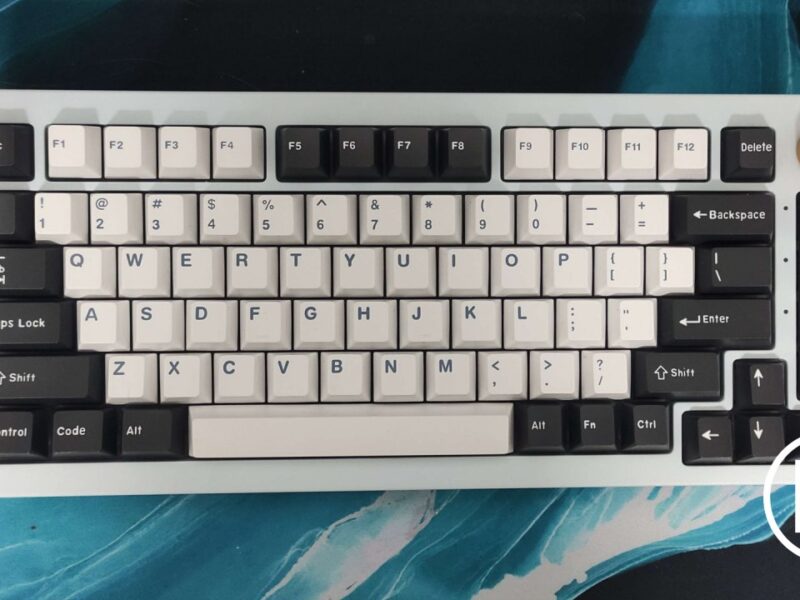
A small thing worth noting about the keycaps here is that the TES68 isn’t fully a standard layout. Most boards use a so called “6.25u” bottom row. A single U is the size of any normal key… say the U key for example. So, a 6.25u key is 6.25x the size of the U key. This is the case on the board as well, but the right ALT, FN and CTRL keys are normally bigger than a single U. This makes the keyboard incompatible with a lot of keycap sets and requires a few extra keys. Keep this in mind when buying a keycap set for it outside of the one Nuphy themselves offers. However, the G-MKY kit here includes 173 keys, so for me this wasn’t an issue.

Compatibility
Note: MX refers to the formfactor here, not a specific product line. The information in this sheet has been verified by us by physically fitting the switches (or very similar to it).
| Switch | Compatible |
|---|---|
| Akko MX | Yes |
| Cherry MX | Yes |
| CIY MX | Yes |
| Durock MX | Yes |
| Everglide MX | Yes |
| Feker MX | Yes |
| Gateron MX | Yes |
| Gateron Optical | No |
| Gazzew MX | Yes |
| JWK MX | Yes |
| Kailh Box MX | Yes |
| Kailh Choc | No |
| Kailh MX | Yes |
| Outemu MX | Yes |
| TTC MX | Yes |
| ZealPC MX | Yes |
The TES68 works with almost everything on the market. The only switches that won’t fit are Gateron optical switches and Kailh choc switches. Gateron optical does not use two pins to short the circuit, instead relying on a laser to actuate the key. Kailh choc has the pins physically different from standard MX, making it incompatible with standard MX PCBs.
But on the bright side, Nuphy and CIY chose to use normal MX sockets instead of the Outemu sockets most cheap boards use. Outemu sockets are more narrow, making them incompatible with a lot of MX switches. Solid stuff here!
Conclusion
Overall, the TES68 is an excellent value. The issue is that at 20 USD you have to do a lot of cost cutting, especially with all the features they did still try to put on it. The soldering quality can be improved, the plate should be slightly wider around the stabilizers, the bottom row isn’t quite standard with a few 1U keys and the board does not have any way of connecting it with a wire. This is not a board you should use as a competitive gamer with its 125hz polling rate either.
But on the bright side, the board has two layers of foam, uses standard MX sockets and can be connected to up to 3 devices at once.
So what do I recommend it for? Honestly… Nuphy calling it the TES(ter)68 fits it perfectly. It’s great to test configurations with, but falls short on build quality to be a solid daily use board and with the high polling rate especially as a gaming board. So if you want something to test a lot with or use as a very low-budget board to take with you to your office? I don’t recommend the CIY switches as they feel rough compared to other options from the likes of Gateron and Akko. However, the keycaps are a valid option at the price if you don’t want to dive into finding a keycap set for it yourself.
CiY X Nuphy TES68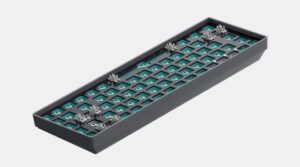
Buy TES68
- Compatible with 3/5-pin MX switches
- Fully hotswap
- Cheap
- Lots of sound dampening
- Soldering quality can be improved
- Non-standard bottom row
- Plate is slightly too narrow around the stabilizers
- Higher-latency wireless only
Alternatives
Razer Huntsman Mini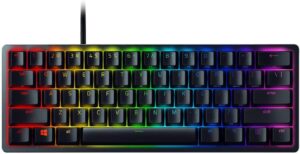
Buy Huntsman mini
- Optical switches
- Good build quality
- Often found cheap on Amazon Warehouse
- RGB backlight
- Higher polling rate
- More expensive
- No alternatives to swap switches with
- No wireless
Dierya DK61E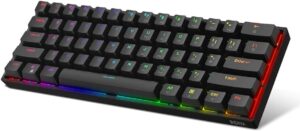
Buy DK61E
- Optical switches
- Decent build quality
- Similar price
- Higher polling rate
- Limited to Gateron Optical
- No wireless
Skyloong SK64
Buy SK64
- Optical switches
- Decent build quality
- Similar price
- Higher polling rate
- Limited to Gateron Optical
- No wireless
Kemove Snowfox
Buy Snowfox
- MX hotswap
- Good build quality
- More expensive
- No wireless connectivity
Akko 3068
Buy 3068
- Excellent build quality
- Wide range of switch options from Gateron, TTC and Akko
- Hotswap (not all models)
- Wide range of themes
- Most models are wired only
- Significantly more expensive
Varmilo Miya68-C (EC switch)
Buy Miya68-C
- Excellent build quality
- Amazing stock switches
- Wide range of themes
- No hotswap
- Wired only
- Significantly more expensive
Keychron K6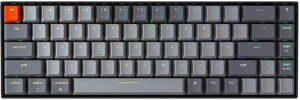
Buy K6
- Hotswap (optional)
- Solid switch choices
- Great build quality
- Wireless on multiple devices
- Made with Mac and Windows compatibility in mind
- More expensive
- Higher latency wireless
Keychron K12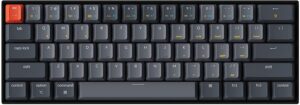
Buy K12
- Hotswap (optional)
- Solid switch choices
- Great build quality
- Wireless on multiple devices
- Made with Mac and Windows compatibility in mind
- More expensive
- Higher latency wireless
Keychron K14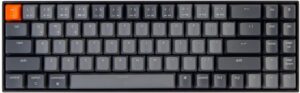
Buy K14
- Hotswap (optional)
- Solid switch choices
- Great build quality
- Wireless on multiple devices
- Made with Mac and Windows compatibility in mind
- More expensive
- Higher latency wireless
Drevo Calibur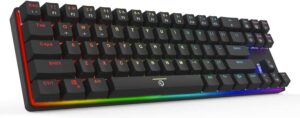
Buy Calibur
- Similar price
- Supports bluetooth on two devices at once
- Good build quality
- Higher latency wireless
- Limited to Outemu options
- No hotswap