This is Part 4 of a 5-part series on keyboards. Linked below is the rest.
Part 1: Switches
Part 2: Keycaps
Part 3: PCB and Stabilizers
Part 4: Case, Plate, and Mounting
Part 5: Buying Parts
In this part of keyboard 101, we will go over the case and its materials, the plate and its materials, and the various styles of mounting a keyboard inside its case.
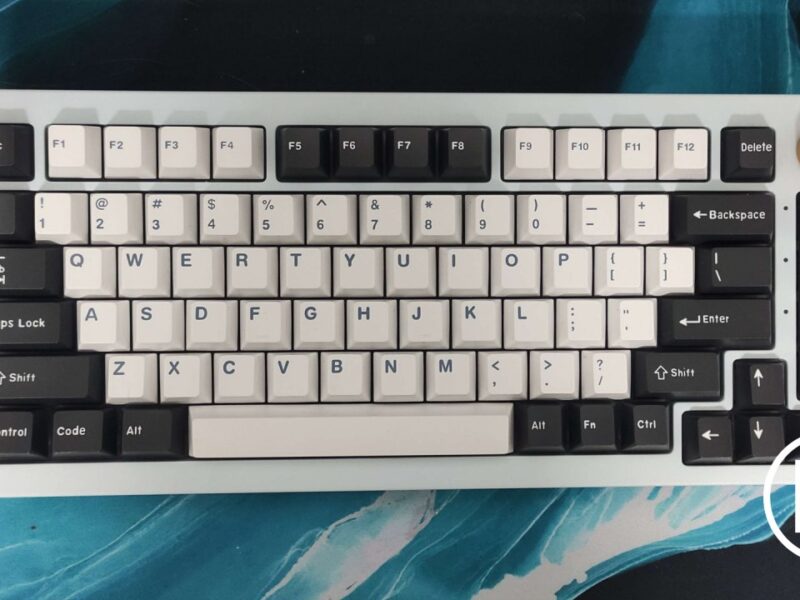
Case
Keyboard cases are responsible for holding and protecting the rest of the keyboard. They come in various materials, styles, and sizes. Along with switches and mounting plates, the keyboard case is one of the biggest factors in how a keyboard sounds. There are very few caseless keyboards. The Gingham kit by Yiancar is one of the more prominent options in that category.
Case Materials
Keyboard cases can come in a variety of materials. For the most part, keyboard cases are made up of plastic, aluminum, or some combination of the two. Other materials such as FR4, steel, and brass may be used, but use of FR4 is scarce and the metals are typically only used for keyboard weights.
Similar to plates, harder case materials tend to accentuate high pitched ping, click, and clack from the switches. Softer case materials such as FR4 and thicker acrylic tend to sound much more dampened than thinner plastics and metals. Ignoring mounting style, case material has little to no effect on the feel of a keyboard.
Case Design
The main aspects that change between cases are the PCB size and mounting style. The PCB size directly affects how many switches are present on the board, which may affect usability for some end users. Mounting style is covered below. Other than these two aspects, most keyboard cases strive to be externally unique.
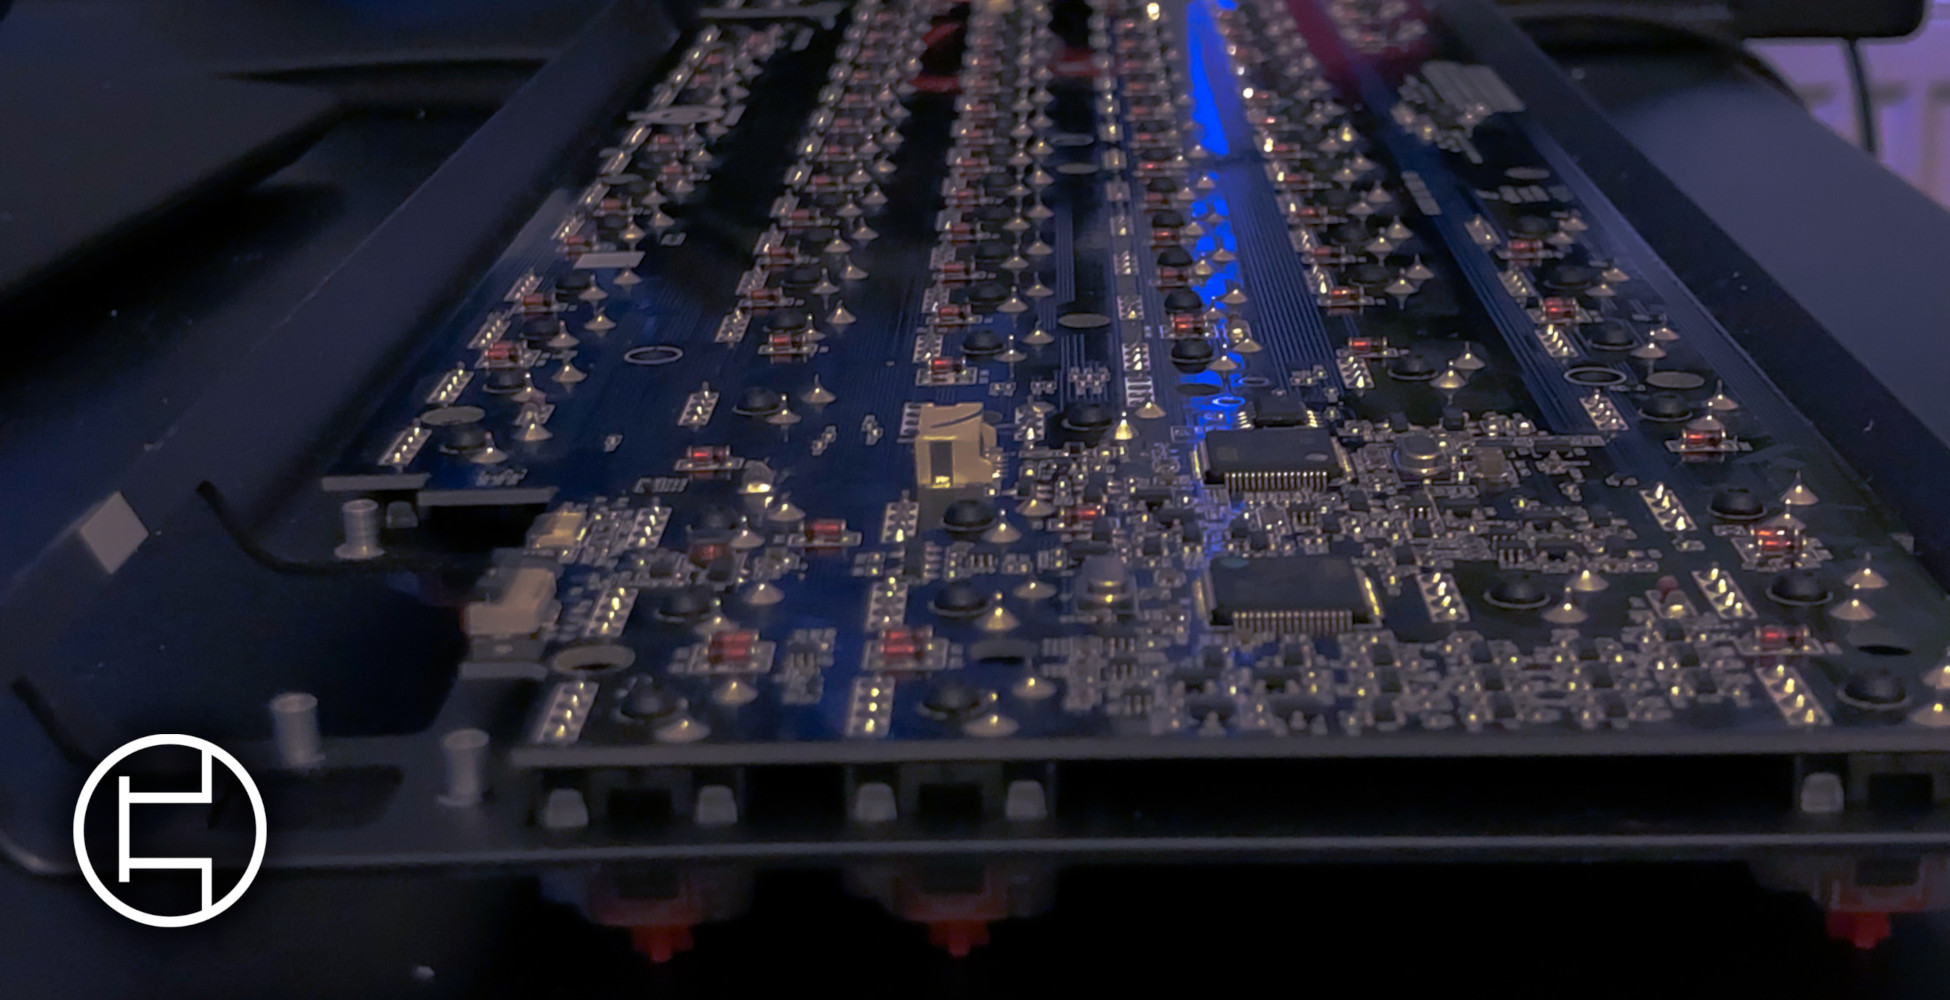
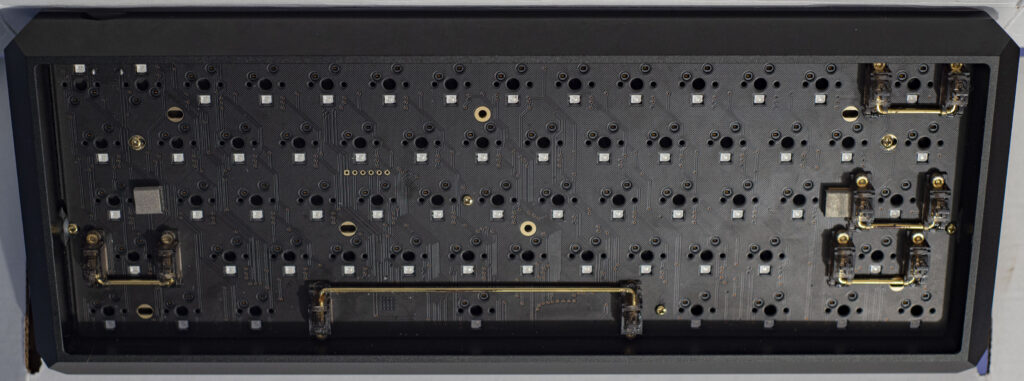
Plate
Plates, used in nearly every keyboard, not only help keep the switches aligned but also help disperse force across the PCB or case, in some instances. They also help to provide a more consistent and firm typing feel depending on what type of plate you use. There still exist keyboards that don’t have a mounting plate, with the Gingham being a prominent example once again. Instead, all the force of bottoming out gets absorbed by the PCB, resulting in a more bouncy and flexible typing experience. Although not required, mounting plates help to stiffen the keyboard and are another aspect of customization.
Plate Materials
Plates are available in a multitude of different materials, including aluminum, brass, steel, FR4, POM, polycarbonate, and more. Out of these, aluminum is the most common with brass not far behind. The other materials are harder to find and tend to be more expensive.
Different plate materials provide higher or lower pitched resonance and can change the rigidity of your keyboard. Denser materials like steel and brass make the keyboard very rigid and accentuate higher frequencies, while materials like FR4 and polycarbonate tend to be more acoustically absorbent and are much more flexible. Aluminum is a middle ground, providing more rigidity than less dense materials without bringing out high frequency noise as much as denser ones.
Plate Design
There are various things that one can do while designing a plate to make it unique. For example, one can add flex cuts, extra cutouts used to separate the alpha cluster from the rest. This results in a slightly different sound signature than a solid plate, and allows the plate to flex more than it normally would.
Plate designers may design their plate with a specific layout in mind. The common layouts in the community are ANSI, ISO, WKL, Tsangan, and HHKB. Layout support depends on the PCB and plate of the keyboard, though more so on the PCB as most aftermarket mounting plates support a variety of layouts.
For those who want a less stiff typing experience in a keyboard that requires a plate (like top mounts), they can use a half plate. A half plate eliminates the section where the alphas would normally be attached, which makes it more flexible and helps dampen switch noise.
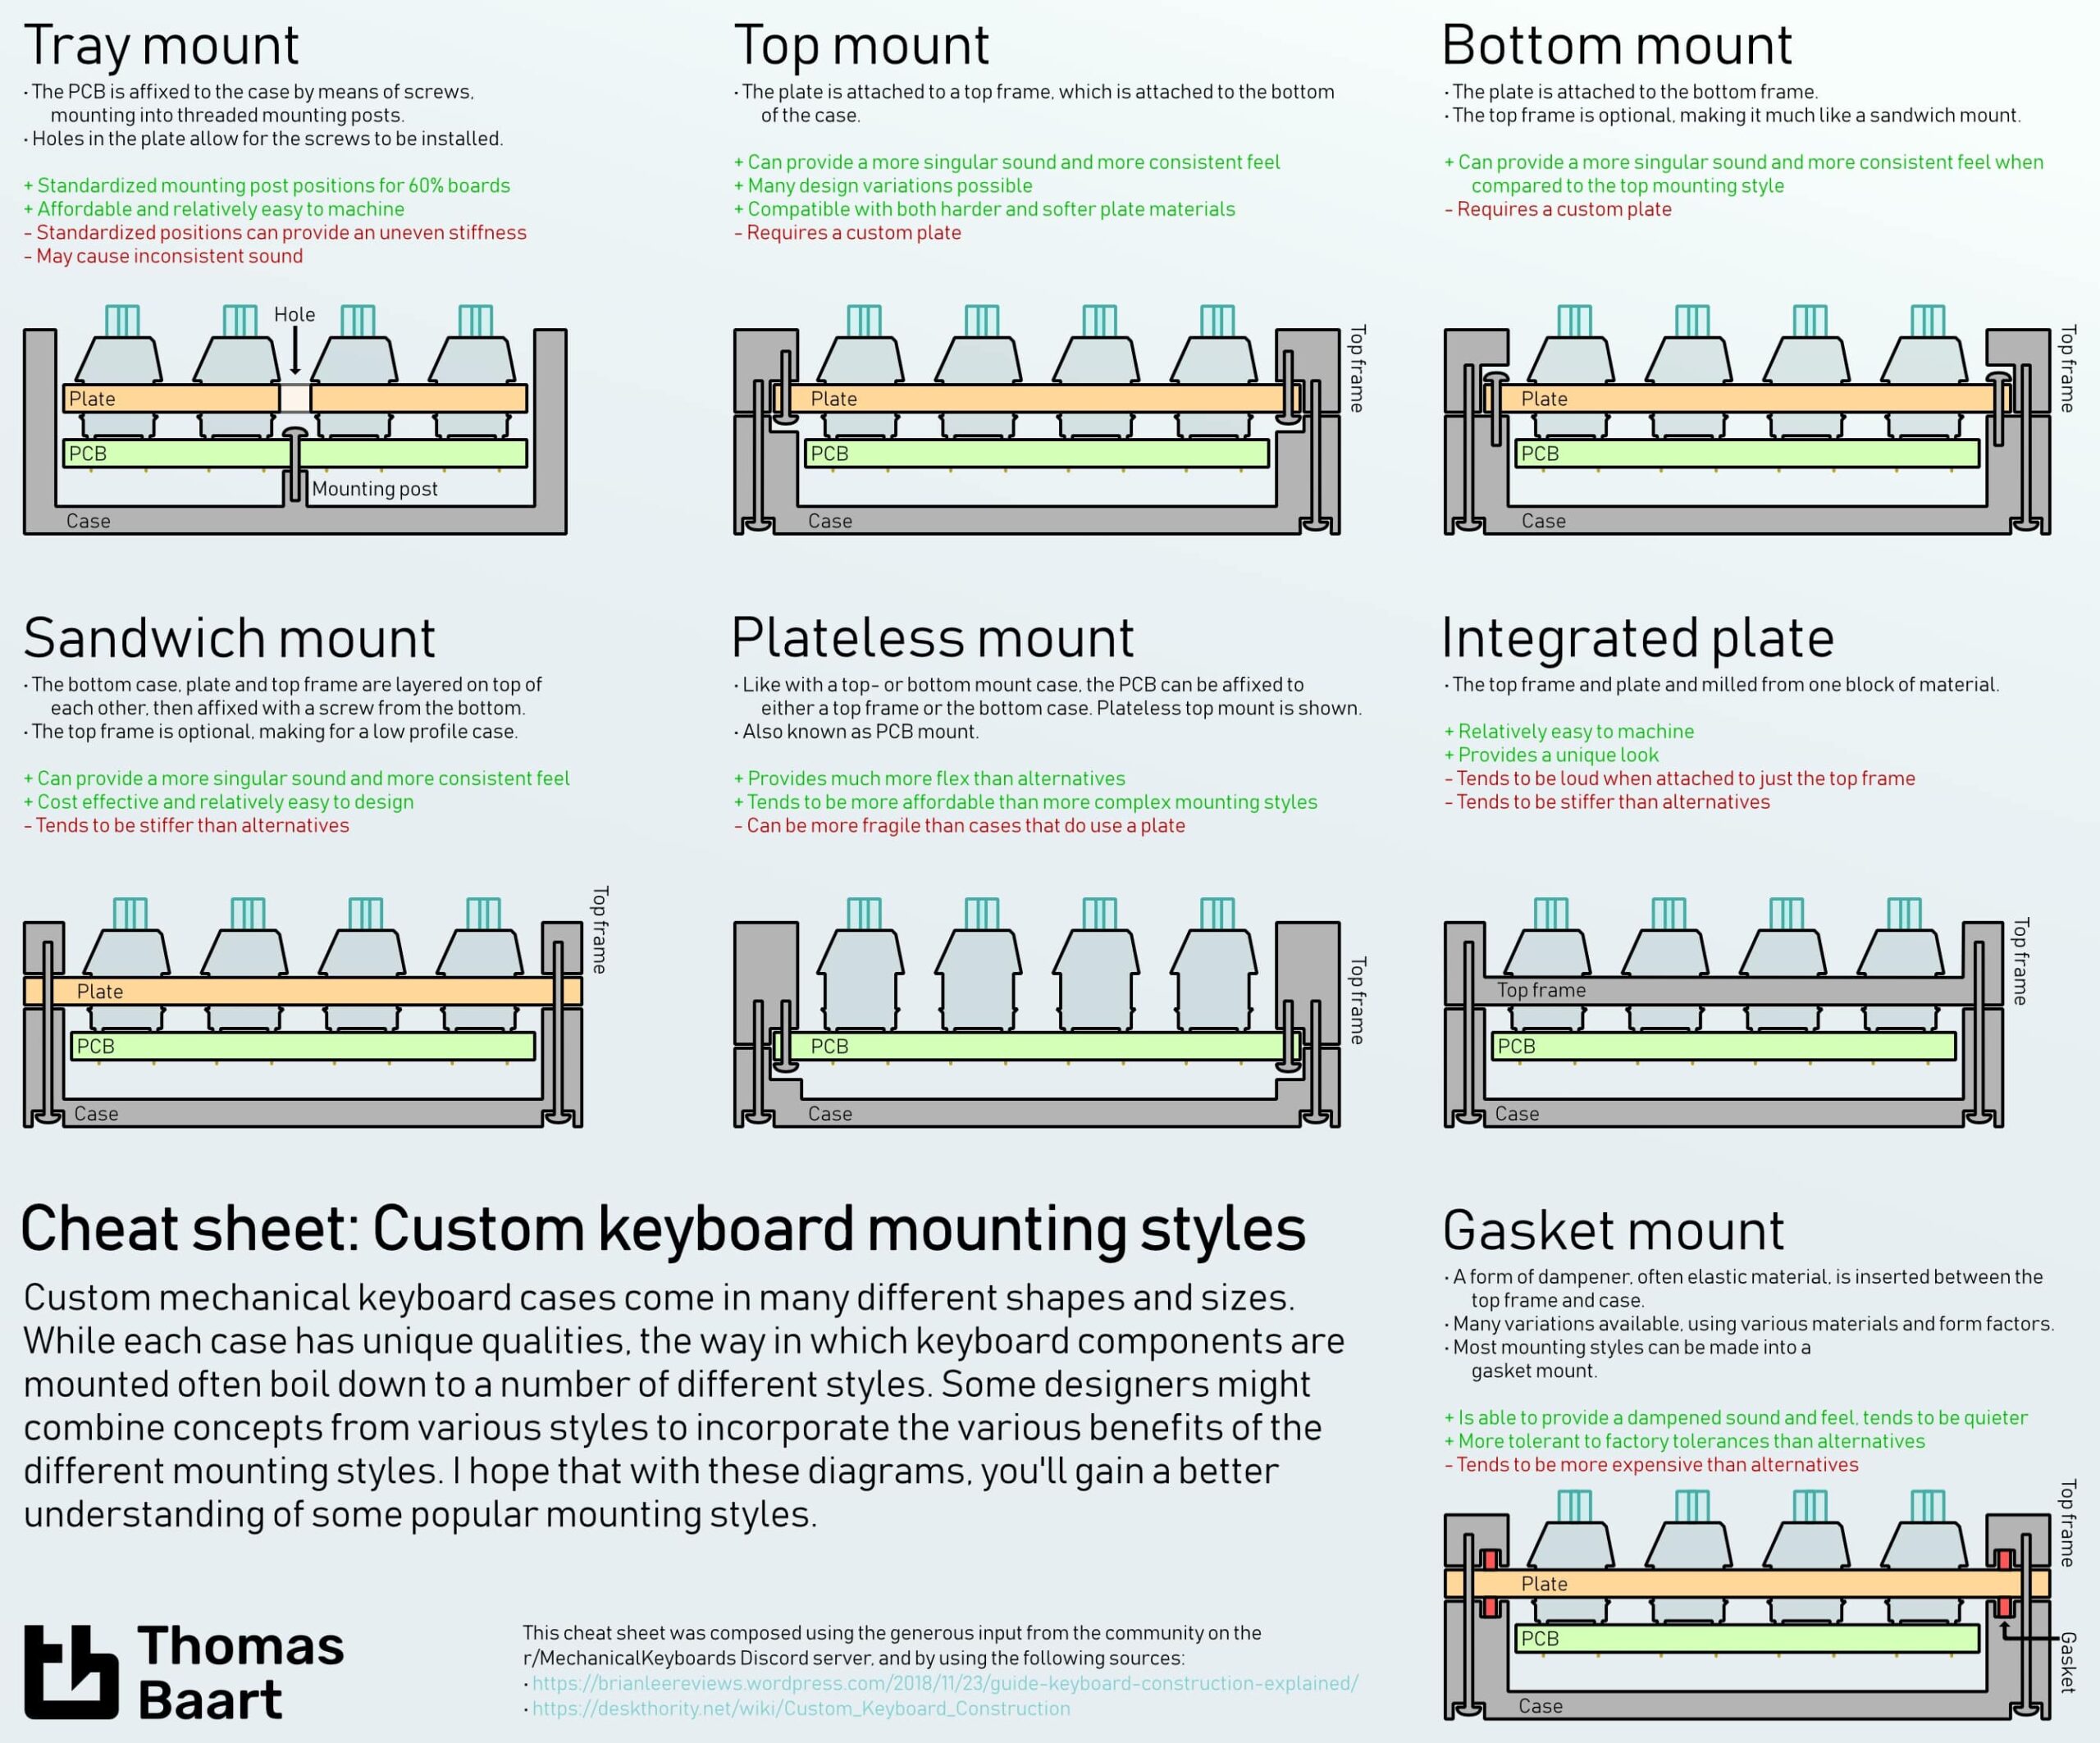
Keyboard Mounting Styles
The mounting style of a keyboard can drastically change the sound and feel. For example, integrated plate keyboards are the most common type of mounting in preassembled keyboards, and it is one of the loudest keyboard styles thanks to the stiff top plate and excess of space underneath the PCB. In contrast, plateless or PCB mount keyboards are uncommon and they are usually the least rigid and quietest out of the options shown here.
Tray Mount
Tray mounted keyboards use screws to attach the PCB to the bottom of the case. Keyboards with this style of mounting usually have standardized mounting post positions, allowing for easy PCB swapping. Unfortunately, the mounting post positions lead to uneven stiffness and sometimes an inconsistent sound profile across the board, which typically isn’t desirable. The main advantage of this mounting style is that it’s affordable and relatively easy to machine, resulting in a more affordable keyboard for the consumer. Most entry level keyboard kits use this mounting style.
Top Mount
Top mount cases use a two-part case attached with screws. Instead of screwing the PCB directly into the plate like tray mount, the plate is attached to the underside of the top half of the case, as shown in the diagram further down the page. While this design requires a custom mounting plate, basic designs can use any standard PCB at your disposal. It also works with a range of plate materials, allowing for further customization. The stiffness of this mounting style is typically harder towards the edges and softer in the middle.
Bottom Mount
Bottom mount is practically the same as top mount, except the mounting plate attaches to the bottom half of the case instead of the top. Also like top mount, it requires a custom mounting plate. This style tends to be more consistently stiff than top mount, which some may enjoy more.
Sandwich Mount
In this type of mounting, the screws fully go through the bottom housing, plate, and top housing of the keyboard. This results in the sandwiching of the plate, hence the name “Sandwich Mount”. As I have mentioned before, the sandwich mount allows for removal of the top housing, resulting in a low profile case. Sandwich mounting provides a more singular sound and more consistent feel while also being cost effective and relatively easy to design. Although this style tends to be stiffer than alternatives.
PCB Mount
Also called plateless, PCB mount cases are similar to top and bottom mount, but they use the PCB as the attaching point rather than a mounting plate. This style can use a floating mounting plate like a tray mount case, or be run without one for a different feel. Unfortunately, this requires a custom PCB, which tends to drive up the cost more than a custom plate.
Integrated Plate
In integrated plate keyboards, the mounting plate is part of the top housing. This means the keyboard case is only made of two pieces, which is easier to manufacture and helps bring down the cost of the keyboard. The integrated plate makes this style very stiff, which some users may like more than others. This is the most common mounting style, as the majority of non-custom mechanical keyboards use an integrated plate.
Gasket Mount
Gasket mount is probably the most desired mounting style as of late. They use a dampening material, usually an elastic, between the plate and PCB and often between the PCB and the case. The dampener softens the sound of the board, reduces plate ping, and cushions the switch assembly resulting in a more flexible typing feel. This style allows for slightly looser factory tolerances than other mounting styles, but it tends to be more expensive due to the need for a custom plate and the extra dampening material.
Sources
https://keyboard.university/200-courses/plate-materials-sizes-9yn46