This is Part 3 of a 5-part series on keyboards. Linked below are the rest.
Part 1: Switches
Part 2: Keycaps
Part 3: PCB and Stabilizers
Part 4: Case, Plate, and Mounting
Part 5: Buying Parts
What is a PCB?
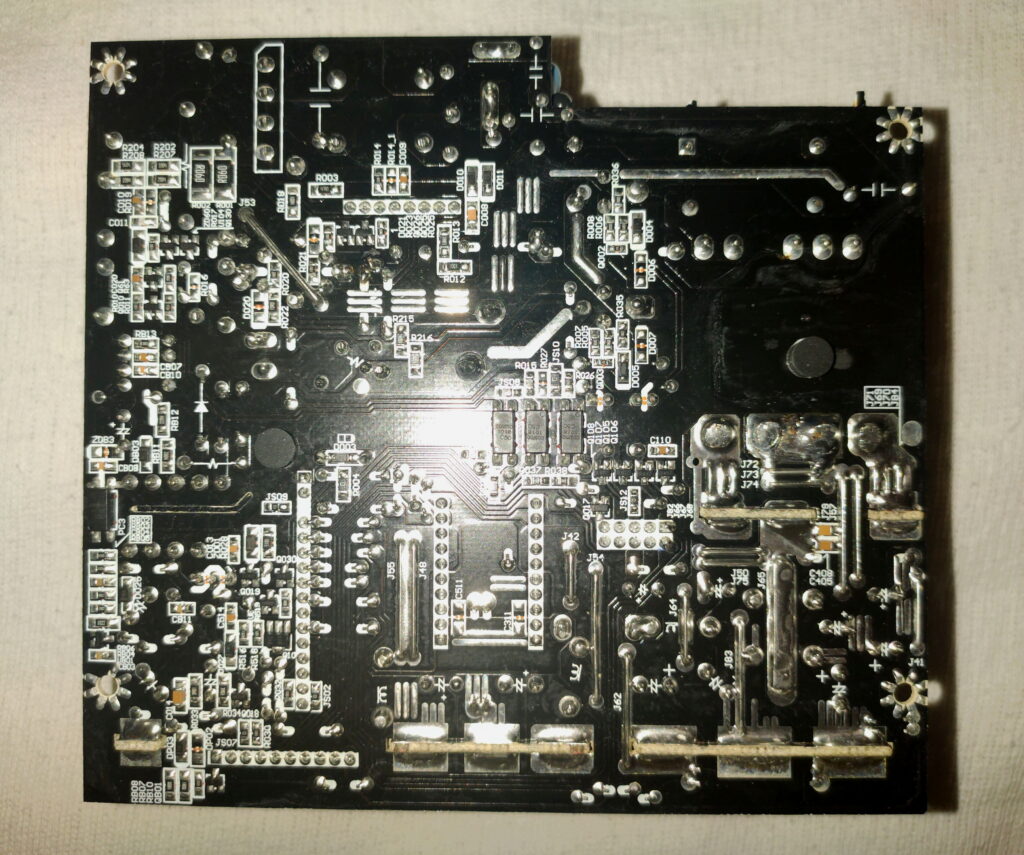
PCBs, or Printed Circuit Boards, are used in almost every modern electrical product. They are made from fiberglass and copper sheets layered together. PCBs work by having part of the copper layer etched away and covered with a protective solder coating, which allows the remaining copper, called a trace, to act like a wire connecting one or more areas on the board. This make up the motherboard in your computer or smartphone, the non-heatsink part of a graphics card, and even part of your computer fans and PSU. Best of all, they’re used in the majority of mechanical keyboards.
PCB vs Membrane Keyboards
In the world of keyboards, there are two main methods of creating a signal to send to the computer, and both work in a similar way. There are others, but they are either very uncommon or not produced anymore.
Membrane based keyboards have two sheets with conductive contacts on them, called membranes, and a separator sheet that keeps the contacts from touching. Because these sheets are kept apart, they need something to press on the top sheet to bridge the membranes and send the signal to the computer. This is usually done with a buckling rubber dome that has a nipple on the underside to press the sheets together.
PCB based keyboards work similarly, in the sense that they also have two contacts that need to be bridged. The difference comes from how the bridge is formed. PCB based keyboards typically go one of three ways: switch-side contacts, PCB-side contacts, or optical. The majority of keyboards and switches on the market currently use switch-side contacts, so I will focus on those.
After a certain distance in the key travel, metal leaves within the switch bridge the contacts on the PCB, allowing the signal to pass through to the on-board controller which then translates it to the corresponding output to send to the computer.

PCBs are great for keyboards. They add rigidity, open up the option of n-key rollover, and allow the designer to add mounting holes for multiple layouts on one PCB design. The main downside compared to membrane is elevated cost. Fiberglass and copper costs quite a bit more than plastic and less copper, so because they serve the same end purpose most business-oriented System Integrators (Dell, HP, etc.) will include membrane keyboards with their PCs.
Keyboard PCBs – Solder VS Hotswap
Keyboard PCBs come in two types: solder and hotswap.
Solder
Your standard mechanical keyboard PCB is a solder board. These PCBs use solder to attach the contact legs from the switch to holes in the PCB. Solder-based PCBs are usually cheaper and more versatile than hotswap PCBs. The lack of hotswap sockets allows a designer to include more switch mounting points than on hotswap PCBs. The switches are also more stable on solder PCBs thanks to the solid physical connection between the switch and the PCB.
Their main downside is a lack of easy swapping. The solder holding the switches in place needs to be removed if you want to change the switches in a solder-based keyboard, which is time consuming.
Hotswap
As the name implies, hotswap PCBs allow you to swap out the switches without any extra tools, save maybe keycap and switch pullers. They’re great for testing switches because it isn’t nearly as time consuming to change switches for another.
The main downside to hotswap is a lack of a physically solid connection to the PCB, making a mounting plate all but necessary.
Keyboard Firmware and Software
Some keyboards allow you to change the output of the keyboard’s controller through one of a few different ways.
QMK/VIA
QMK allows you to customize the output of individual switches on a keyboard. VIA is effectively an interface for QMK that allows for configuration similar to the QMK Configurator, but it doesn’t change the firmware of the board.
Software
Many mainstream gaming keyboards have software implementations for changing the firmware. The three most common (as far as I know) are Corsair iCue, Razer Chroma, and Logitech G Hub, which can be used to control each brand’s keyboard-side RGB and macro functions if the keyboard has programmable macro keys. Sometimes keyboards only have these functionalities saved on the program side, but it depends on the model and brand.
Others
- AutoHotKey (AHK)
AHK is a software you can run on your PC to turn any key into a macro button. Unfortunately, it doesn’t change the firmware of the keyboard and it needs to run in the background for it to work. Unlike proprietary software solutions, it works with any keyboard. As an added bonus, it’s free!
- Keyboard-Side Programmability
This is more common on older keyboards, but some keyboards allow you to create macros just by plugging it in and pressing a special combination of keys. Some older keyboards allow you to reprogram every single key, like the Gateway 2000 Anykey, while most delegate a group of keys, usually called PF keys, like those mainstream gamer keyboards I mentioned earlier.
- Soarer’s Converter
A Soarer’s Converter is a custom developer board that uses special firmware for translating older keyboard scan codes used over 5-pin DIN plugs (AT/XT) or PS/2 ports to be used over USB. It requires a pro micro or another ATmega32U4 developer board, some wiring knowledge (or googling skill), and a keyboard that uses older standard scan codes. After it’s set up, you can even reprogram any key by modifying a special file in the converter’s folder. If you are interested in creating your own, Deskthority user xueyao made a step-by-step process in this post on their forums. If I can do it, I’m confident anyone else can.
Stabilizers
Keycap stabilizers do what their name suggests: they stabilize keycaps. They are typically long wires attached to the keycap that make it so you can press anywhere on a stabilized keycap and the switch will still go down. Stabilizers are usually used on longer keycaps like the spacebar, backspace, and shift and enter keys.
MX Style Stabilizers
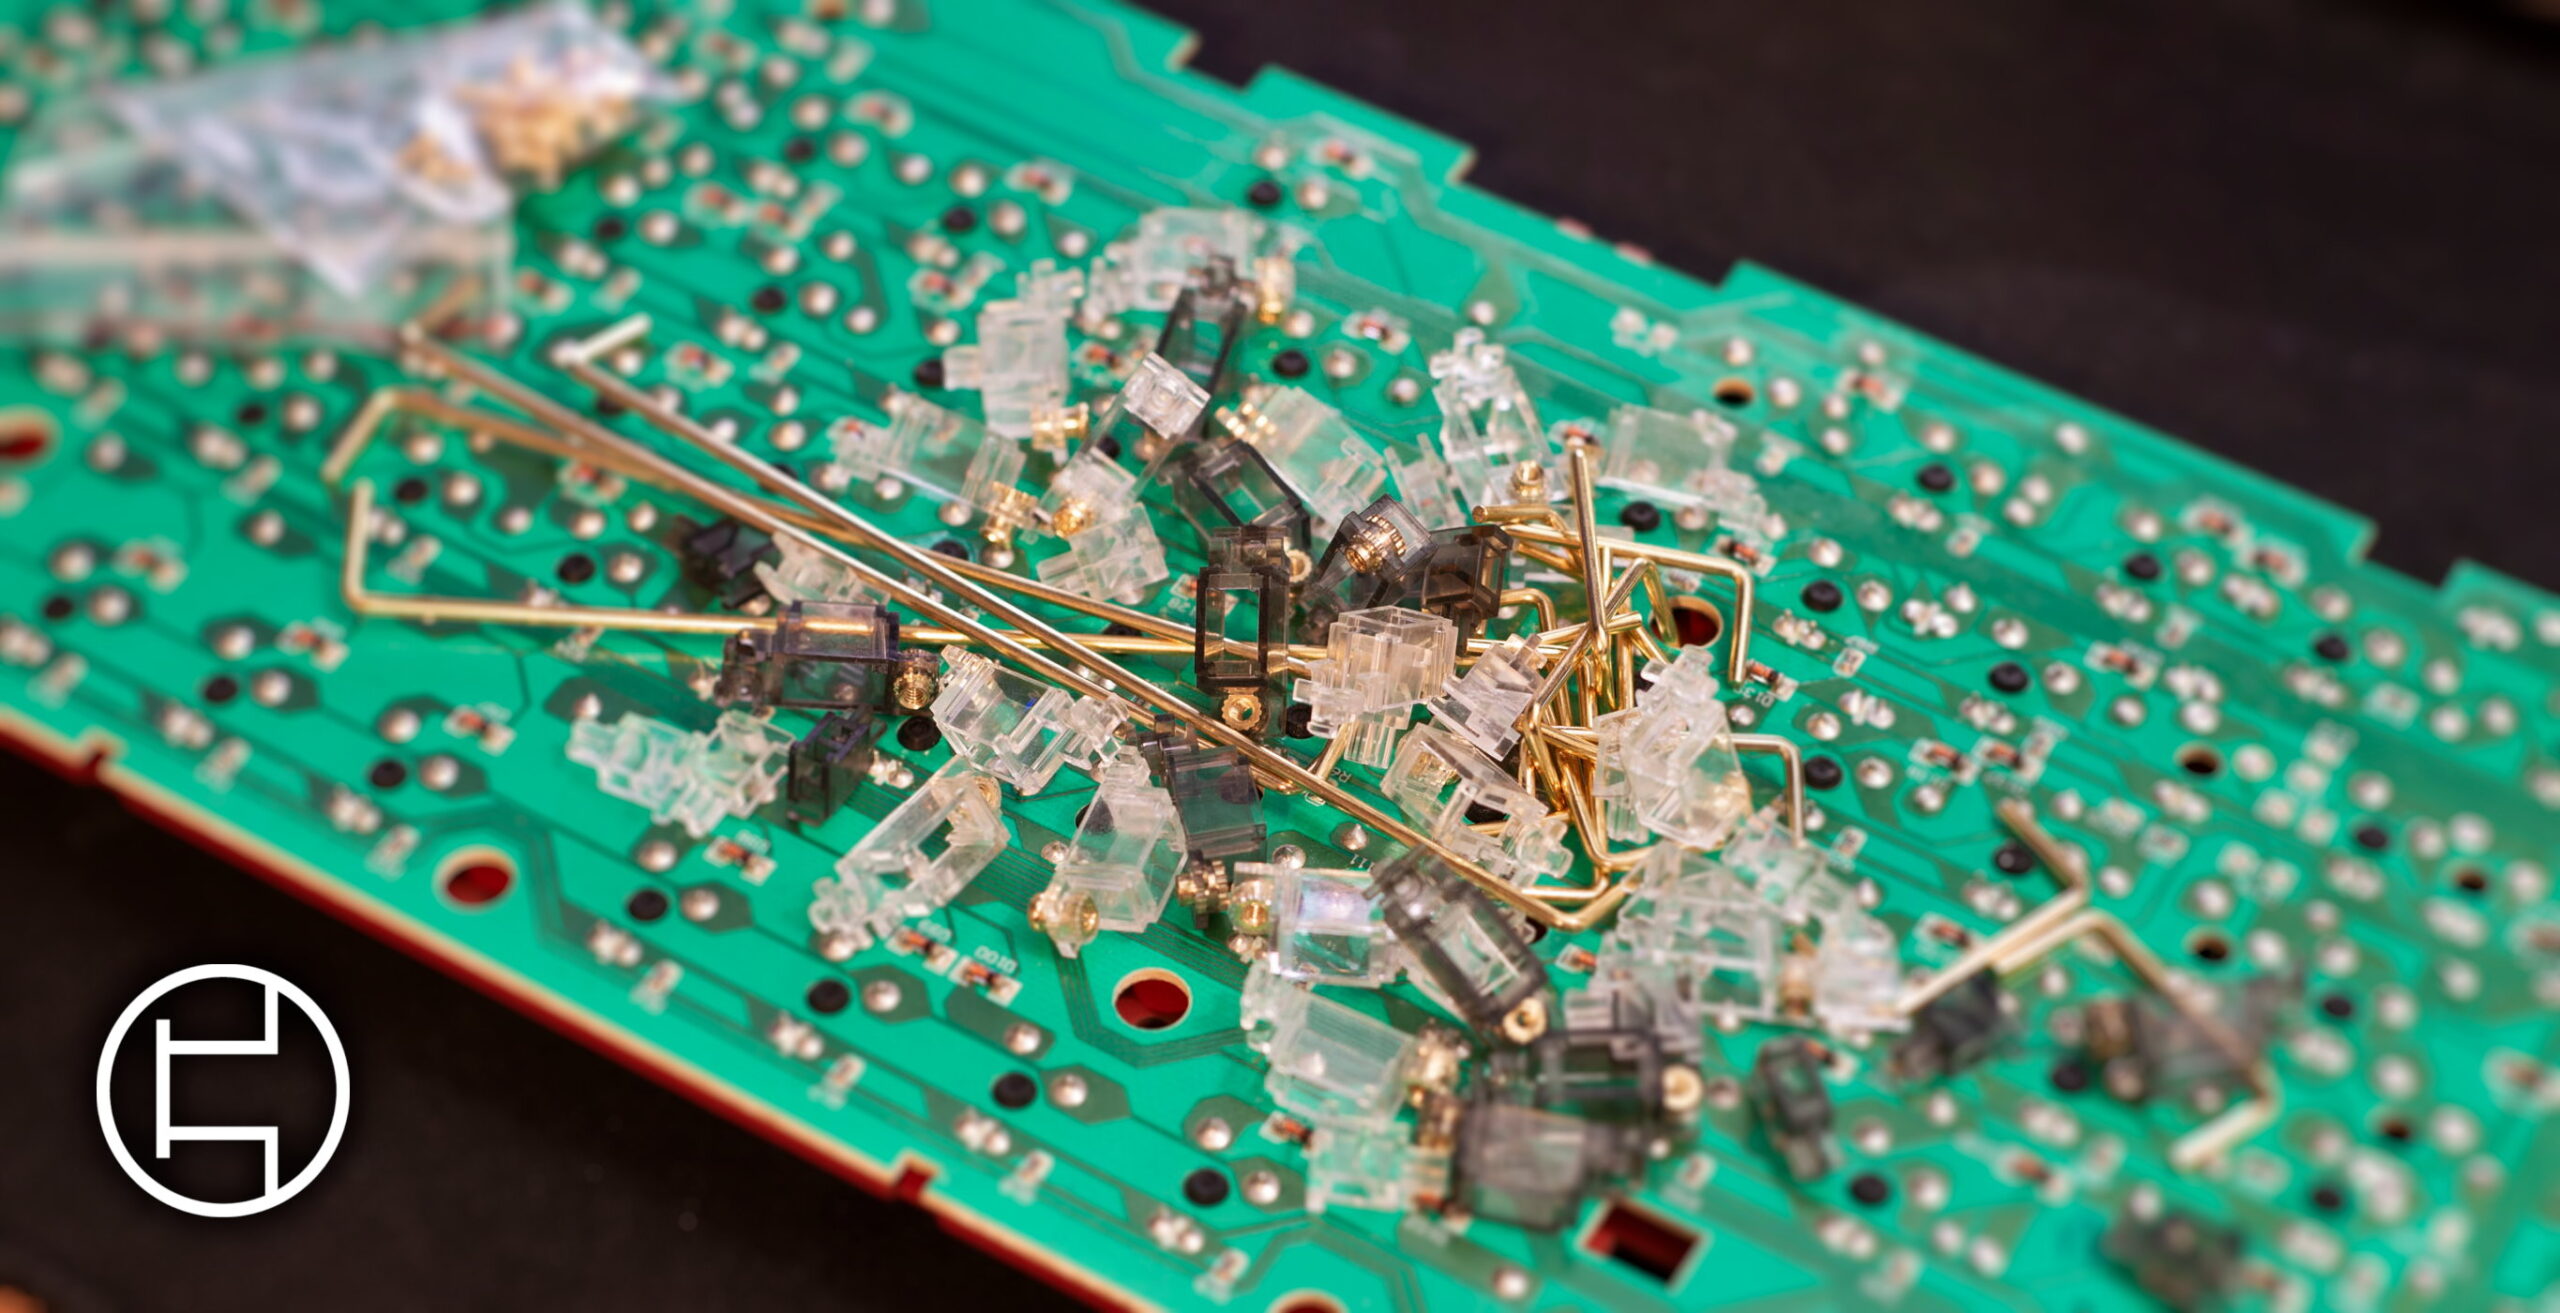
While most keycap stabilizers clip onto the keycap and a mounting point on the keyboard body, standard MX stabilizers have stems that insert into the keycap like a switch mount. They are made of 5 pieces. Two housings, two stems, and a wire to connect them together. Here is a picture of a Cherry PCB mount stabilizer.

There are two main types of MX stabilizers: plate mount and PCB mount. The housings on each vary depending on what type it is.
- Plate mount
Plate mount MX stabilizers attach to the mounting plate of a keyboard. This type is the most common stabilizer on prebuilt keyboards, aside from basic wire stabilizers.

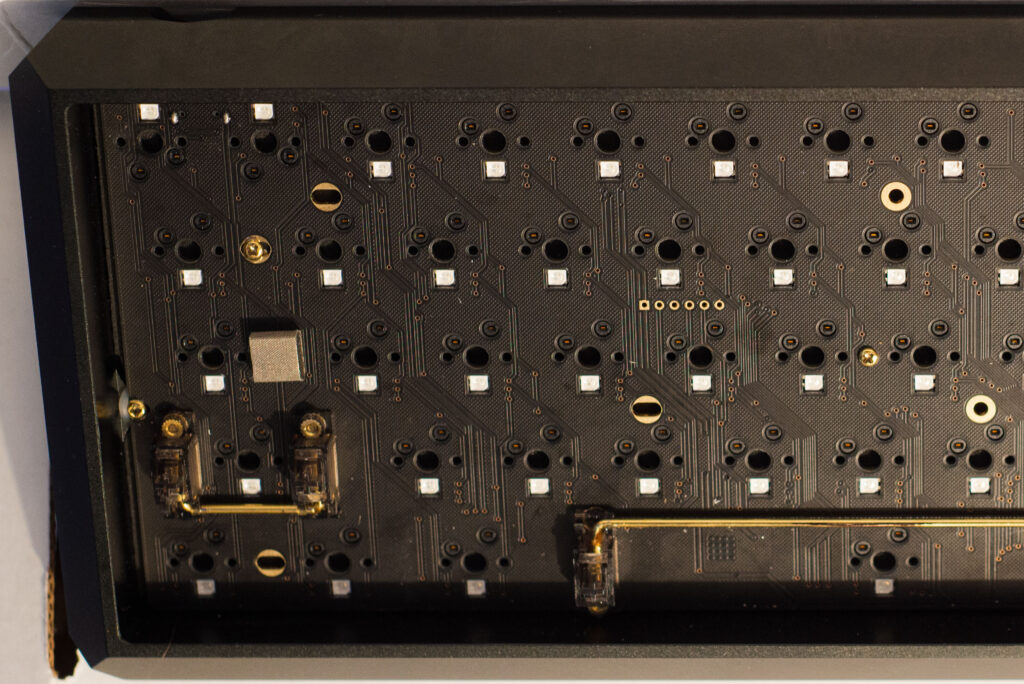
- PCB mount
PCB mount MX stabilizers attach directly to the PCB. They are generally more stable than plate mount stabilizers. There are two types, clip in and screw in. The second-to-last picture shows a clip in stabilizer. They attach in the same way, but screw in housings use a screw from the other side of the PCB to secure it in place, and are generally considered superior.

That’s it for part 3!